15
www.janome.com
User Manual
QUILT MAKER PRO 16
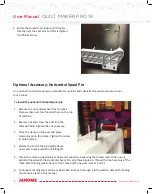
5. Aft er the bolts are in place, plug the cable
into the USB-style connecti on located on the
front-left side of the machine. The upper small
mini USB connecti on on the display is used to
connect to the machine. The bott om regular
USB connecti on on the right side of the display
is for USB power only, no data.
6. Remove the protecti ve plasti c from the touch-screen display before using.
To use the handlebar butt ons
Opti onal Accessory: Rear Handlebars and Display
To install the opti onal rear handlebars and display
IMPORTANT
: Install the rear handlebars and display aft er the front handlebars and display have
been installed.
1.
Check that the machine is unplugged from the electrical outlet.
CAUTION
: All power to the machine must be turned off when installing the rear handlebars. Failure
to do so can result in damage to the machine.
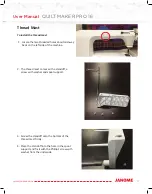
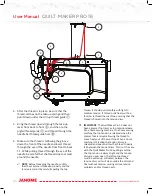
2. The rear handlebars come mounted to a bracket. Line up the four holes in the bracket with those on
the rear of the machine.
Press the Up/Down
butt on to cycle the
needle a half sti tch.
Press the Start/Stop
butt on to start or stop
the machine from
sti tching.
Press the Speed Up or Speed Down butt ons to change the
sti tches per minute setti ng (manual mode) or sti tches per
inch (regulated mode).
Содержание Quilt Maker Pro 16
Страница 1: ...USER MANUAL Version 1 0 Janome America Quilt Maker Pro 16...
Страница 62: ...62 www janome com User Manual QUILT MAKER PRO 16 Notes...
Страница 63: ...63 www janome com User Manual QUILT MAKER PRO 16...
Страница 64: ......


