DCF-S-0126-2A (06.04)
Japan Aviation Electronics Industry, Ltd.
Connector Div. Production Engineering Dept.
日本航空電子工業株式会社コネクタ事業部生産技術部
Number
番号
T703580
Page
7
/
20
JAE Connector Div. Proprietary.
Copyright © 2020, Japan Aviation Electronics Industry, Ltd.
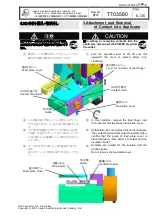
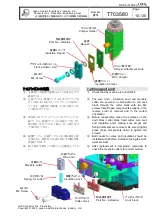
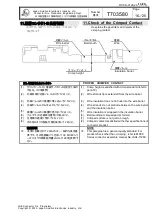
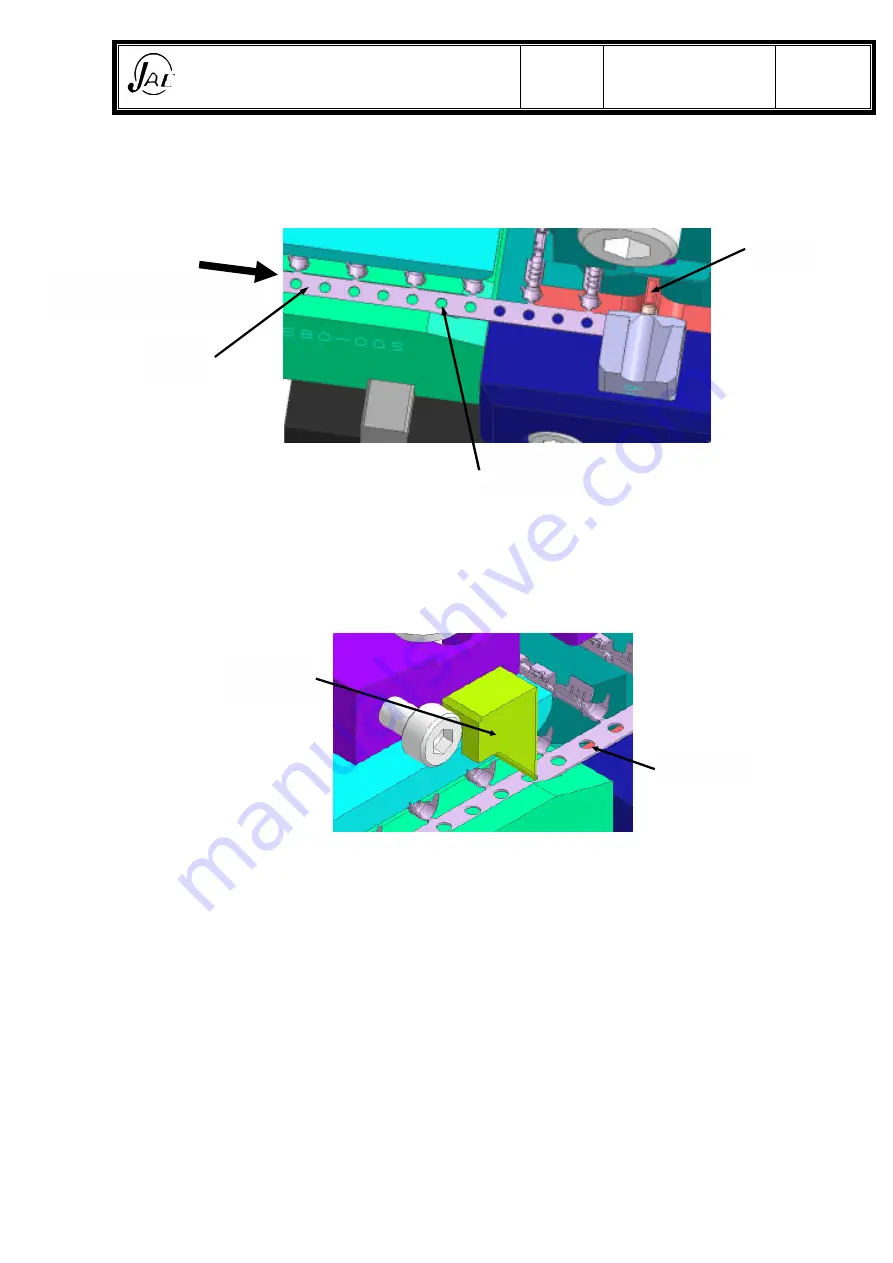
③
更にコンタクトを挿入すると、送り台カバーの反
対側に出て、圧着部に来ます。
③
Insert contacts more and the edge comes out to
the opposite isde of the feedplate cover.
※
この時、キャリアを必ず可動カッターの溝に通
して下さい。
※
At the time, time carrier has to go through inside
a groove of movable cutter.
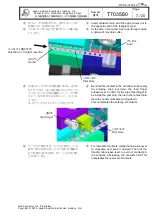
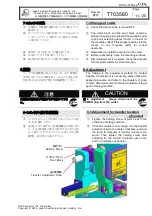
④
先端のコンタクトが圧着位置に来たら、送り爪
を下げて下さい。送り爪先端がキャリアのパイロ
ット穴に入っている事を確認して、コンタクト押
えレバーを半時計方向に回しレバーを下ろし
て下さい。
以上でコンタクトのセッティングは完了です。
④
Send the first contact in the condution to be ready
for crimping, then put down the feed finger
release lever. Confirm for the top of feed finger to
be inside the pilot hole, then turn the contact hold
lever to counter clockwise to bringdown.
This compleates the settiong of contacts.
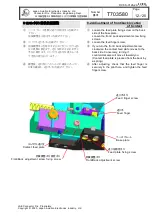
⑤
コンタクトの取り出しは、コンタクト押えレバーを
時計方向に回転させ、コンタクト押えが解除さ
れた状態で送り爪を持ち上げ、コンタクトを軽く
引き出して下さい。
⑤
For removal of contacts, rotate the operation lever
to clockwise and keep it upward. Then lift the
transfer tab release lever to pull out conrtacts in
the condetio ofreleasing the contacts hold.This
compleates the removal of contacts.
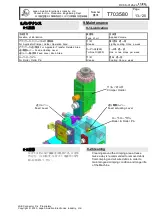
パイロット穴
Pilot Hole
送り爪
feed finger
コンタクト挿入方向
Direction of Contact Insertion
キャリア
Carrier
パイロット穴
Pilot Hole
アンビル
Anvil
7/20


