Basic
operation
Copyright © ITECH Electronics Co., Ltd.
20
NOTE
Only IT6162B/IT6164B Power contain OutMode function.
3.9.2 Menu function
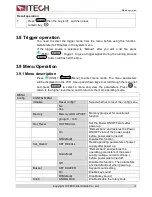
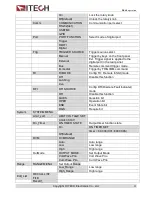
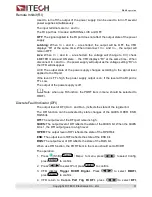
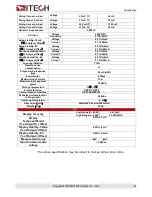
Memory group (Memory)
Power supply can save some often-used parameters in a nonvolatile memory
(capacity is 10*10 groups).This function can make the operations more convenient.
Customer can save and recall parameters quickly.
GRP0: This indicates saving power supply parameters in memory location 0-9.
GRP1: This indicates saving the parameters in memory location 10-19.
GRP2-GRP9 by parity of reasoning.
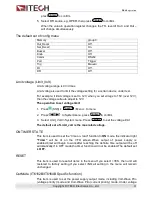
Output Recall (Out_Recall)
This function can help you set the output state when the power supply is powered
on. If you select
On
, the power supply will keep the state of last time as it is turned
off. If you select
Off
, this function is disabled.
Default is On.
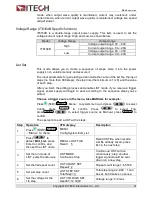
Set_Recall
This item can set power on state of parameters. If you select OFF item, then all the
parameters will be initialized to the factory setting. Output voltage and current will
always be 1V/0.1A.Otherwise the output value will be the same with last power off
state. The default setting is ON.
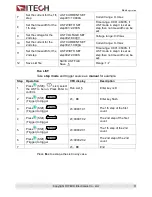
Key sound set (Buzzer)
This item can set the key sound state.If in ON mode,then when you press a button,
the power supply will beep. If in OFF mode,the beeper will not make a sound.The
default set is in OFF mode.
Rotary knob set (KNOB)
This item is used to set rotary knob lock state.In OFF mode,you can use this rotary
knob to set the output value and overturn the menu items.If knob lock is in ON
mode,the
knob can’t be used.The default setting is in OFF mode.
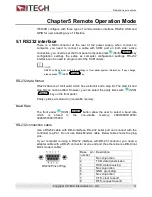
Communication (COMM)
IT6100B power supply support three standard communication interfaces:
RS232/USB/GPIB.In this option, you can select the communication interface
according to your demands.
The range of GPIB address is 0-30.
Baudrate can be chosen when communicate with RS232---4800, 9600, 19200,
38400, 57600, 115.2K.Data bit is 8, Check digit have three choices:
NONE,ODD,EVEN.
Before you begin to carry out communication, please make sure the configure in
our unit agrees with PC configure. More information please refer to chapter 6.

