7
Connectors must be at least 11.0 mm apart while the recommended distance is 16.8 mm. This
yields debug cables, connecting the Active Probe to the target, running in parallel without any
twisting.
Active Probe and iC5700 Connecting Guidelines
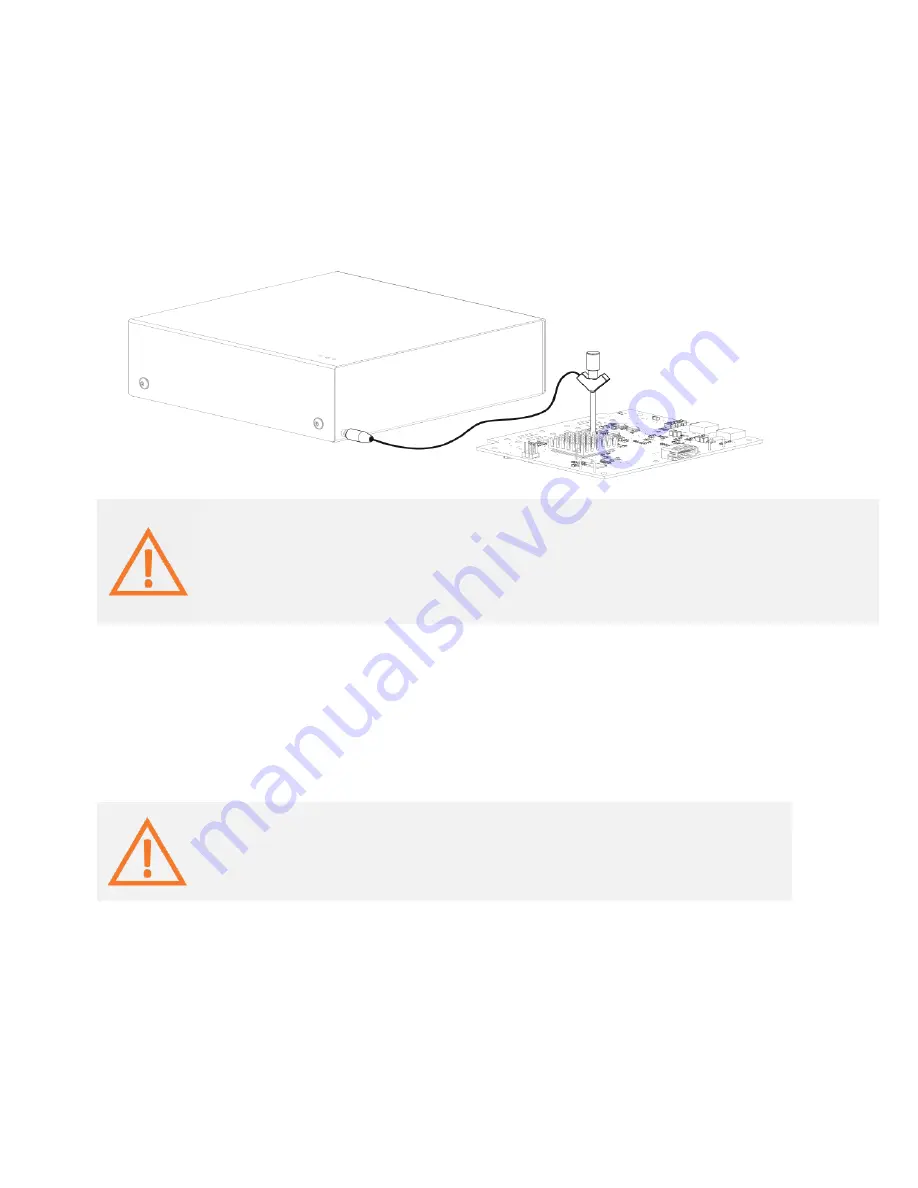
Always start by connecting the iC5700 GND and the target GND using grounding wire
delivered along the iC5700.
If the grounding wire is not connected, the ground potential difference
between the BlueBox™ hardware and the target can exceed well over 1000V
even before any of the devices are powered up. This voltage difference is
discharged over the BlueBox™ hardware and the target system, leading to the
possible destruction of electronic components within the BlueBox™ hardware,
the target or both.
Connect the iC5700 Power Supply to the main outlet and the iC5700
Connect the iC5700 to the PC via the Ethernet or the USB 3.0 cable
Connect Active Probe to the iC5700 FNET Port trough the FNET Micro Cable delivered
along the Active Probe. If longer cable than 1m is required (for example when
debugging ECU in a car with a very limited space), optional 3 m and 5 m FNET Micro
cables are available from iSYSTEM.
Although it looks similar to the HDMI interface, the FNET Port is not compatible with
HDMI or any HDMI accessories.
Connecting iSYSTEM hardware to the HDMI devices will damage the hardware and will
render the iSYSTEM hardware warranty void.
The Active Probe can be connected to the target in two configurations.
Aurix microcontrollers can have one DAP interface only, through which the on-chip
debug module and the MCDS trace module can be accessed. In this case connect 10-
cm ribbon cable delivered along the Active Probe to the Active Probe DAP connector
and to the target DAP connector.
Newer Aurix devices can have two DAP ports, one named DAP, through which again
the on-chip debug module and the MCDS trace module can be accessed, and a
second one named DAPE, through which the on-chip MCDS trace module can be


