Installing the DataSafe NAS
8
Iomega DataSafe NAS
Modifying Default Network Settings for non-DHCP Service
If
DataSafe NAS
is attached to a network without a DHCP server, your DataSafe NAS will be displayed
with an IP Address in the 169.254.xxx.xxx range. You must now assign a unique “Static IP Address” to
your unit. See your network administrator for an available IP address before proceeding.
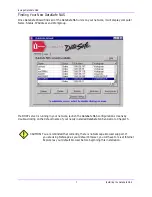
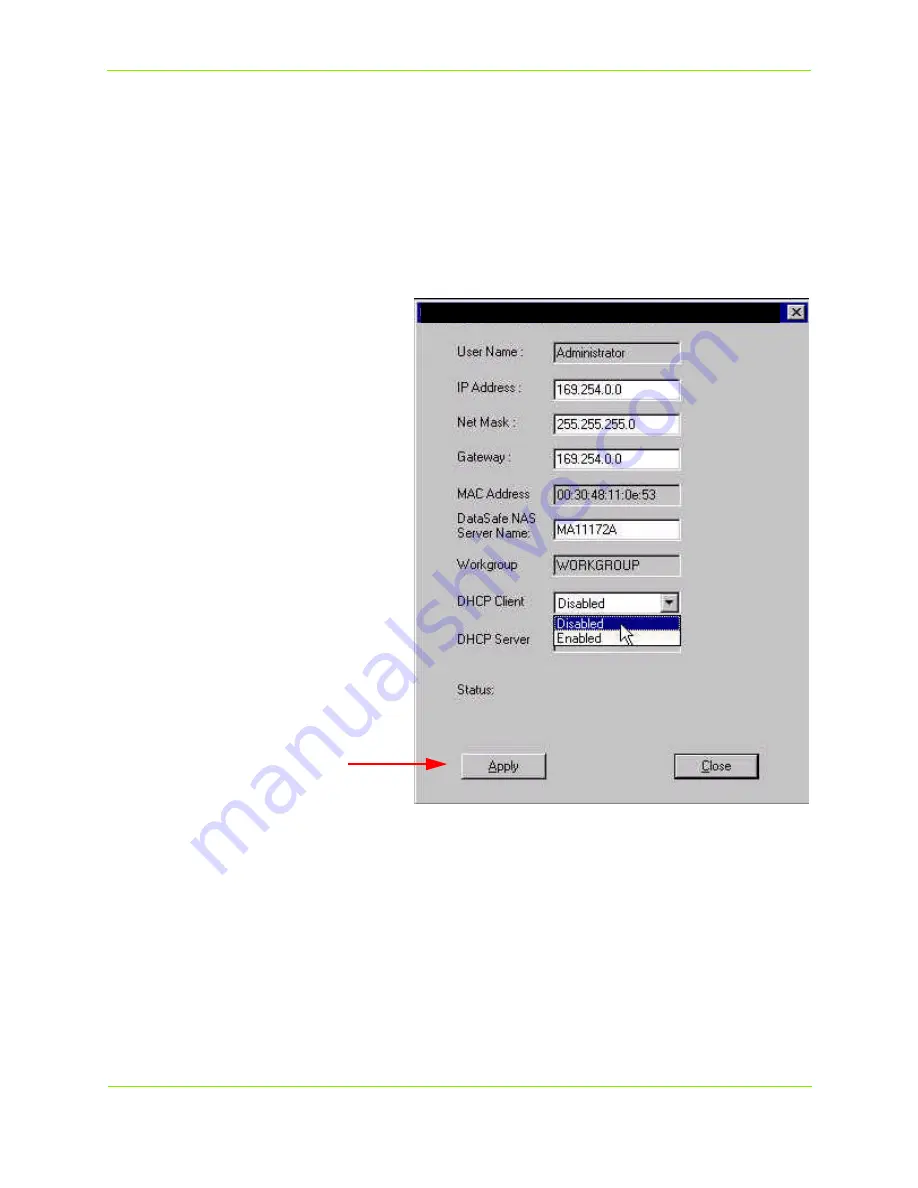
To set an IP address, highlight the default name of your DataSafe NAS with a single mouse click and
then select the Change Settings button. You will receive a warning message about making changes -
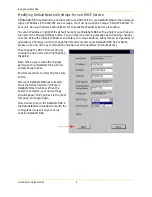
click OK. Delete the default IP Address and enter your unique address, subnet mask, and gateway (if
applicable). Should you wish to change the default computer name DataSafe NAS Server Name,
please do so now with any combination of alpha-numeric characters (without spaces).
Then change the DHCP Client setting by
clicking the down arrow and highlighting
Disabled.
Next, click Apply to make the changes
permanent.Your DataSafe NAS will now
automatically reboot.
End this procedure by selecting the Close
button.
After your DataSafe NAS has rebooted,
press the Refresh button in the main
DataSafe Wizard window. When the
search is complete, your new settings
should appear. If not, go back to the top of
this page, and begin again.
Now, double click on the DataSafe NAS in
the DataSafe Wizard window to launch the
configuration screens on your newly
enabled DataSafe NAS.
Содержание 1562
Страница 1: ......

