


80
Ioline FJ Printer & StudioJet Service Manual
Updating the
fi
rmware
1. Place
the
fi
rmware installation
fi
le in the
C:\ioline
folder
2.
Make sure the plotter is connected to the computer. Press the
Set Origin
on the keypad to illuminate the green
OK
LED.
3. Open
the
Control Center
.
4. Click
the
File
menu.
5. Click
Download Firmware
.
6. Locate
the
fi
rmware installation
fi
le and double-click it. Never
disrupt the
fi
le upload to the machine. when installing
fi
rm-
ware. Doing so will damage the main PCB and will make it
more dif
fi
cult to re-install or update the
fi
rmware in the future.
7. The
fi
rmware will install on the machine. Wait for it to
fi
nish.
8.
Close the Control Center.
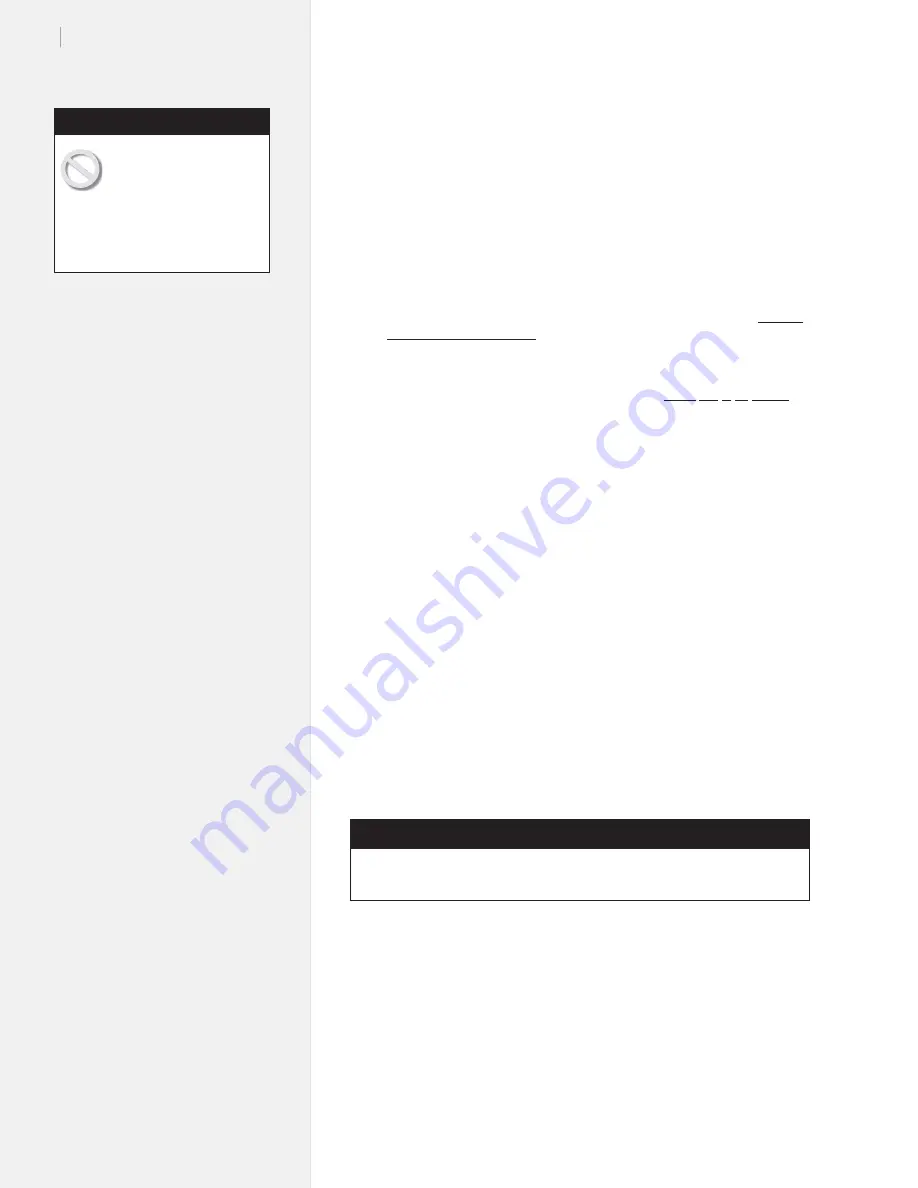
Caution: Never disrupt the
fi
le up-
load to the machine. when installing
fi
rmware. Doing so will
damage the main PCB and will make it dif
fi
cult to re-install
or update the
fi
rmware in the future.
9.
Turn the plotter power off.
10. While holding the button located directly above
Set Origin
,
turn the plotter back on. (Keep pressing the button).
11. Once the carriage moves to the far left side of the machine, let
go of the button.
12. Permit the machine to initialize normally.
13. When you see the red
OK
LED illuminate on the keypad, send
a test plot to the printer.
14. Contact Ioline Tech Support if the plotter refuses to power up
after installation.
Electrical Procedures
Never disrupt the
fi
le
upload to the machine.
when installing
fi
rmware.
Doing so will damage the main
PCB and will make it dif
fi
cult to
re-install or update the
fi
rmware
in the future.
Caution
Tools Required
Phillips head screwdriver
Power supply replacement
1.
Follow procedure for bottom cover removal earlier in this chapter.
2.
Unplug the small connectors from the power supply (
Figure 46
,
photos 1 & 2).
3.
Unscrew the two power supply screws. (
Figure 46
, photo 3).
4.
Unplug the large connector from the power supply. (
Figure 46
,
photos 4 & 5) and remove the power supply from the platen.
Содержание FJ Printer
Страница 1: ...Service Manual Ioline FJ Printer StudioJet ...
Страница 3: ...Service Manual Ioline FJ Printer StudioJet ...
Страница 4: ......
Страница 7: ......
Страница 8: ......
Страница 12: ......
Страница 36: ...36 Ioline FJ Printer StudioJet Service Manual This page intentionally left blank ...
Страница 61: ...61 Chapter 3 Troubleshooting Testing This page intentionally left blank ...
Страница 66: ...66 Ioline FJ Printer StudioJet Service Manual This page intentionally left blank ...
Страница 75: ...75 Chapter 4 Repair Procedures This page intentionally left blank ...
Страница 87: ...87 Chapter 4 Repair Procedures Photo 4 Photo 5 Photo 6 ...
Страница 92: ...92 Ioline FJ Printer StudioJet Service Manual This page intentionally left blank ...
Страница 110: ...110 Ioline FJ Printer StudioJet Service Manual This page intentionally left blank ...


