7.2 Group
After creating the users, you can categorize the users
into different groups.
In the following example, we will assign Mary to the
teacher group and Tom and Sophia to the student group.
The group management interface is similar to user man-
agement. The “everyone” group is there by default. To
create new groups, please follow these steps:
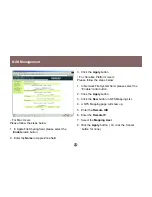
1. Click the NEW button in Groups Management.
2. Then the Add/Modify Groups page shows up. Enter
the group name. (ex. Teacher.)
3. To include more users in this group (e.g. Teacher),
please select the user in the System Users List
(e.g. Mary.)
4. Then click the left arrow button to add the user to the
Group Members List and vice versa. (e.g. “Mary”
in System Users List will be moved to Group
members List. Now Mary belongs to the Teacher
group.
5. Click the Apply button. You will be taken back
to the Group page.
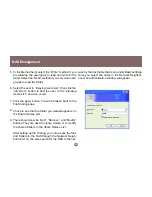
6. To create another group, please repeat the steps
above. (e.g. We created a “student” group and
chose “Tom” and “Sophia” to be the members of
the group)
7. The group you created is now in the Groups List.
User Management
51
Содержание BOSS GNS1000 GNS1000 GNS1000
Страница 1: ...BOSS Broadband Office Storage Server a Network Server Appliance NSA User Manual...
Страница 17: ...Figure 2 2a Figure 2 2b 15 Installation...
Страница 19: ...Figure 2 3a Figure 2 3b 17 Installation...
Страница 54: ...User Management 52...
Страница 61: ...NAS Management Please enter the user name and password that was created in section 9 1 59...
Страница 81: ...79...
Страница 82: ...23 Hubble Irvine CA 92618 P 949 453 8782 F 949 453 8785 www iogear com Contact info...

