10
Interwrite
TM
Pad
Getting Started
1
Log in as
Administrator
. Insert the Interwrite Learning CD into the
CD drive on your PC. The installer will autoload. If it doesn’t, click
on the
Start
button on the Windows Task Bar and select
Run
from
the menu. Type
X:\setup.exe
(
X
represents the CD drive letter).
2
Select the
Install Interwrite Workspace Software
menu option.
3
Follow the onscreen instructions for the software installation. You
will know Interwrite Workspace has installed successfully by the
appearance of the Interwrite Workspace icon in the System Tray on
the Windows Task Bar. If the icon does not appear, restart your
computer.
Installing the Interwrite Workspace
Software on Windows
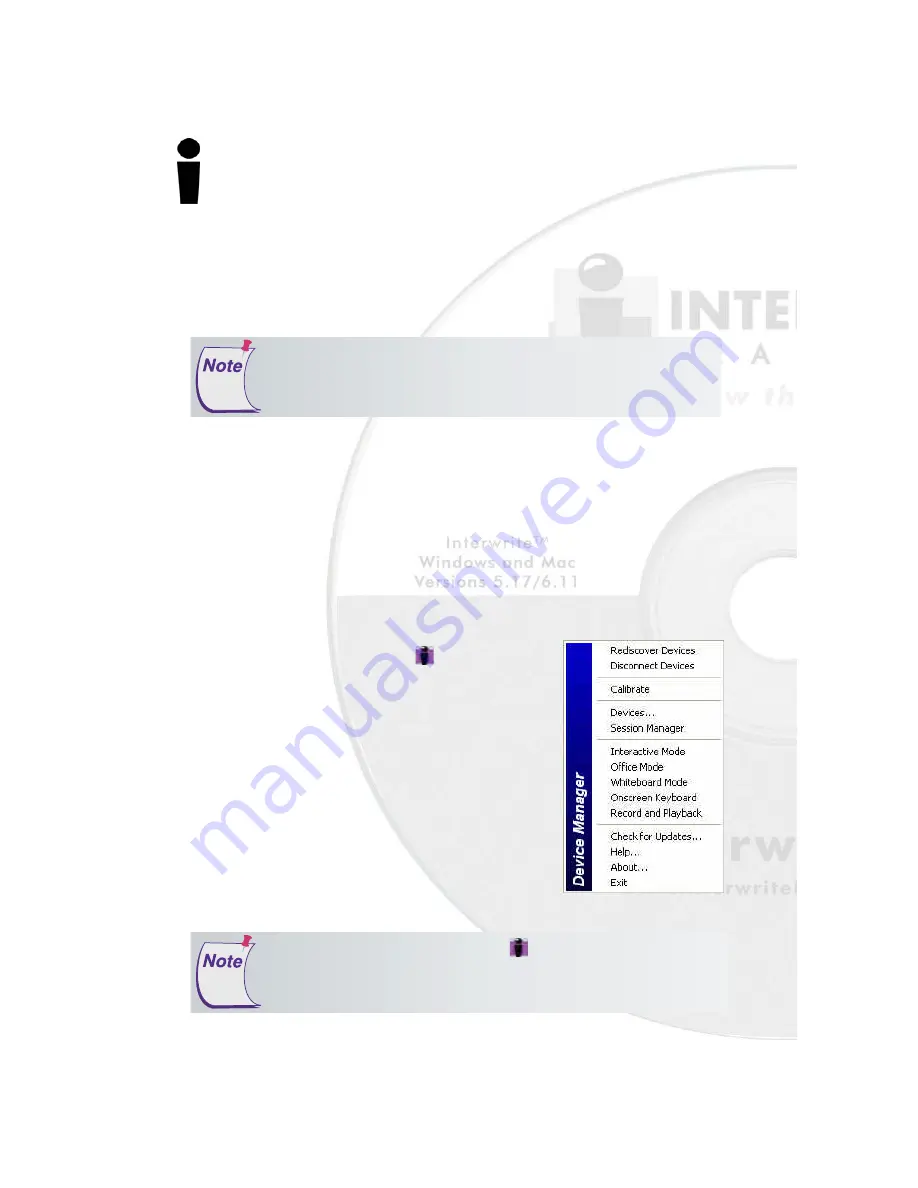
The Interwrite Workspace icon on the Task
Bar indicates that the Interwrite
Device Man-
ager
is now running on your PC. Click on the
Workspace icon to display the options on the
Device Manager Menu shown here. Device
Manager, in addition to managing the Interwrite
hardware devices, provides direct access to the
three operational modes of the Interwrite
Workspace software.
Click the Interwrite Workspace icon
in the System Tray of the
Windows Task Bar to display the Device Manager Menu. Select the
Check for Updates option. If a new version of Workspace is available,
download it now. You should periodically check for updates.
The Interwrite Workspace software must be installed on Windows
by a user with
Administrator
privileges. Interwrite Workspace is
compatible with Windows 2000, XP, and Vista.
If you are using Windows 98/Me/NT, you must use Interwrite
Workspace version 5.0. For more information, contact Technical
Support to order an installation CD.


