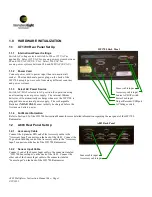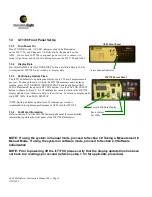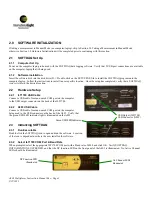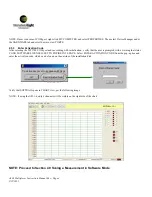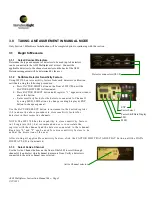
4.1.4.2 Enter Number of Scans
Select the number of scans for each channel/detector being measured. The software will capture 1 measurement per channel
per scan for data logging.
4.1.4.3 Enter Value for Scan Delay
Select the desired value (in seconds) for delay between scans. For the most accurate results, a scan delay of at least 2 seconds
is recommended.
4.1.4.4 Chart History Length Selection
Select the desired Chart History Length which forces the software to only plot out the selected number of samples on the user
interface chart. If the Number of Scans exceeds the Chart History Length, data will still be logged for all scans, but only the
number of samples selected for chart history length will be visible on the user interface chart.
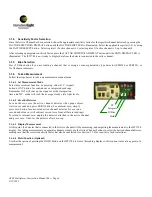
4.1.4.5 Automatic Data Logging (Optional)
The user has the option of checking the box labeled “Automatically log data after scan”. If the user does not want to
automatically log the data following the scan, skip to Section 4.1.5. Otherwise, skip to next step, 4.1.4.6 for instructions on
selecting filepath and file type.
4.1.4.6 Selecting Automatic Data Log FilePath and File Type (Optional)
If user selects to automatically log the data after the scan, use the “Browse” icon to select the file path the user wants the data
to be saved in. Then use the “Save Format” drop-dwn menu to select an output .TXT file or .XLS file.
Click the OK button when the user has completed inputting all Data Acquisition Settings. To return to the user interface
without inputting data logging settings, click CANCEL.
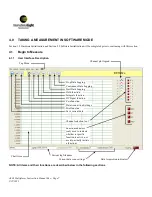
NOTE: User can also access the Data Acquisition Settings by choosing SETUP
→
DATA LOG SETTINGS from the Top menu
of the user interface in Section 4.1.1, or by clicking on the dialog boxes for Number of Scans of Scan Delay at the bottom of
the user interface seen in Section 4.1.1.
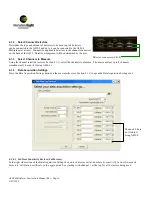
4.1.5
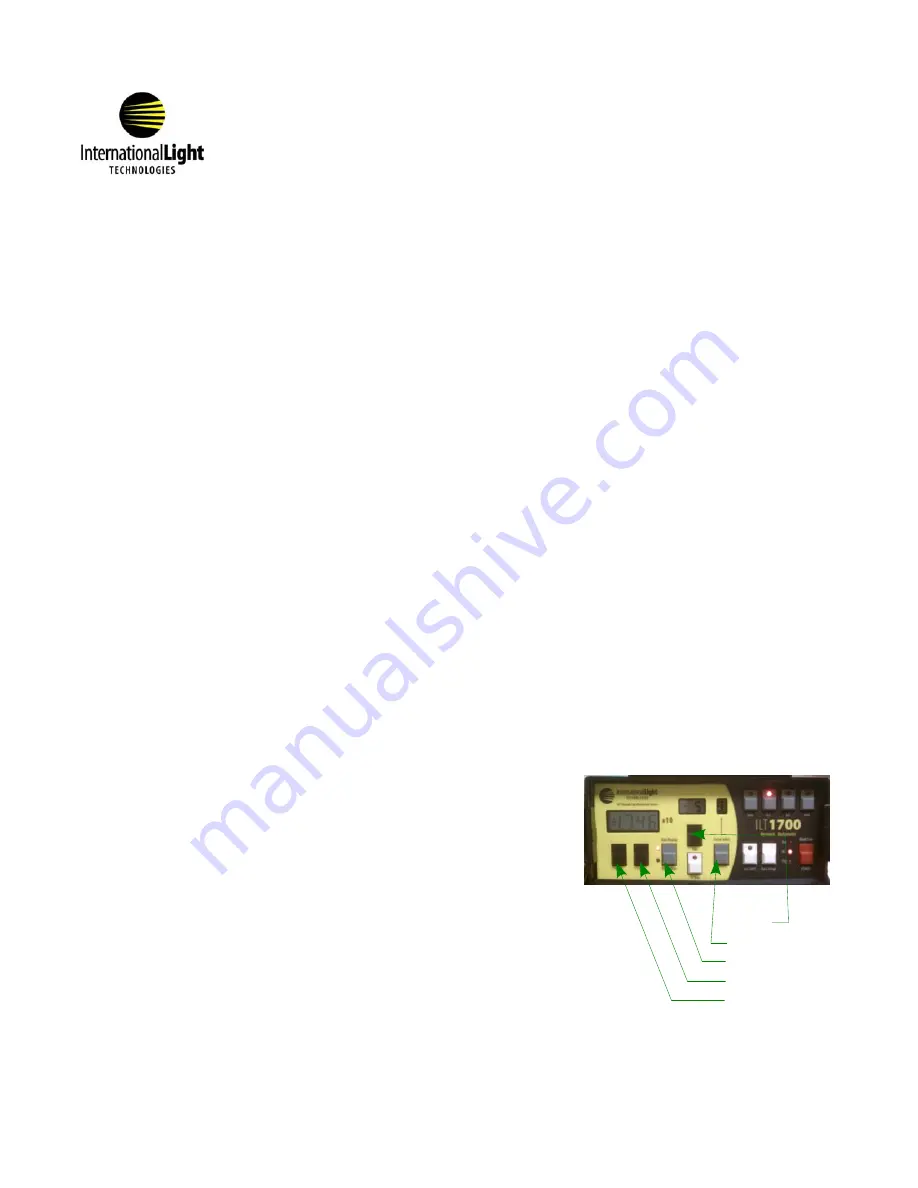
Set ILT1700 Sensitivity Factor
Set the ILT1700 sensitivity factor to read 1.000x10
0
using the following
procedure:
a. Press FACTOR SHIFT button on the front of ILT1700 until the
FACTOR SHIFT LED is illuminated.
b. Press FACTOR SELECT button until register “0” appears in window
above the button.
c. Use MSD & LSD buttons to change the display to read 1.000.
Use the EXP button to change the display to read 0.
Once completed, press the FACTOR SHIFT/DATA DISPLAY button to return
the ILT1700 to DATA DISPLAY mode, verifying the DATA DISPLAY LED is
illuminated.
A803 Multiplexer Instruction Manual Rev -
Page 9
9/22/
2011
EXP
Factor Select
Factor Shift/Data Display
LSD
MSD


