Intel
®
Solid-State Drive
Installation Guide
9
Intel
®
Solid-State Drive
4.
After swapping the drives, power on the computer.
As your computer boots to the Intel SSD for the first time, a notification that the data
migration process completed successfully appears when the operating system starts.
Enjoy your new high-performing Intel Solid-State Drive!
Desktop Computers — Changing the Boot Order of the Drives
1.
Close the computer case and start the computer.
2.
While the computer is booting, enter the BIOS setup menu.
Press a special key such as ESC, F1, or DELETE to enter the BIOS menu. Check your
computer manufacturer’s documentation for the correct key(s).
3.
Go to the Boot or Startup screen and change the boot order so that the Intel SSD appears
before your old storage device.
4.
Save the settings and exit the BIOS setup menu.
5.
Restart the computer.
As your computer boots to the Intel SSD for the first time, a notification that the data
migration process completed successfully appears when the operating system starts.
Enjoy your new high-performing Intel Solid-State Drive!
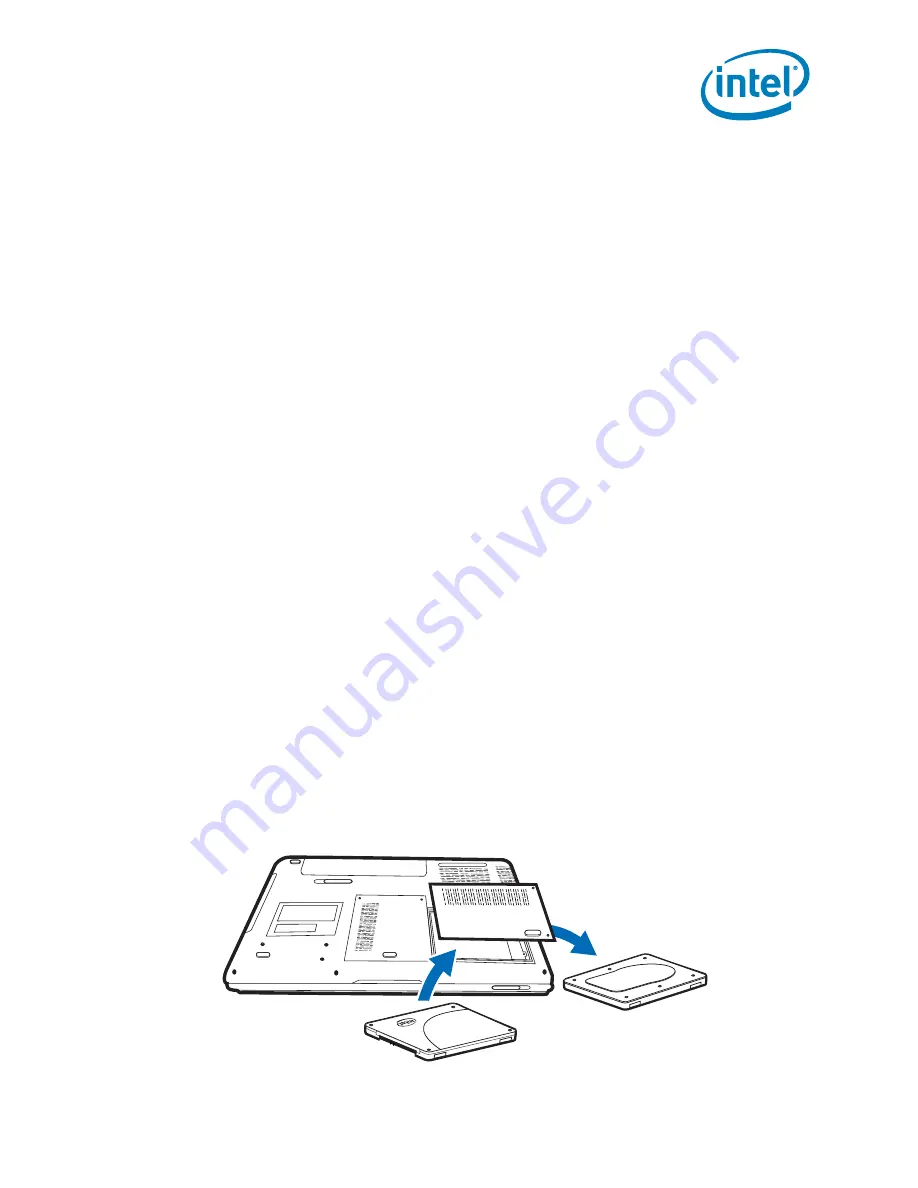
Notebook Computers — Swapping the Drives
1.
Make sure the computer is powered off.
2.
Remove the current storage device from the computer's drive bay.
Refer to your computer documentation for instructions on safely accessing the drive bay.
3.
Remove any brackets or adaptors attached to the current storage device.
Not all storage devices have attached brackets or adaptors. If your devices does, remove
these and connect them in a similar manner to the Intel SSD.
4.
Align the connector pins on the SSD with the SATA connector in the drive bay and slide the
SSD into the drive opening.
Figure 11.Install Intel SSD in notebook


