13
BEFORE RECORDING
Audio from the PHONO, TAPE or AUX/
sources can be recorded on the CD recorder.
Prepare the audio source for recording
1. Select the desired audio recording source by pressing the corresponding selector button.
(
/
)
2. Prepare the appropriate audio source for normal play (external audio device / vinyl record /
cassette tape).
3. Load a CD-R / CD-RW and close the CD tray.
4.
-
-
appear on the top left of the display. If they do not
appear, recording functions will not work.
Note:
indicating a blank CD.
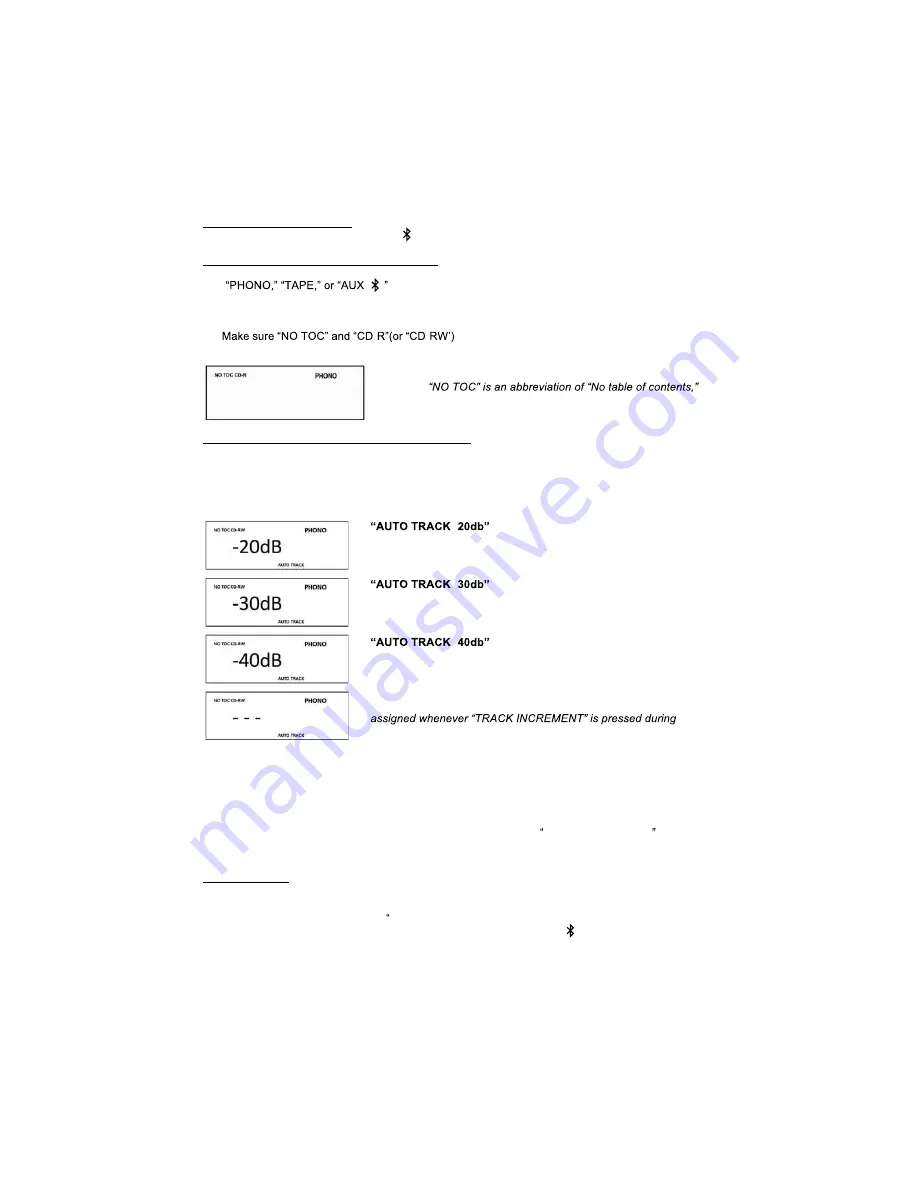
Select Auto Track Increment Selection Mode
Tracks can be set to assign automatically when the input sound level drops below a certain limit
(-20db/-30db/-40db ) for more than 2 seconds.
Press the AUTO/MANUAL button repeatedly (or MANUAL/AUTO INCREMENT on the remote) to
cycle between the following modes:
-
A new track will be assigned automatically when the sound level
drops below -20db
-
A new track will be assigned automatically when the sound level
drops below -30db
-
A new track will be assigned automatically when the sound level
drops below -40db
Manual Track Selection
Tracks will not be assigned automatically. A new track will be
recording.
AUTO TRACKING function is to cut the separation for each music/song you are recording to CD by
recognizing the silence that is in between the songs on your records or cassette tapes. The decibels
(lowest 20-30-40highest) allow you to choose the level of minimal sound that may still exist between
the songs to be recognized as the separation before the next song to cut a track. If your source of the
recording quality is not of best quality it is recommended to use the MANUAL TRACKING function
for best result in recording.
RECORDING
1) First put the blank CD-R or CD-RW on the CD tray and close the tray.
2) Make sure that the display shows NO TOC CD-R (or CD-RW).
3) Pick the source of music and press the button (Phono or Tape or Aux/
).
4) If using a record, put the vinyl on the turntable.


