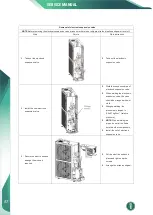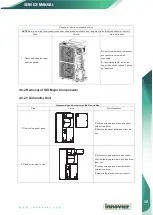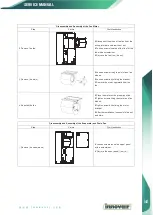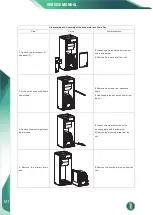
Disassembly of compressor
NOTE
:Before removing the compressor, make sure there is no refrigerant in the pipeline and power is cut off.
Step
Picture
Work instruction
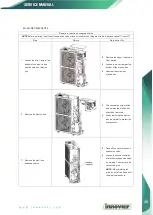
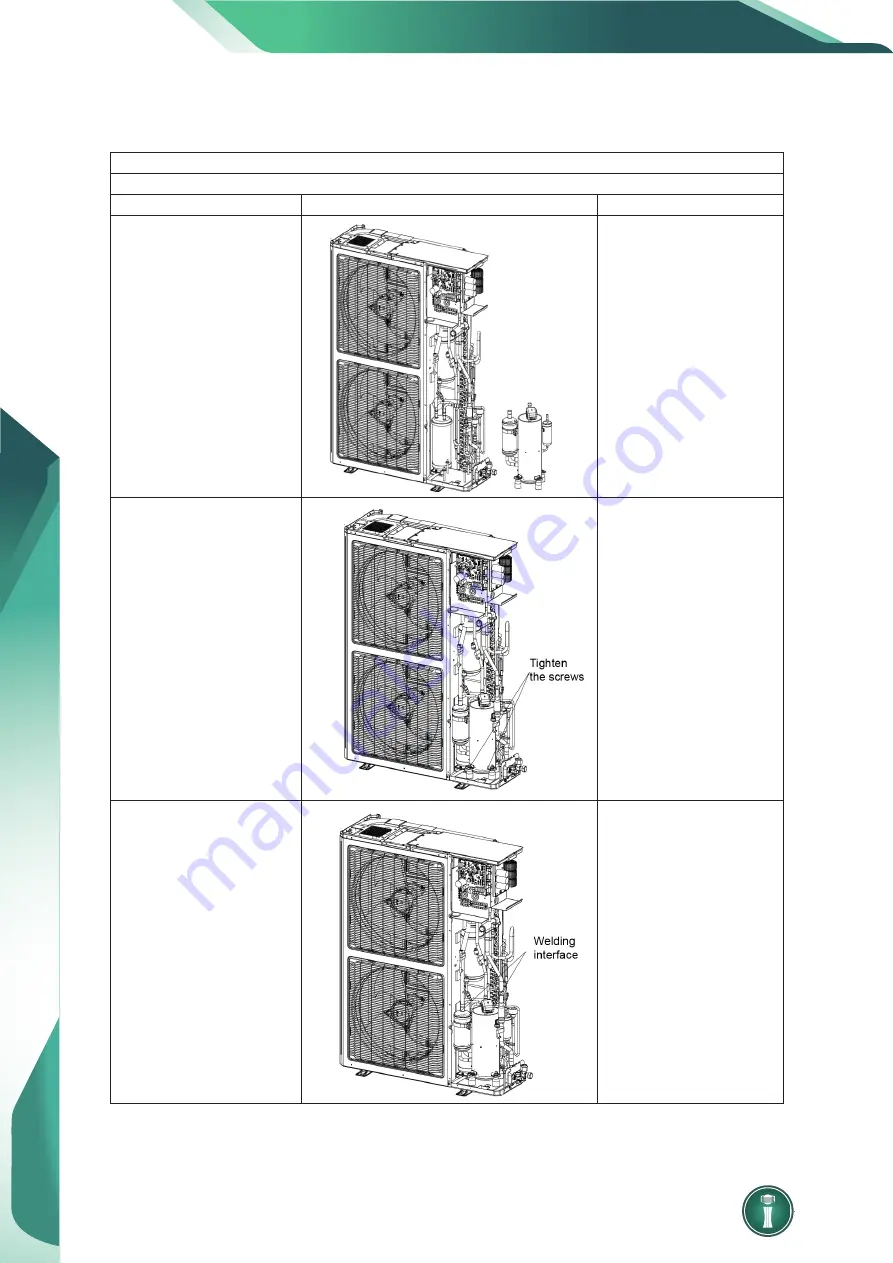
4. Remove the compressor
from the chassis.
Take out the compressor
and replace it.
NOTE
:When replacing the
compressor, avoid touching
the nearby pipeline and
components.
5. Fix the new compressor back
onto the chassis.
After replacing the
compressor, tighten up the
screws at the foot of
compressor.
6. Connect the compressor
suction port and exhause
port with the pipes.
Weld the compressor
connection pipes and
connect them to the
compressor.
NOTE
: When replacing the
compressor, avoid touching
the nearby pipeline and
components.
SERVICE MANUAL
89
Содержание Inverter FLEX24 DEV24H2R18
Страница 9: ...6 SERVICE MANUAL 2 Control 2 1 Operation Mode 2 1 1 Cooling Mode ...
Страница 10: ...2 1 2 Heating Mode SERVICE MANUAL 7 ...
Страница 18: ...Model SEV3060H2R18 3 1 2 Wiring Diagrams of IDUs Model DEV24H2R18 DEV36H2R18 SERVICE MANUAL 15 ...
Страница 19: ...Model DEV48H2R18 DEV60H2R18 16 SERVICE MANUAL ...
Страница 27: ...SEV2040H2R18 SEV4060H2R18 24 SERVICE MANUAL ...
Страница 30: ...Troubleshooting SERVICE MANUAL 27 ...


