


6
your control system, please refer to relevant manuals provided with
your system keyboard.
To set a preset view
1. Place the key switch at the PROGRAM position;
OPERATE
PROGRAM
MENU
2. Move the joystick to set the PTZ camera position;
+
3. Enter the preset number on the keypad, and press the SHOT key
to store the settings;
2
8
SHOT
(Setting Preset 28 as an example)
Note:
If the PRESET TITLE DISP entry of OSD SETUP menu (see
Section 6.6) is set to “ON”, a description title must be assigned to
the preset. The prompt as Step 4 will come out. Otherwise, if “OFF”,
skip to Step 9 directly.
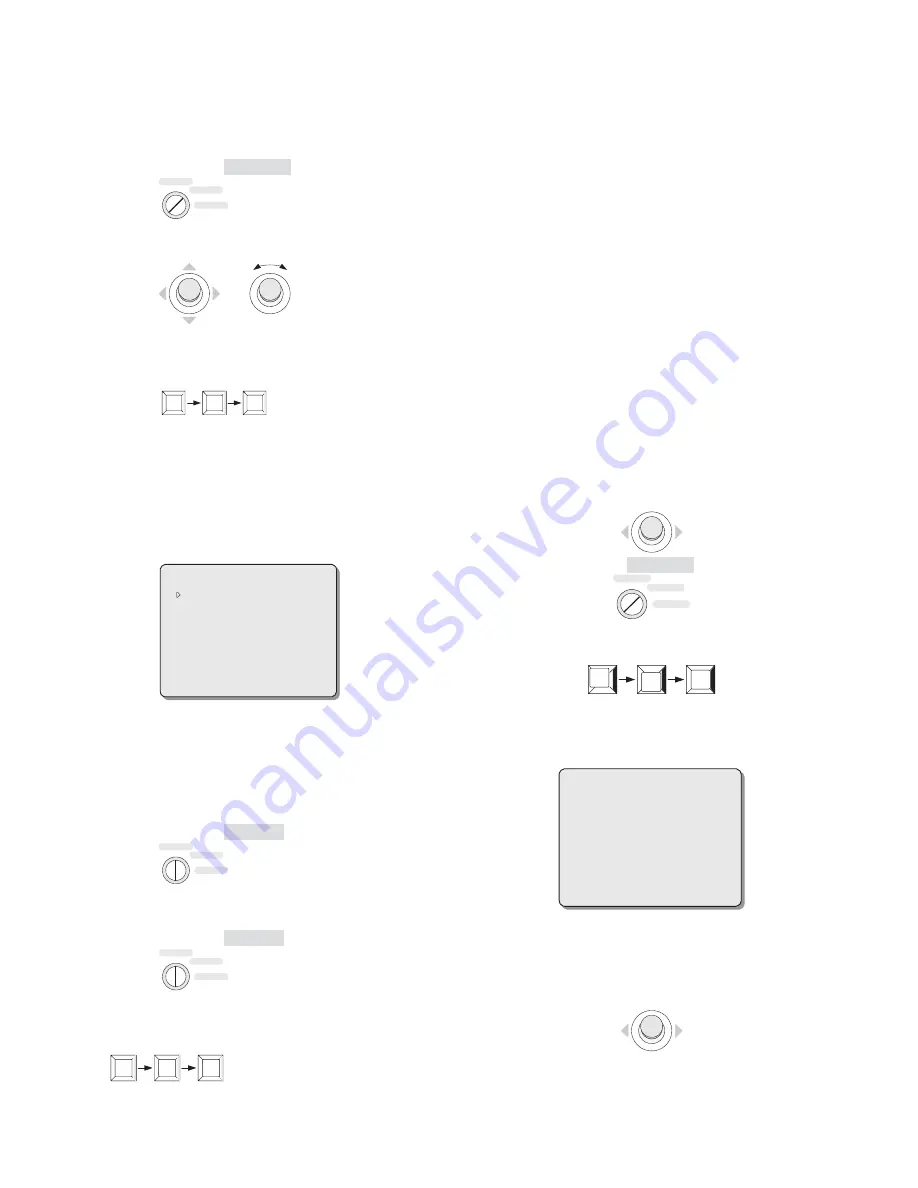
4. When the following information is displayed, move the cursor to
the first entry of the TITLE item;
PRESET NO. : 028
TITLE:
EXIT:
5. Deflect the joystick downward (or upward) to select a suitable
character (or a space);
6. Move the cursor to the next entry;
7. Repeat Steps 5 through 6 until the whole title has been edited;
8. Exit title editing menu by deflecting the joystick leftward at the
EXIT entry;
9. Place the key switch at the OPERATE position.
OPERATE
PROGRAM
MENU
To call up a preset
1. Place the key switch at the OPERATE position;
OPERATE
PROGRAM
MENU
2. Enter the desired preset number on the keypad, and press the
SHOT key to call up.
2
8
SHOT
(Setting Preset 28 as an example)
Note:
some presets are provided with special functions. The preset
operation is a little bit different under different protocols. For setting
and calling up a preset, please refer to Chapter VII.
5.4 Setting and Calling up an Autopan
PTZ camera could scan between two boundary lines and so the PTZ
camera could monitor some area continuously under system
automatic running state. V1492 PTZ cameras are capable of setting
and calling up 4 autopans.
AUTOPAN parameters such as serial number, title, time, speed, etc.
could be set in AUTOPAN SET menu. For details, please refer to
Section 6.9.
To set two boundary lines of AUTOPAN and call up AUTOPAN are
performed via keyboard. The following is the way to set and call up
AUTOPAN under INFINOVA, PELCO-P/D with Infinova’s V2117
keyboard.
To define the start point
1. Deflect the joystick to make the camera aim to the position that is
desired as the start point;
2. Place the key switch at the PROGRAM position.
OPERATE
PROGRAM
MENU
3. Enter code commands “91, SHOT” to set the current position as
the start point.
SHOT
9
1
4. The following on-screen information will be displayed, which
shows the setup of the start point is successful. At the same time,
system is ready to set the end point.
SET AUTOPAN 001
To define the end point
1. After the above on-screen information displays, deflect the
joystick to make the camera aim at the position that is desired as
the end point;
2. Enter code commands “91, SHOT” to set the current position as
the end point.