CY8CKIT-147 PSoC® 4100PS Prototyping Kit Guide, Doc. #: 002-18734 Rev. *D
17
Software Installation
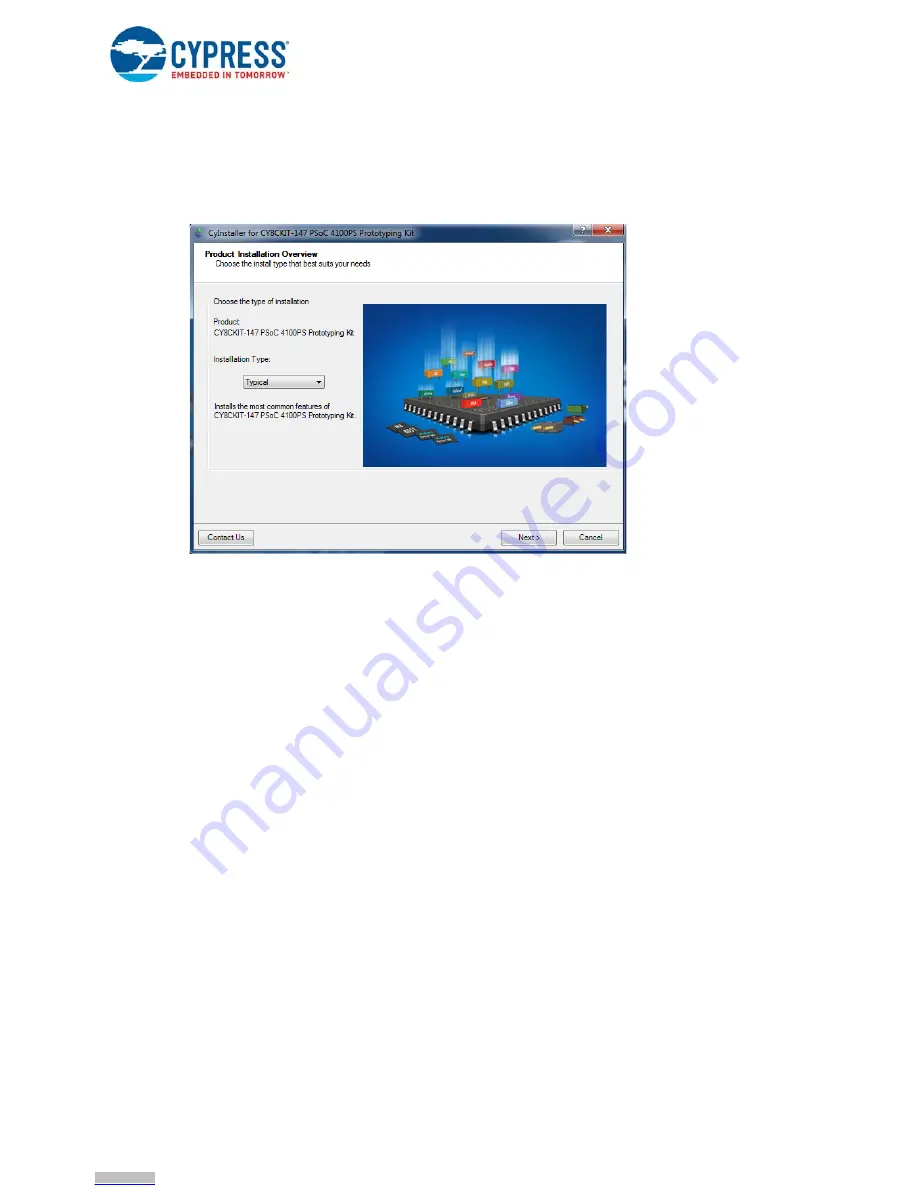
6. Choose the
Typical/Custom/Complete
installation type in the Product Installation Overview
window, as shown in
Figure 2-2
. Click
Next
after you select the installation type.
Note:
We recommend to do typical installation, however user can choose according to their
requirement.
Figure 2-2. Product Installation Overview
7. Read the License agreement and select 'I accept the terms in the license agreement' to continue
with installation. Click on
Next
.
8. When the installation begins, a list of packages appears on the installation page. A green check
mark appears next to each package after successful installation.
9. Enter your contact information or select the check box
Continue Without Contact Information
.
Click
Finish
to complete the PSoC 4100PS Prototyping kit installation.
10. After the installation is complete, the kit contents are available at the following location:
<Install_Directory>\CY8CKIT-147 PSoC 4100PS Prototyping Kit
Default location:
Windows OS (64-bit):
C:\Program Files (x86)\Cypress\CY8CKIT-147 PSoC 4100PS Prototyping Kit
Windows OS (32-bit):
C:\Program Files\Cypress\CY8CKIT-147 PSoC 4100PS Prototyping Kit
Note:
For Windows 7/8/8.1 and later users, the installed files and the folder are read-only. To use the
installer code examples, follow the steps outlined in the
Code Examples chapter on page 25
.
Downloaded from
Downloaded from
Downloaded from
Downloaded from
Downloaded from
Downloaded from
Downloaded from
Downloaded from
Downloaded from
Downloaded from
Downloaded from
Downloaded from
Downloaded from
Downloaded from
Downloaded from
Downloaded from
Downloaded from
Downloaded from


