R 6 - www.inepro.com - 3
4.
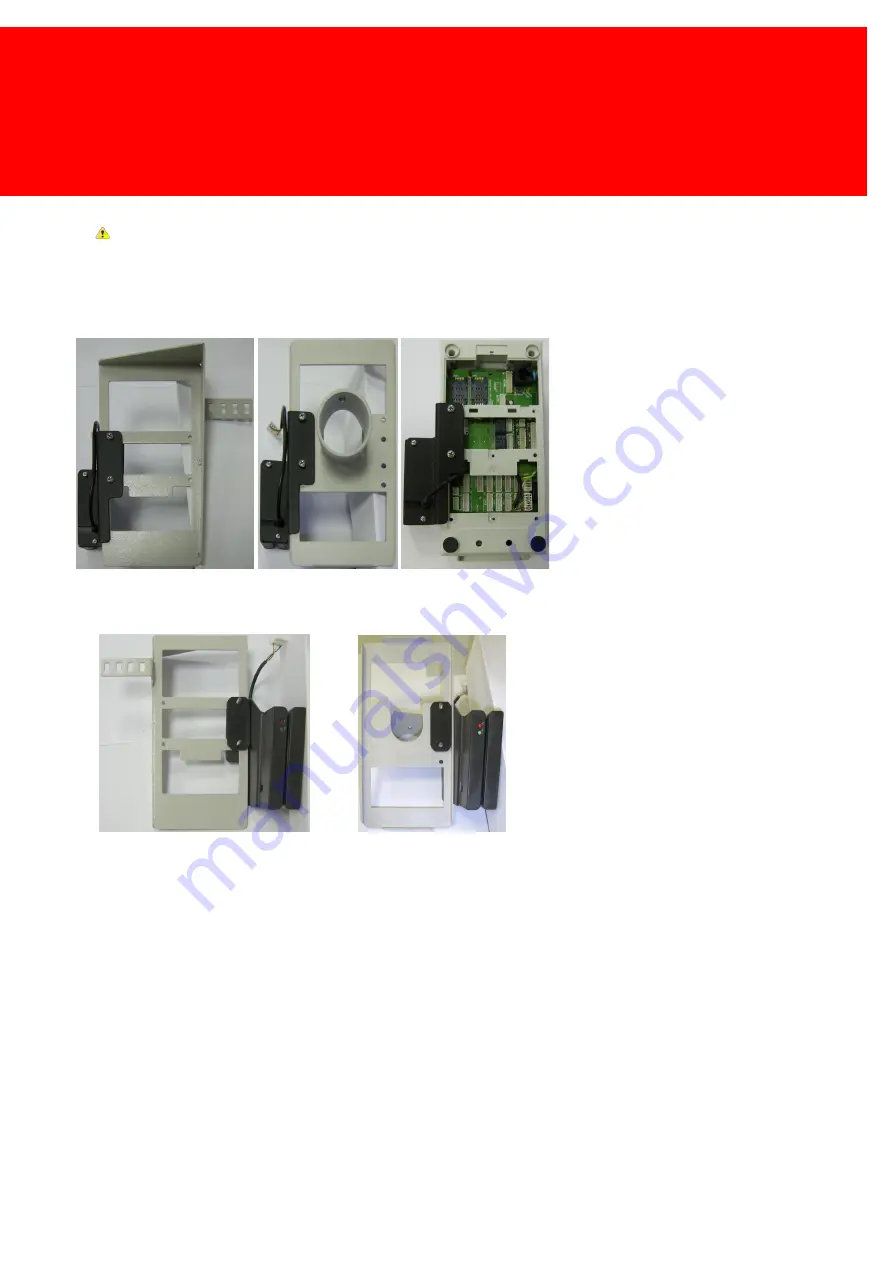
The Magstripe card reader needs a RS232 COM port (COM port 1,2 or 3 on the PayCon main board). Connect the
data cable to the first free RS232 COM port
5. Close the compartment flaps
6. Make sure all the cables are in place and the compartment flaps are closed.
7. Push the two screws trough the holes of your PayCon or your bracket (if you don't use a bracket, fasten them to the
PayCon and you are ready)
Copier bracket
Pillar bracket
PayCon
8.
While holding the screws (so they don't fall out) turn the PayCon bracket back up
9. Put the small plastic spacer into place
Copier bracket
Pillar bracket
Содержание MagStripe - PayCon II
Страница 2: ...Version 1 0 6 Inepro B V http www inepro com Table of Contents Magstripe Assembly 1...
Страница 3: ...Magstripe Assembly PartI...
Страница 7: ......


