background image

8.7 Managing access rights

8.7.1 Entering passwords

When the unit is switched on, the access

level “User” will usually be selected

(

chapter 6.1). To go to a higher access

level, call up the menu item “Hardware

±

Enter Password” and enter the password.

8.7.2 Changing passwords

To change the password in the current

access level, or, in the level “Develop-

ment”, to change the passwords for a lower

access level, call up the menu item “Hard-

ware

±

Configure

±

Change Password”

or “Hardware

±

Passwords

±

User/Admin/

Developer Password”.

To change the password of the current

level, first enter the current password, then

enter the new password, and finally re-

enter the new password to confirm it. Pass-

words for lower access levels can be

directly entered and will also be displayed.

In the level “Development”, individual

presets can be saved with separate pass-

words. Prior to saving a preset, make

the desired settings via the menus “Pre-

set

±

Passwords

±

Admin Password” and

“ …

±

Developer Password”.

Important:

Passwords saved with the pre-

set will take precedence over system pass-

words. When a preset is called up which

has been saved with individual passwords

for the access levels “Administrator” and

“Development”, the system passwords for

these levels will be invalid.

8.7.3 Changing access rights

Via the menu branch “Hardware

±

Config-

ure

±

Access Rights”, the access rights for

lower access levels can be defined. The

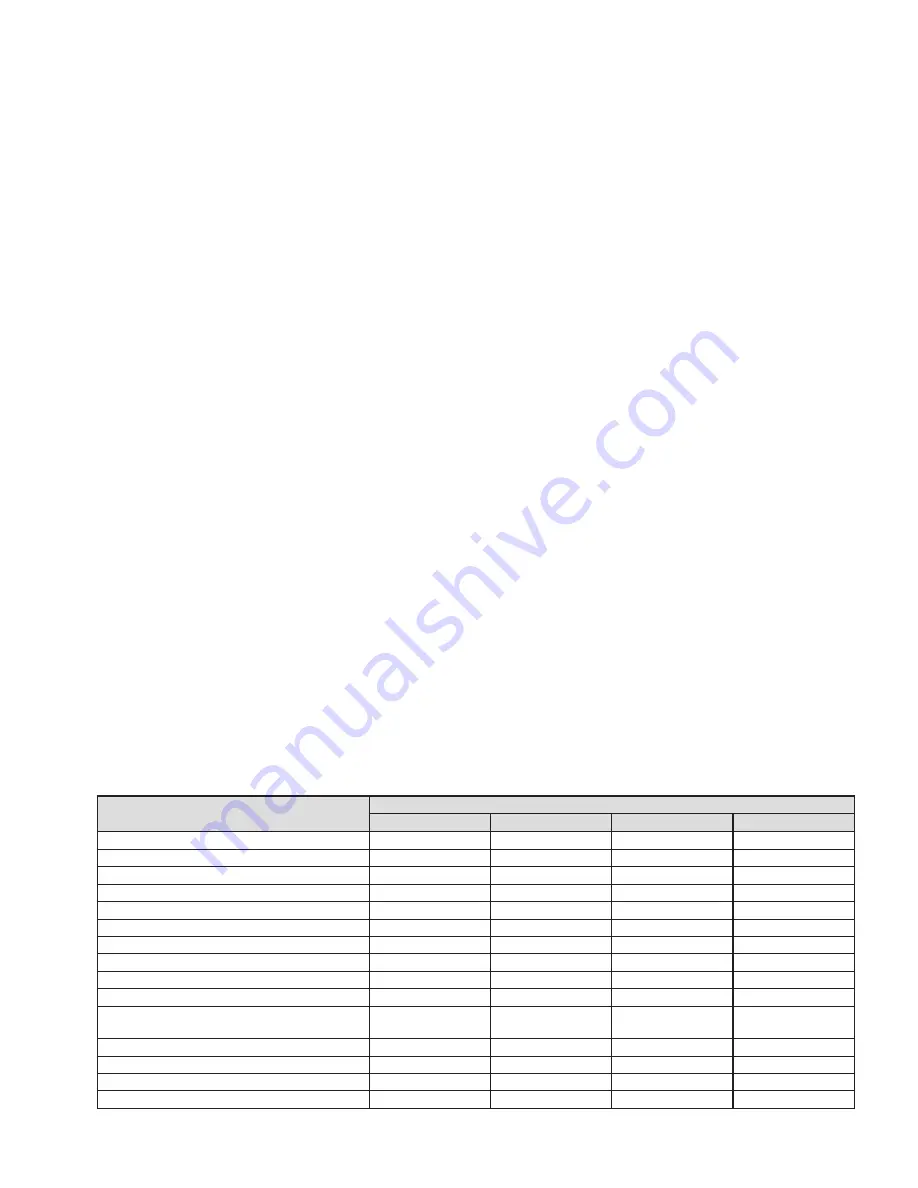
table (fig. 12) shows the options and fac-

tory-set values for the individual levels.

Particular rules apply concerning the

access to the settings of the input parame-

ters and output parameters. The access

rights for these settings (Access Input/Out-

put Channel) are exclusively saved on the

level “Development” (together with the cor-

responding preset). Prior to saving a pre-

set, make the settings desired via the cor-

responding menu “Preset

±

Access Rights

±

Locked Access Rights”, “…

±

User

Access Rights” and “ …

±

Admin Access

Rights”.

8.8 Locked State

Call up the menu item “Hardware

±

Lock

Unit” to go to the lowest access level

“Locked State”. A message will appear to

inform you that you can exit this level

only by entering the valid password of a

higher level. Click “OK” to confirm this mes-

sage.

8.9 Standby

Call up the menu item “Hardware

±

Go to

Standby” to set the unit to the standby

mode. To return to the normal mode, call up

the menu item “Hardware

±

Exit Standby”

(see chapter 7.3).

8.10 Defining the switch-on preset

Call up the menu item “Hardware

±

Config-

ure

±

Power On Preset” to define the set-

tings that shall apply when the unit is

switched on.

In the list field of the window displayed,

select the preset that is to be automatically

loaded each time the unit is switched on, or

select the option “Last Setting” if the unit is

to use the settings most recently made

before the unit was switched off.

8.11 Saving/Restoring all presets

Call up the menu item “File

±

Backup Pre-

sets” to save all presets of the unit on the

computer, then select the storage location

(folder).

To restore the saved presets, call up

the menu item “File

±

Restore Presets”.

9 Control via a

Tablet Computer

In addition to the supplied control program

for PCs, a control program named “DSP-

CONTROL” for tablet computers is avail-

able in the “App Store” of Apple Inc.

22

E

n

g

li

sh

Available access rights and their factory-set values

Access Rights

Access Levels

Development

Administrator

User

Locked State

Load Presets

Save Presets

Load Factory File

Create Factory File

Enable Front Panel Access

Enable Display Lock Control

Change User Access Rights

Change Locked Access Rights

Change Unit Name

Lock Automatically After Power Cycle

Change Unit Configuration

(Network, AutoStandby, Startup Preset)

Load an Empty Preset

Upgrade the Unit Firmware

Access Input Channel

Access Output Channel

Содержание MEGA-215DSP

Страница 1: ...mmer 09 0110 ELECTRONICS FOR SPECIALISTS ELECTRONICS FOR SPECIALISTS ELECTRONICS FOR SPECIALISTS ELECTRONICS FOR SPECIALISTS BEDIENUNGSANLEITUNG INSTRUCTION MANUAL Aktiver PA Subwoofer mit DSP Active...

Страница 2: ...2 1 2 3 4 5 6 7 8 9 10 11 12 Beispielkonstellation Example constellation...

Страница 3: ...ndby 12 8 10 Einschalt Preset festlegen 12 8 11 Sichern Zur ckladen aller Presets 12 9 Steuerung ber einen Tabletcomputer 12 10 Technische Daten 13 Stereo PA Amplifier with DSP These instructions are...

Страница 4: ...ann keine Haftung f r durch Fehlbedienung oder durch einen Defekt entstandene Datenverluste und deren Fol gesch den bernommen werden 3 Einsatzm glichkeiten Diese aktive Subwoofer Lautsprecherbox ist g...

Страница 5: ...nter Password oder ber das Steuerprogramm Men punkt Hardware Enter Password Kap 8 7 1 Die folgende Tabelle zeigt die Zugriffsebe nen in absteigender Rangfolge und die zugeh rigen Passw rter Passwortvo...

Страница 6: ...Netzwerktechnik Kenntnisse erforderlich Hinweis Bei einer direkten Verbindung der Sub wooferbox mit einem Computer kann die Verwen dung eines Crossover Kabels oder eines entspre chenden Adapters erfo...

Страница 7: ...ools Change Soft ware Password aufrufen 2 Im angezeigten Fenster in das Feld Enter Old Password das bisherige Passwort eingeben vom Werk vorein gestellt ist monacor Verbindung mit dem Computer stehen...

Страница 8: ...lopment befindet 7 3 5 Programm beenden Zum Beenden des Programms den Men punkt File Quit aufrufen oder das Pro grammfenster schlie en 8 DSP konfigurieren Zur Konfiguration des Signalprozessors in de...

Страница 9: ...verbunden Rot nicht verbunden F r den Wechsel zu einem anderen Ger t dieses im Listenfeld w hlen UNIT NAME Name des Ger ts kann durch berschreiben ge ndert werden GAIN Regler zur Lautst rkeeinstellung...

Страница 10: ...zeigefelder f r den Verst rkungswert Kurvendarstellung des Amplituden Fre quenzgangs Beschreibung Kap 8 3 GAIN Regler zur Lautst rkeeinstellung f r den entsprechenden Ausgang daneben Pegel Anzeige dar...

Страница 11: ...ner Kopplung der Ausg nge 2 und 3 werden nur zwei Filterkurven angezeigt Die Grenzfrequenzen der Filter wer den durch dreieckige Marken oberhalb der Kurve dargestellt Durch Verschie ben einer Marke mi...

Страница 12: ...ungen ber das jeweilige Men Preset Access Rights Locked Access Rights User Access Rights und Admin Access Rights vorgenommen werden 8 8 Locked State Um in die unterste Zugriffsebene Locked State zu ge...

Страница 13: ...1 m Max Nennschalldruck 133 dB Nenneingangsspannung 1 2 V Max Eingangsspannung 11 V Eingangsimpedanz 24 k Ausg nge OUT 2 3 3 5 V 1 k symmetrisch Stromversorgung 230 V 50 Hz Leistungsaufnahme max 2400...

Страница 14: ...woofer speaker system is equally designed for fixed installations and for mobile applications e g on stage or in discotheques It is used as a low frequency complement to an existing amplification syst...

Страница 15: ...sword or via the control program menu item Hard ware Enter Password chapter 8 7 1 The following table shows the access levels in descending order and the corre sponding passwords Factory set passwords...

Страница 16: ...to larger computer networks Internet Network technology expertise is indispensable for the correct connection setup Note A direct connection of the subwoofer sys tem to a computer may require the use...

Страница 17: ...e symbol to change the mode of the unit The symbol will be grey when the connection is interrupted When a unit is switched on and a new connection is being established an additional row Startup with t...

Страница 18: ...ation window Hardware Firmware Update 7 3 5 Exiting the program To exit the program call up the menu item File Quit or close the program window 8 Configuring the DSP To configure the signal processor...

Страница 19: ...nnected Red not connected To change to a different unit select the unit from the list UNIT NAME name of the unit over write the name to change it Controls GAIN to adjust the volume of the two inputs t...

Страница 20: ...n quality factor and band width Input Indication field GAIN for filter boost attenuation High pass filter HPF input indication field for the cut off frequency enter values in Hz Off 20 Hz High pass fi...

Страница 21: ...ossovers are easy to identify When the outputs 2 and 3 are linked only two filter curves are shown The cut off frequencies of the filters are represented by triangular markings above the curve To chan...

Страница 22: ...t make the settings desired via the cor responding menu Preset Access Rights Locked Access Rights User Access Rights and Admin Access Rights 8 8 Locked State Call up the menu item Hardware Lock Unit t...

Страница 23: ...2400 W Speakers Number 2 Size 38 cm 15 Type CELESTION FTR15 4080FD Frequency range 28 300 Hz typical application range can be modified via DSP configuration SPL 98 dB 1 W 1 m Max SPL 133 dB Rated inpu...

Страница 24: ...MONACOR INTERNATIONAL GmbH Co KG Zum Falsch 36 28307 Bremen Germany Copyright by MONACOR INTERNATIONAL All rights reserved A 1714 98 01 11 2015...

Отзывы: