


22
Receiving DTT
To select a teletext page, enter the three-digit page number using the number buttons on the remote control.
●
If you make a mistake, finish entering any three digits and then enter the correct page number once more.
●
If the page counter does not stop, it means that the page you have requested is not available. In this case, enter
another page number.
Press
▲
/
▼
to go to the next/previous page.
Press to move forward 100 pages.
Press to return to the starting page, 100.
Press EXIT to leave teletext.
4.3.10 Teletext
Some channels feature a teletext service. Whilst watching a programme, press the TXT button. If the
channel features teletext, a window will appear indicating the PID number of the service. Press OK. A
standard teletext window will open, which you can use as normal.
▲▲▲▲▲
4.3.11 Subtitles
Press the SUBT button whilst watching a channel. The Subtitles window
will appear, indicating the subtitle languages that that channel offers and
their PID number. The top part of the window features a selection box;
use the buttons to choose between Subtitles, TTX Subtitles and
OFF :
- If you select Subtitles, the box below will show the available
languages; select the one you want to use using the
▲
/
▼
buttons
and press OK.
- If you select TTX Subtitles, the box will indicate the number of the
teletext page that transmits them.
- Select OFF if you do not wish subtitles to appear for the programmes
on that channel.
Press EXIT to close the window.
▲
▲
/
▲
▲
23
5. MULTIMEDIA
Multimedia playback
The
SMARTmini
receiver features a USB port on its front panel for the connection of external devices such
as flash drives, MP3 players, hard disks and digital cameras. The receiver can reproduce MP3 audio files,
MPEG-2/4 and DivX video files, and JPEG images, amongst other file types.
Press the MENU button on the remote control to bring up the
Main Menu
.
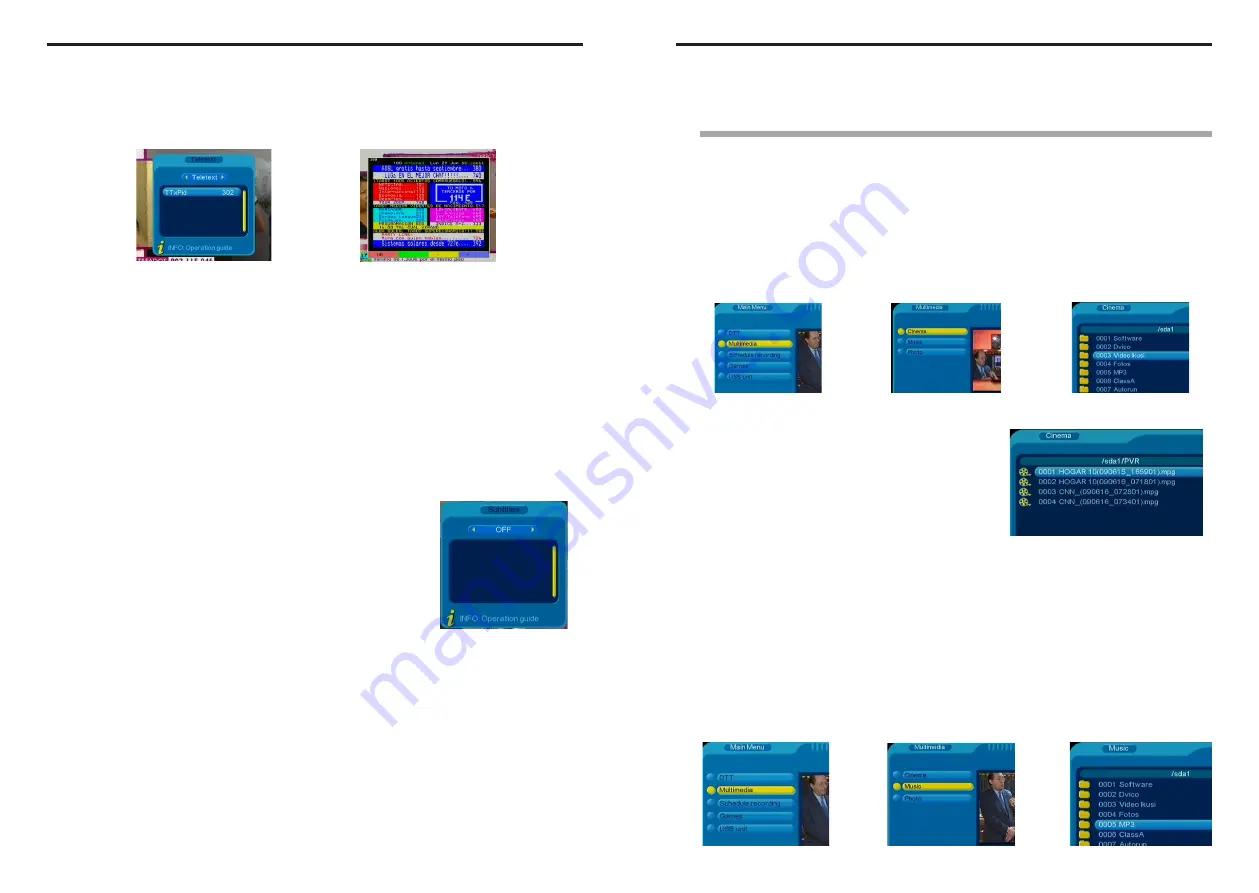
5.1 USB Cinema
Connect the external device to the USB port. With the main menu on screen, press
▲
/
▼
to highlight the
Multimedia
option and then press OK. The screen will change to the
Multimedia
menu. Select the
Cinema
option and press OK. The ‘Cinema’ screen will appear, displaying all of the folders and video files stored on
the external device :
▲▲▲▲▲
Use the buttons on the remote control to carry out the following operations :
- Press
▲
/
▼
to highlight the folder
- Press OK to open the highlighted folder
- Press EXIT to return to the previous folder
- Press
▲
/
▼
to select the video file
- Press OK to start playback of the video
- Press FFW to fast-forward (x2, x4, x8, x20, x1)
- Press FRW to rewind (x2, x4, x8, x20, x1)
- Press SLOW for slow-motion playback (1/2, 1/4, 1)
- Press Play/Pause to pause playback; press it again to continue
- Press PREV to play the previous video in the list; press NEXT to play the next one
- Press the yellow button to repeat playback of one or all of the files in the folder
- Press STOP to stop playback and return to the list of videos
- Press EXIT several times to return to the main menu.
5.2 USB Music
Connect the external device to the USB port. With the main menu on screen, press
▲
/
▼
to highlight the
Multimedia
option and then press OK. The screen will change to the
Multimedia
menu. Select the
Music
option and press OK. The ‘Music’ screen will appear, displaying all of the folders and audio files stored on
the external device :
▲▲▲▲▲
▲▲▲▲▲
▲▲▲▲▲
Multimedia


