iGage iG9 User Manual
43
Starting the Download Tool
You can start the download tool by clicking on the Download shortcut on your desktop:
Using the Download Tool
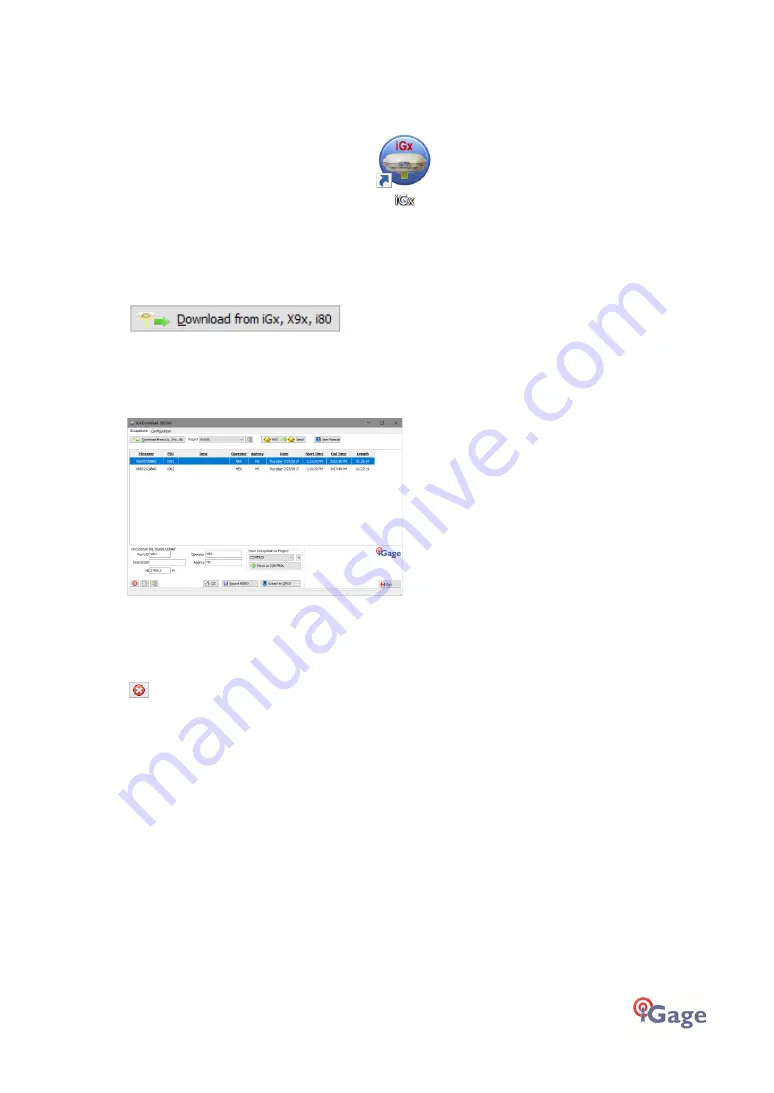
Assuming the iG9 GNSS receiver is plugged in and has mounted as a drive letter, just press the
'Download from iGx, X9x, i80' button:
The program will automatically switch to the '_New' project and download every new (not
previously downloaded) file from your receiver.
As the .HCN binary files are downloaded from the receiver they are automatically converted to
RINEX and added to the '_New' project and finally displayed in the occupation grid.
You can sort the grid by Filename, PID, Description, Operation, Agency, Start Date/Time, End
Date/Time and Length by clicking on the column headers. Clicking twice on the header will reverse
order the grid.
If you have any short or unneeded occupations, you can select and delete them:
<-
the ‘Delete Occupation’ button
For the remaining observations, enter the values you recorded in your field book:
PID (Point ID) A unique short identifier for each marker (usually a 4-digit integer.) Only
letters, numbers and the underscore are allowed in the PID.
Description
A longer description of the point. Note that quotes ‘“’ and “‘” are not allowed
in the description.
HI The Instrument Height which is the distance from the ground mark to the bottom of the
receiver:
add ‘
F
’ to enter feet
add ‘
S
’ to enter slant height
add ‘
SF
’ or ‘
FS
’ to enter slant feet height
Operator This value gets placed in exported RINEX files. By convention this is usually less
than 10 alphanumeric characters.
Agency This value gets placed in exported RINEX files. By convention this is usually less
than 6 characters. A current list of official contributors can be found with this online link:


