163
[Step I-i. When setting
“COMMAND INPUT MODE” to “ASCII”]
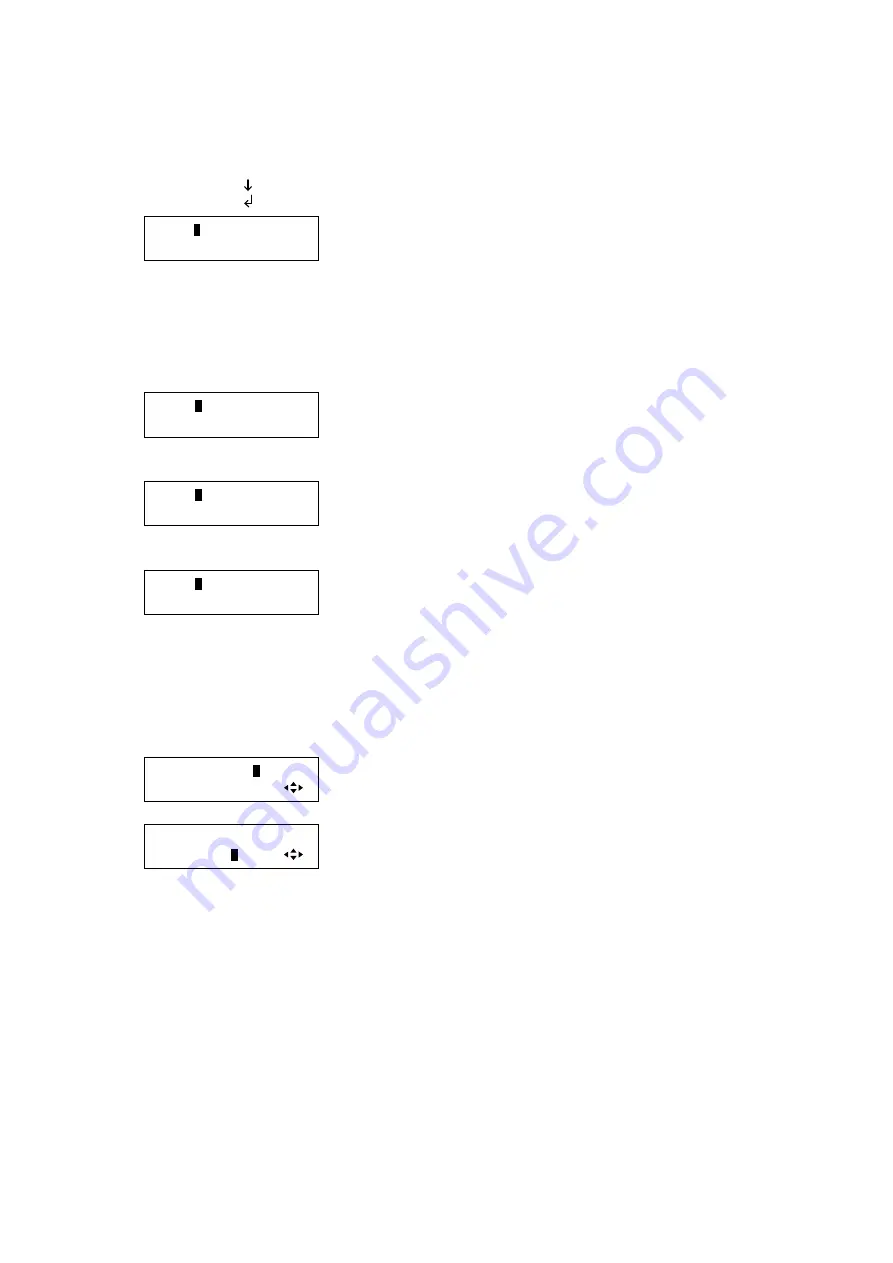
You can set 30 bytes in total on the front panel VFD screen. A (LF) and 0D (CR) are displayed as shown
below, and for 20 to 7D, codes corresponding to
” are displayed. If a code other than 0A, 0D,
20 to 7D is detected, an “=” symbol is displayed.
0A(LF) =
0D(CR) =
DATA:
1:
▲▼
keys: Set the command data; 1 to 15 bytes (upper row), 16 to 30
bytes (lower row) (0A, 0D, 20 to 7D of
”)
*2
◄►keys: Moves the cursor to the next data.
↓◄►keys
Go to step I-iii below.
[Step I-ii. When
setting “COMMAND INPUT MODE” to “HEX”]
10 bytes are displayed on a VFD screen (30 bytes in three VFD screen in total) in 00 to FF (Hex).
DATA:
2
0 20 20 20 20
1:20 20 20 20 20
▲▼
keys: Set the command data; 1st to 5th bytes (upper row), 6th to
10th bytes (lower row) (0 to F in Hex).
*2
◄►keys: Moves the cursor to the next number.
↓
◄►keys
DATA:
2
0 20 20 20 20
11:20 20 20 20 20
▲▼
keys: Set the command data; 11th to 15th bytes (upper row), 16th
to 20th bytes (lower row) (0 to F in Hex).
*2
◄►keys: Moves the cursor to the next number.
↓
◄►keys
DATA:
2
0 20 20 20 20
21:20 20 20 20 20
▲▼
keys: Set the command data; 21st to 25th bytes (upper row), 26th
to 30th bytes (lower row) (0 to F in Hex.)
*2
◄►keys: Moves the cursor to the next number.
↓
◄►keys
Go to step I-iii below
*2
The numbers at the lower left indicate the number of characters of the cursor position.
[Step I-iii. Whether to display received data or not]
RECV DISPLAY:
O
FF
▲▼
keys: Set whether to display the received data “RECV DISPLAY”
(OFF, ASCII, HEX).
↓
◄►keys
RECV DISPLAY:ASCII
DELIMITER:
N
ONE
▲▼
keys: Set whether to check delimiter (NONE, 00 to FF in hex).
*3
↓
◄►keys
If selecting “RECV DISPLAY” to “OFF”, set whether to check the reply command or not (Go to step I-iv).
If selecting “ASCII” or “HEX”, set “TIME OUT” (Go to step I-v)
*3
Displayed only if you select “ASCII” or “HEX”.
If you set “DELIMITER” to a value other than “NONE”, ASCII codes (text) will also be displayed in
parentheses along with hexadecimal. ASCII codes (text) are displayed the same as in step I-i.


