Part 2 - Configuration
54
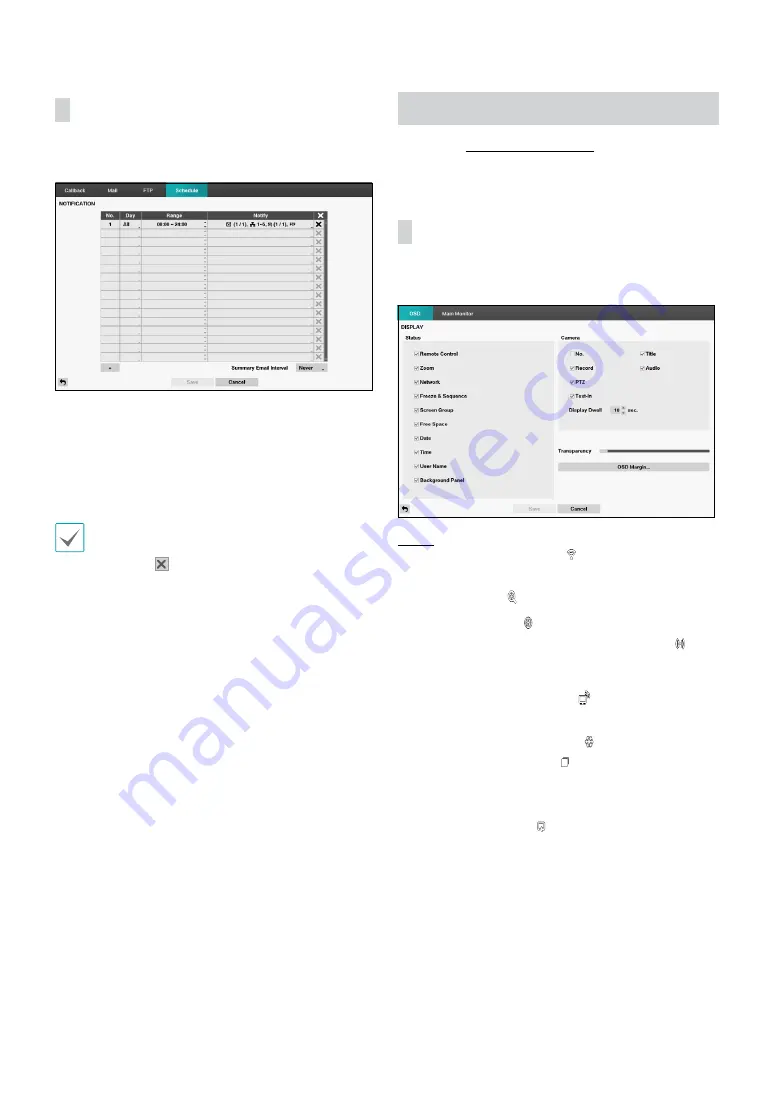
Schedule
Select the + icon at the lower left corner of the screen to
add a notification schedule.
•
Day
: Add different schedules for different days of the
week.
•
Range
: Change the event notification time frame.
•
Notify
: Select which notifications to generate when an
event occurs. Select
,
LAN 1 through 5
,
FTP,
Push,
and/or
Alert Window
.
•
In order to use the
Notification
(Callback) feature,
the DVR must be registered on the remote program.
•
Select the icon to delete the existing schedule.
•
Summary Email Interval
: Transmit event summary
emails to a remote destination at specified intervals.
Display Setup
Refer to the
for basic
information on using the Setup menus.
OSD
Show OSD (On Screen Display) information on the
bottom of the screen.
Status
•
Remote Control:
The icon
displays when the DVR
can be controlled by the infrared remote control.
•
Zoom:
The icon
displays on the enlarged video.
•
Network:
The icon
displays when the unit is
connected to a network via Ethernet. The icon
displays on each camera when audio communication
is available between the DVR and a PC running IDIS
Center via Ethernet. The icon
displays when VNC
service is running.
•
Freeze & Sequence:
The icon
displays while in
the Freeze mode, and the
displays while in the
Sequence mode.
•
Screen Group:
Displays the number of screen group.
•
Free Space:
The icon
displays when the DVR is in
the Recycle mode, and the percentage of available
storage space displays when the DVR is not in the
Recycle mode.
•
Date
and
Time
: Displays the date and time.
•
User Name:
Displays the name of the current user
logged in.
•
Background Panel:
Displays the background panel at
the bottom of the screen in translucent black.


