18
Part 2 - RAID Configuration
Introduction
This chapter explains how to use JMB39X HW RAID
Manager to configure RAID and monitor the status of the
disks connected on JMB39X hardware RAID controller.
Once JMB39X HW RAID Manager is started, the JMB39X
HW RAID Manager GUI window will be opened and the
application icon could also be found in the notification
tray located at the bottom right hand corner of the
screen.
When the user presses the
Basic Mode
button on the
right side of the GUI window, there are three buttons to
be chosen for navigating the corresponding basic pages.
Those basic pages are
RAID and Disk Information
page,
Event Log Viewer
page and
Basic RAID Configuration
page. Users could simply do basic RAID configuration
and browse all disks and RAID information as well as the
event logs in this basic mode.
<RAID and Disk Information>
<Event Log Viewer>
<Basic RAID Configuration>
Besides, there are some buttons appearing on the upper
part of the GUI window and they are provided for users
to minimize the window, close the window, turnoff the
buzzer (if the buzzer exists) and open the
About
window.
<Basic Mode>
Getting Started
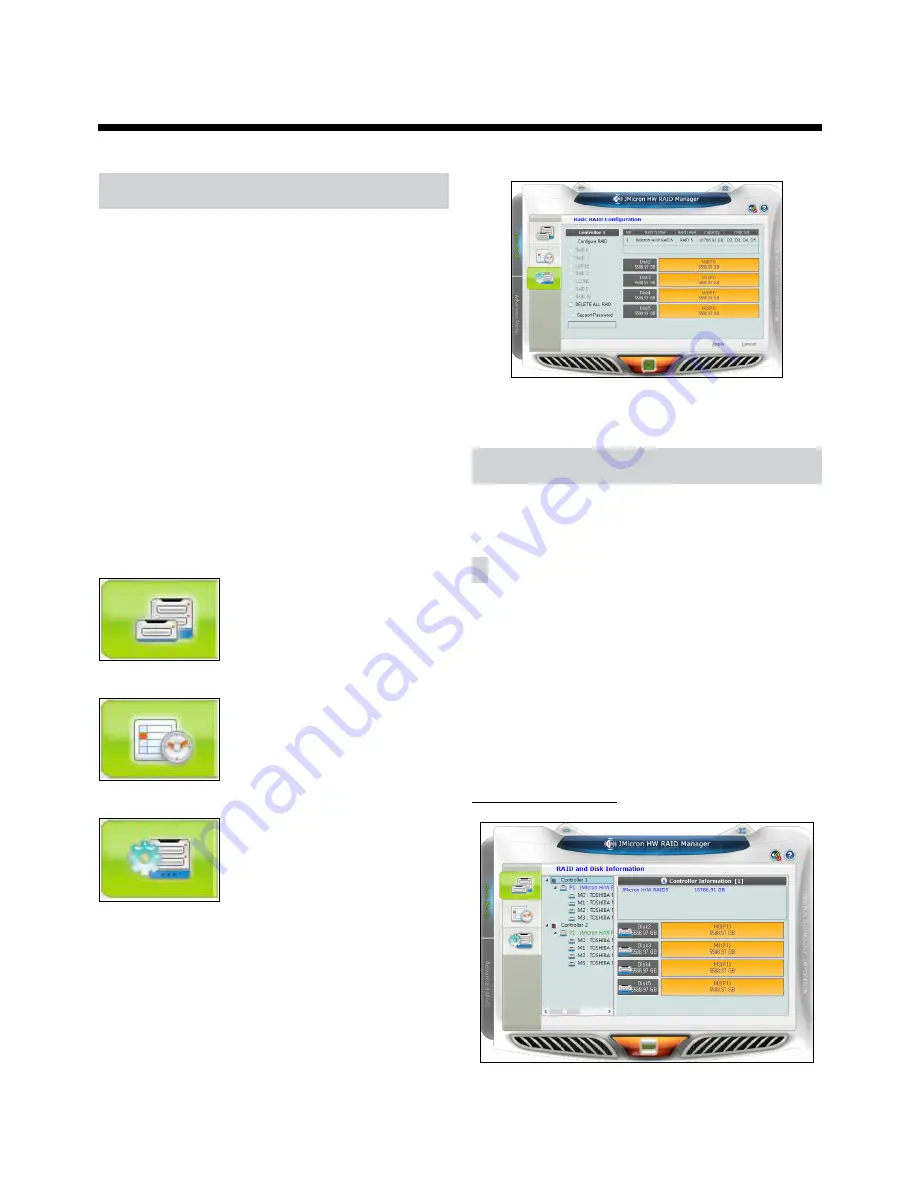
RAID and Disk Information
The left part is a tree which shows all controllers on
this platform and their connected RAID and disks in a
hierarchy view. When the user selects a tree item, the
detail information of the selected item will be displayed
in the right part. All the disk and RAID information will be
updated in real–time and users could monitor the status
easily.
Controller Information
Содержание IR-300
Страница 1: ...Network Video Recorder Installation Manual IR 300 Powered by...
Страница 12: ...Part 1 Introduction 12 Connections on the Front Panel Keyboard Flash Memory Mouse USB HDD...
Страница 13: ...Part 1 Introduction 13 Dimensions Unit mm 88 90 482 6 523 3 529 5 440...
Страница 25: ...IDIS Co Ltd For more information please visit at www idisglobal com...


