Part 1 – Introduction
15
Rear Panel Connections
Installing a device other than the compatible list does
not guarantee normal operation.
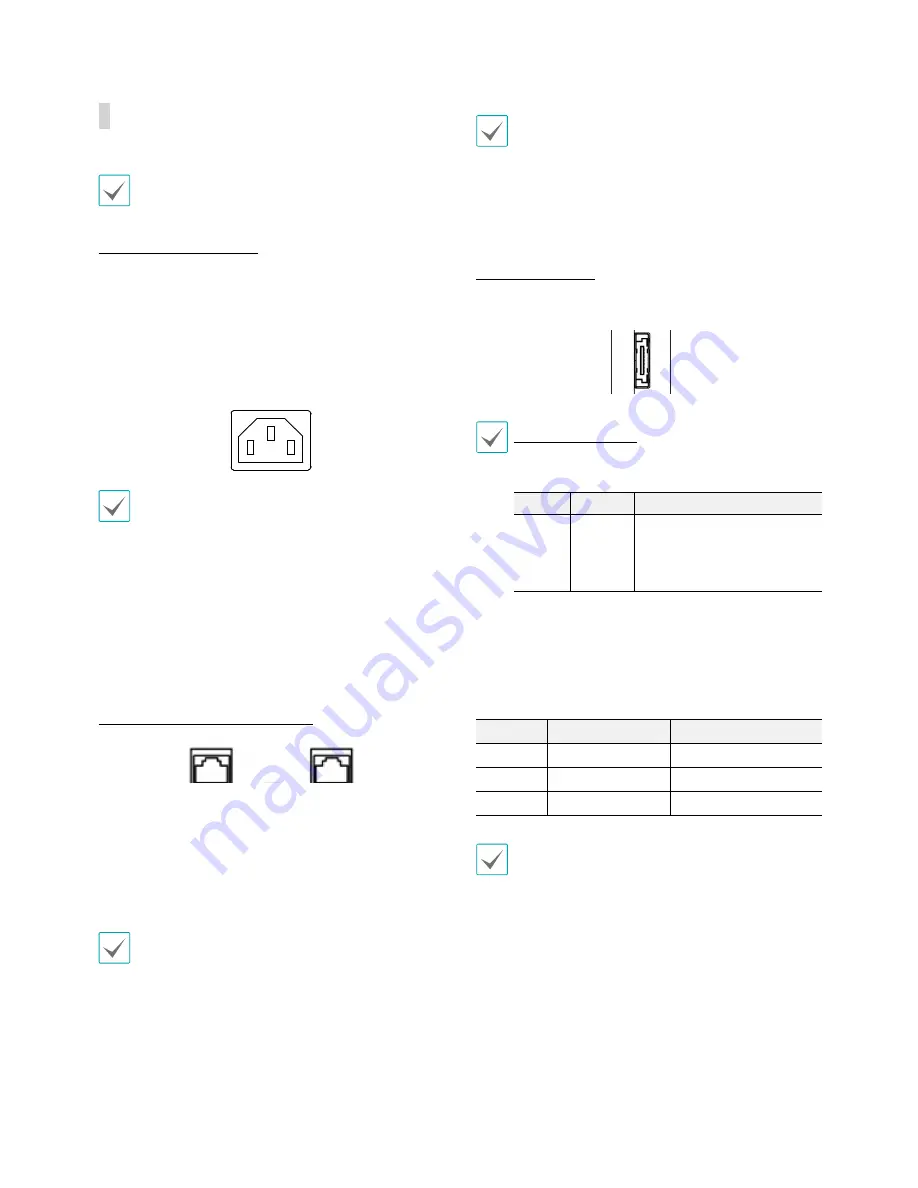
Power Cable Connection
Connect the power cable to this port. This NVR does not
feature a separate power on/off button and will turn on
the moment power is supplied.
Buzzer rings when a single power cable is connected,
and you can turn off the buzzer by pressing the Power
LED on the rear panel (2 power cable connection
recommended).
•
Organize the power cable so that it will not cause
people to trip over or become damaged from chairs,
cabinets, desks, and other objects in the vicinity. Do
not run the power cable underneath a rug or carpet.
•
The power cable is grounded. Do not modify the
power plug even if your power outlet does not have
a ground contact.
•
Do not connect multiple devices to a single power
outlet.
RJ-45 Video/Network Connection
Connect network cameras or video encoders to the NVR
using RJ-45 cable (Cat5, Cat5e, or Cat6). In addition to
cameras or video encoders, you can connect external
hubs (Optional: DH-2112PF, DH-2128PF, DH-2212PF) to
form a network. The NVR recognizes DirectIP™ network
cameras automatically.
•
Green LED on the right will turn on if connected to
a 1000 BASE-T network. Orange LED on the left will
then flash once a link has been established.
This NVR is capable of connecting to networks via an
ethernet connector. Connect an RJ-45 cable (Cat5,
Cat5e, or Cat6) to the NVR's network port.
•
Connector directions may vary depending on the
NVR model.
•
Green LED on the right will begin to flash if
connected a 1000 BASE-T network. Orange LED
on the left will then flash once a link has been
established.
eSATA Connection
Connect external hard drives to these ports.
eSATA Compatibility List
Some eSATA storage device and configuration do not
function properly except the following list.
Model
Company
Note
IDS1004
IDIS
•
Only the firmware version 0.961-
0506 is compatible.
•
Only the hard disk from the
below list is compatible for the
best performance.
Some hard disks may not function properly when mounted
on to this product. Refer to the compatibility chart below
before mounting any additional hard disk on to the product.
Hard disk compatibility chart is subject to change without
notice. Contact your retailer for the latest compatibility chart.
Storage
Manufacturer
Model
2TB
TOSHIBA
MC04ACA200E
4TB
TOSHIBA
MC04ACA400E
6TB
TOSHIBA
MC04ACA600E
Do not connect or disconnect an eSATA device while
the NVR is powered on. To connect an eSATA device,
first turn off the NVR and unplug the power cable.
Connect the eSATA device and then power the eSATA
device first and then NVR back on. To disconnect an
eSATA device, first turn off the NVR and unplug the
power cable. Turn off the eSATA device and then
disconnect the eSATA connection cable.
Содержание IR-300
Страница 1: ...Network Video Recorder Installation Manual IR 300 Powered by...
Страница 12: ...Part 1 Introduction 12 Connections on the Front Panel Keyboard Flash Memory Mouse USB HDD...
Страница 13: ...Part 1 Introduction 13 Dimensions Unit mm 88 90 482 6 523 3 529 5 440...
Страница 25: ...IDIS Co Ltd For more information please visit at www idisglobal com...


