Part 1 - Getting Started
11
Quick Wizard
1
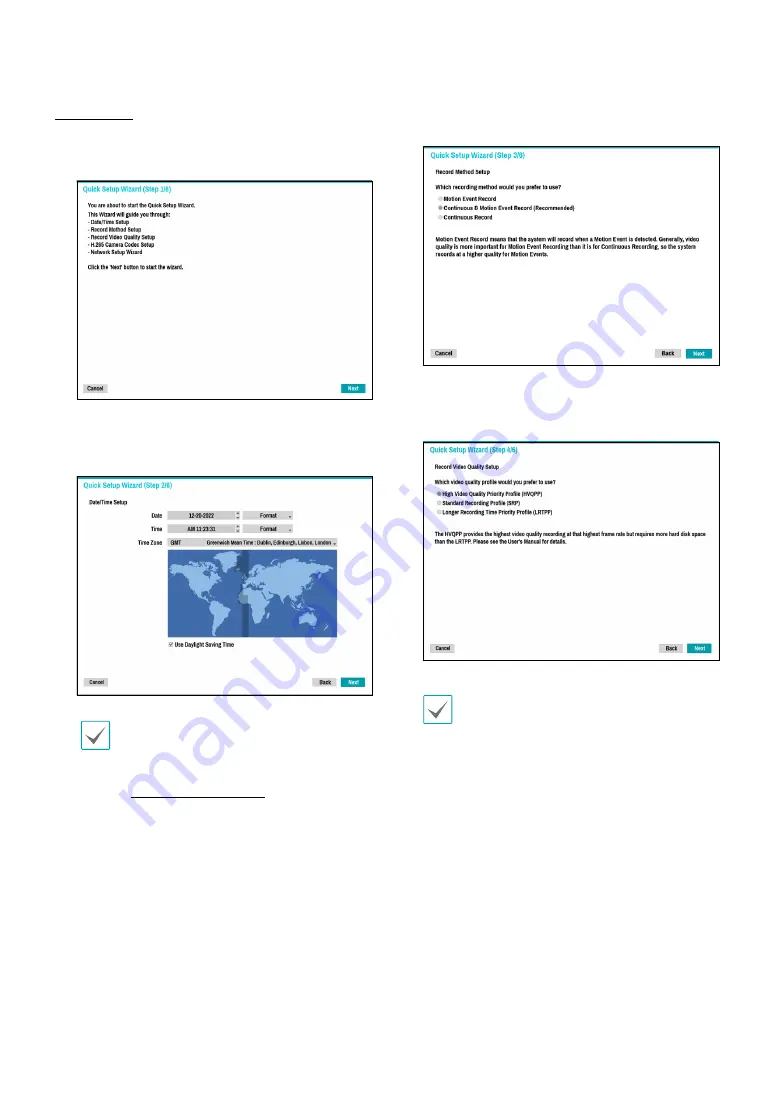
Select Quick Wizard.
2
Specify the current date and time and then click
Next
.
•
The new date and time settings will only be
applied after clicking
Next
.
•
For more information on date and time
settings, refer to the
Date/Time
section under
3
Choose the desired
Recording Method
and click
Next
.
4
Choose the desired
Recording Quality
and click
Next
.
•
Higher recording quality uses up more disk
space.
•
Recording resolution is determined based on
the selected recording quality.
–
High Video Quality Priority Profile
: Very
high
–
Standard Recording Profile
: High
–
Longer Recording Time Priority Profile
:
Standard


