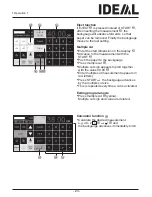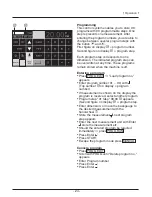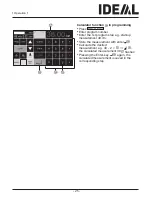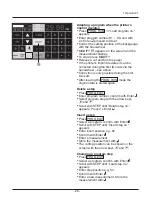
- 27 -
Y
X
Z
a
Q
R
T
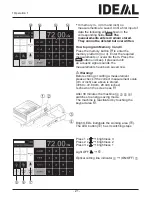
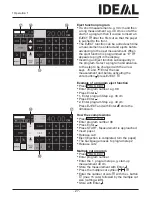
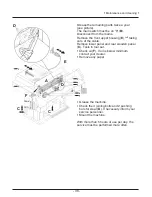
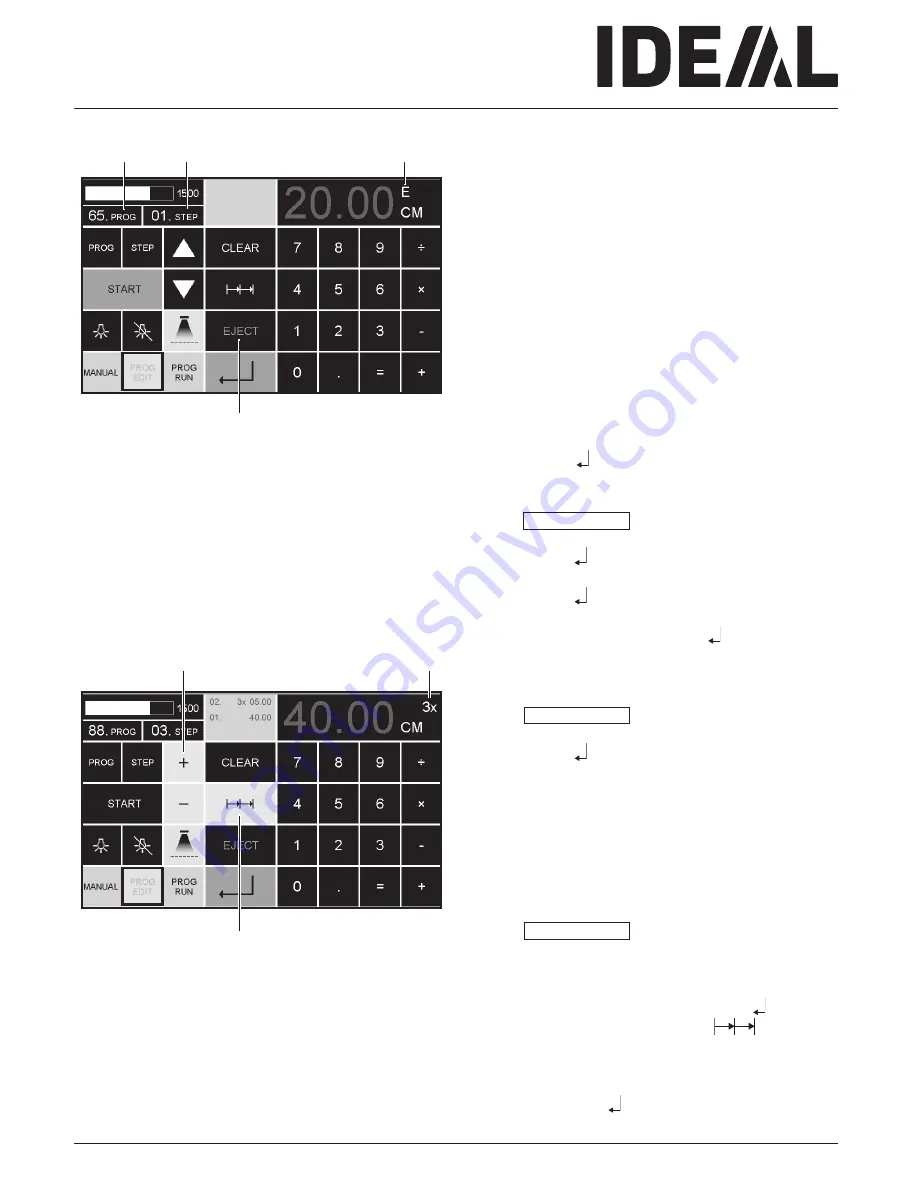
Eject function program
•
If a short measurement e.g. 30 cm and then
a long measurement e.g. 40 cm is cut at the
start of a program then it is wise to insert an
EJECT
X
after the first cut so that the paper
is pushed to the front.
•
The EJECT function can be added each time
a measurement is entered and ejects before
advancing to the next measurement. When
the eject function is programmed an "E"
X
appears top right in the display.
•
Inserting an Eject function subsequently in
the program. Select a program and advance
to the step to be changed with the arrow
keys
b
and
j
Enter the new
measurement and before activating the
enter button press EJECT
Y
.
Example of a program eject function
•
Press PROG EDIT
•
Enter program number e.g. 08
•
Press Enter
•
1. Enter program Step e.g. 30 cm
•
Press Enter
•
2. Enter program Step e.g. 40 cm
Press EJECT and with Enter
store the
dimension.
How the example works
•
Press PROG RUN
•
Enter program number 08
•
Press Enter ,
•
Press START, Measurement is approached
•
Insert paper
•
Release cut 1
•
Eject (Ejection is completed, turn the paper)
•
The backgauge moves to program step 2
•
Release cut 2
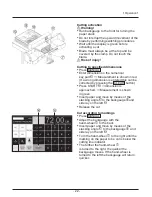
Multiple cut program
•
Press PROG EDIT
•
Enter program number
•
Enter the 1. program step e.g. start-up
measurement 40 cm
•
Store the measurement with Enter
•
Press the multiple cut symbol
T
•
Enter the number of cuts
Z
with the + button
a
(max. 15 cuts) followed by the multiple cut
size (cutting width).
•
Store with Enter .
•
Operation
•

