ideal-tek TEK-SCOPE Скачать руководство пользователя страница 5

www.ideal-tek.com

Switzerland

5

TEK-SCOPE live streaming

Live streaming on TEK-SCOPE is only possible with a unique connection to a Monitor or to a PC.
The Device cannot work properly if connected to a PC and a Monitor at the same time.

How to set your monitor

1. To pair TEK-SCOPE with the screen you are using: press 

MODE

 button on the remote for a couple of seconds 

to get into the menu.

Service – Camera – Camera resolution

 – Choose 

AUTO DETECT

2. To turn on the on-screen magnification display:

Press 

MODE

 button on the remote for a couple of seconds to get into the menu.

User – Zoom OSD Function 

– Choose 

ON

Your system is now paired with your screen and the magnification is shown on the screen.

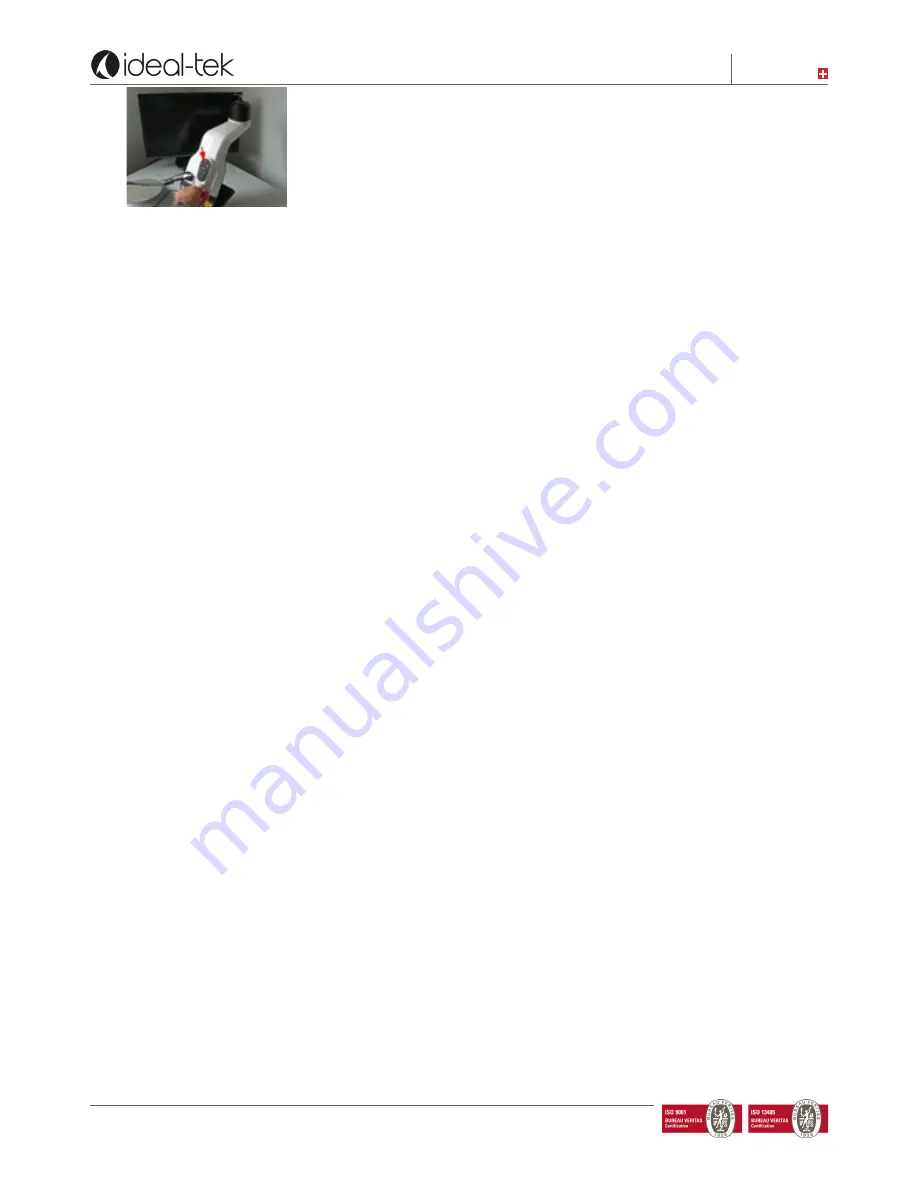
If you are using a Tilt table or any higher object, you should replace the lens to a +4 lens.
You can do it using the removal tool. Clean the lens before using the system to avoid fingerprints etc. Notice that 
you also need to change the lens settings in the TEK-SCOPE menu.

Press 

MODE

 button on the remote for a couple of seconds to get into the menu.

User – lens 

– Change to 

+4

 or 

+3

 by using the 

34

 buttons on the remote.


Содержание TEK-SCOPE

Страница 1: ...www ideal tek com Switzerland 1 1 TEK SCOPE User Manual Ver 1 0...

Страница 2: ...5 Use with a PC 6 TEK SCOPE software 6 Toolbar 6 System set up 7 Measuring 7 Calibration 7 Favorite calibrations 8 Save drawings 8 Change colors 8 Angle 8 Diameter 8 Lens 8 Save images as sequential...

Страница 3: ...HDMI Dvi Computer cable USB USB mini TEK SCOPE Software and manual on USB memory stick 1 Use with a monitor Place the camera unit on the desired stable location Position optional XY table or the tilt...

Страница 4: ...cation Press MODE for 5 seconds and a menu will appear with more choices user or service Press OK for more option and settings Language Camera Resolution Brightness Contrast etc FUNC changes between c...

Страница 5: ...on the on screen magnification display Press MODE button on the remote for a couple of seconds to get into the menu User Zoom OSD Function Choose ON Your system is now paired with your screen and the...

Страница 6: ...s devides the monitor in 4 parts IR CUT change to greyscale it helps camera if used with IR light STOP turns off digital Zoom DRAW MEASURE to activate text drawing and measuring functions buttons on t...

Страница 7: ...CTED TO THE PC BUT USE THE SOFTWARE TOOLBAR Press the draw button Press LB Left button on your mouse select the horizontal or vertical button and click the starting point Then go to the second measuri...

Страница 8: ...gle vs the horizontal Option 2 right click and select angle vs line Diameter Default Option 1 click the circle button and click two points of the round subject A circle will show diameter and radius O...

Страница 9: ...by right click in the live image Image Sequential image name will be Noname_1 and added to the index of every saved image Example NoName_1 Noname_2 Noname_3 Set name for Image Sequential choose the n...

Страница 10: ...der A 3part encoder needs to be installed onto the PC Available on the installation under folder encoder Run the setup Then go to Encode settings program Xvid Verify that there is a folder named Focus...

Страница 11: ...e 4D lens is included to replace standard TEK SCOPE lens Diameter 220 mm Height 50 mm TEK XY Inspection table Portable XY ESD safe table for easy control of magnified object Horizontal Movement 190mm...

Страница 12: ...TEK DBOX RED LED Recording Snapshot OUT Connect your USB flash drive or SD card To control TEK DBOX use the remote control 1 Click on HDMI button to select HDMI output the Green LED goes ON and steady...

Страница 13: ...INFORMATION Never connect the product if it has been exposed to moisture Avoid pinching power cord If the product is moved from cold to warm condensation may occur Wait about 30 minutes before using t...

Отзывы: