72
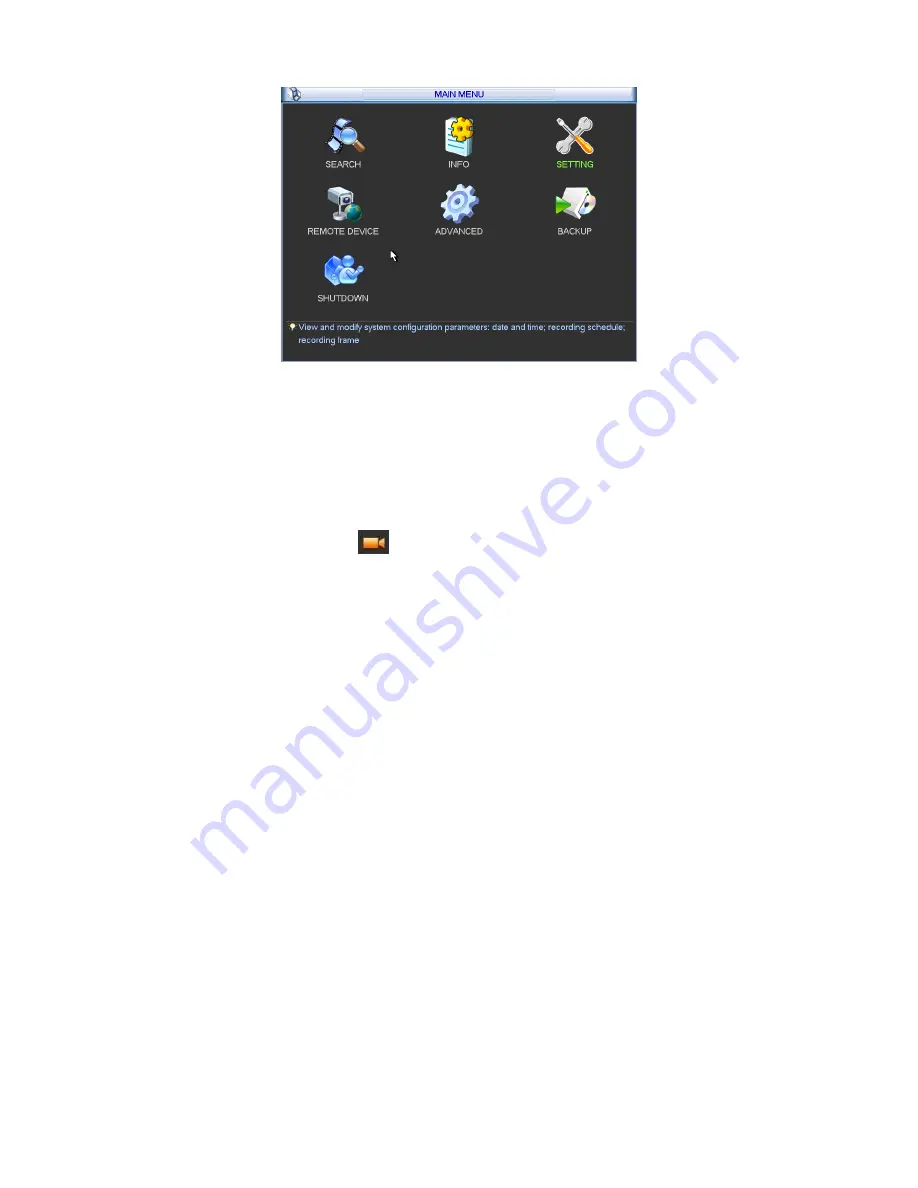
Figure 4-76
The remote device interface is shown as in Figure 4-77.
z
IP search: Click it to search IP address.
z
Add: Click it to connect to the selected device and add it to the Added device list. Support
Batch add.
z
Show filter: You can use it to display the specified devices from the added device.
z
IPC config: Double click the
on the IPC config column, you can go to the IPC setup
interface. See Figure 4-78.
Gain mode: It is to set video noise. Check Auto, system automatically sets video gain.
Check Manual, you can set gain threshold, brightness and etc.
Gain threshold: Here is for you to set gain value. The different series product has
different default values. The lower the value is, the lower the noise is. But the video
brightness may become too dark under the low illumination. If the value is high, it can
enhance the video brightness under the low illumination, but the video noise may
become high.
BLC: Check the box here to enable backlight compensation function. System can
automatically expose according to environment so that you can view the darkest section
of the video.
Day/Night mode: Here is to set video color or black and white mode.
a) Color: Camera only outputs color video.
b) Auto: Camera auto selects color or black and white video according to device feature
(Video whole brightness or there is any IR light or not.).
c) Black and white: Camera only outputs black and white video.
Exposure
mode:
a) Auto: The video whole brightness can adjust automatically within the normal
exposure threshold according to different environments. The lower the gain value is,
the smaller the noise is.
b) Manual: It is to display manual exposure value.
z
Delete: Please select one device in the Added device list and then click it to remove.
z
Manual add: Click it to add the IPC manually. The port number is 37777. The default user
name is
admin
and password is
admin
.
Содержание NVR4i Series
Страница 1: ...ICRealtime Network Video Recorder User s Manual V 3 1 0 ...
Страница 16: ...7 Weight 5 5 6 5 KG Exclude HDD Installation Desk installation ...
Страница 49: ...40 Figure 4 21 Figure 4 22 Figure 4 23 Figure 4 24 ...
Страница 51: ...42 Please highlight icon to select the corresponding function Figure 4 26 Figure 4 27 Figure 4 28 ...
Страница 71: ...62 Figure 4 55 Figure 4 56 Figure 4 57 ...
Страница 95: ...86 Figure 4 100 ...
Страница 129: ...120 signal which meets the senility standard that is previously set See Figure 6 42 ...
Страница 162: ...153 Teclast Ti Cool 512M Teclast Ti Cool 1G Teclast Ti Cool 2G ...


