Torus 126, 380 and 500 Operator Manual
Rev AB
Variable Information 5-5
4
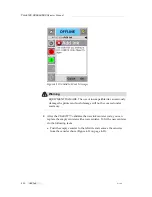
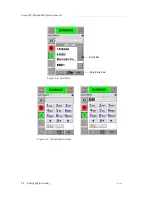
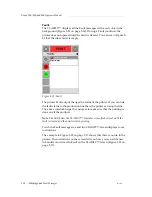
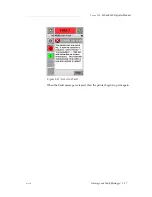
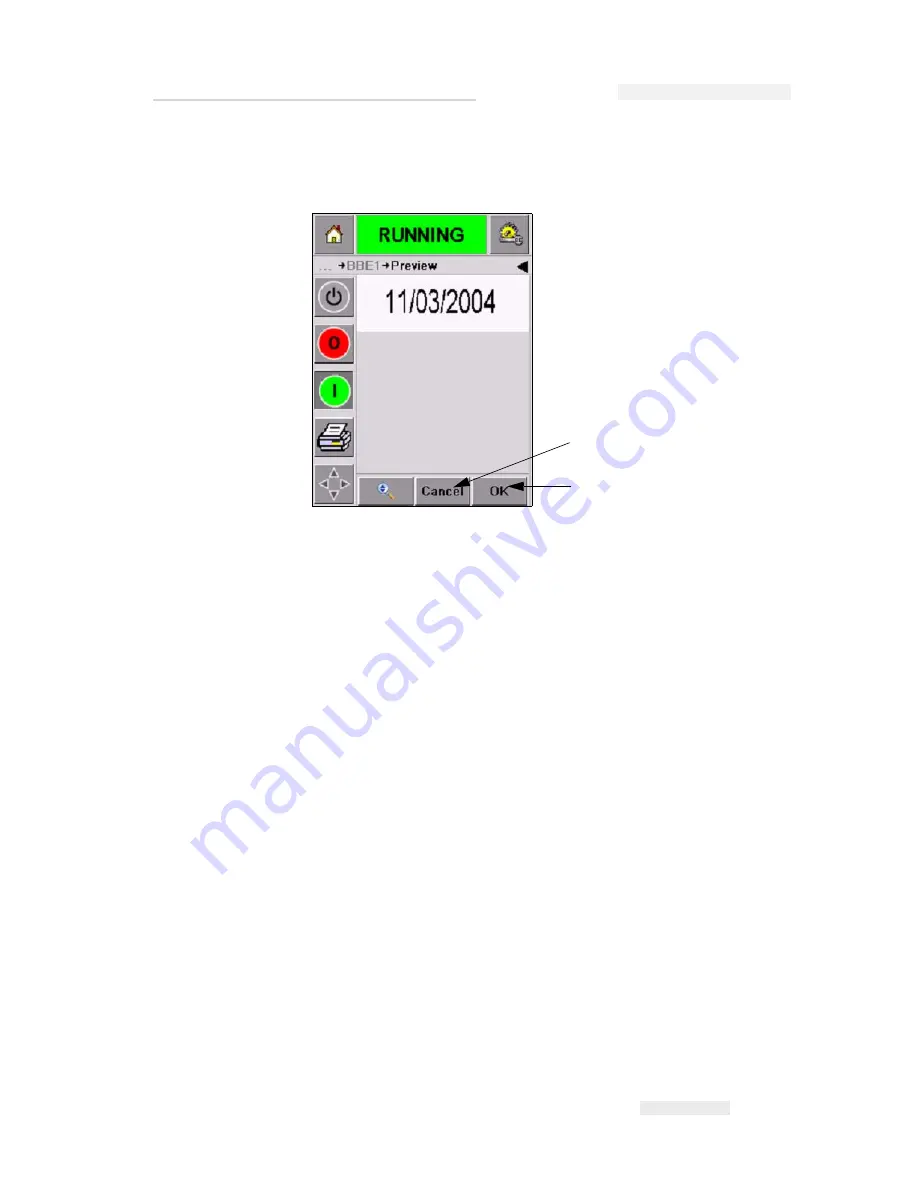
When you select the required job, the CLARiTY™ displays a print
preview of the selected job (Figure 5-6).
5
Touch the
OK
icon after the information displayed is correct (Figure 5-
6). The printer starts printing the job.
6
If your job contains variable information, refer to “How to Change
Variable Information” on page 5-6 for more information.
Variable Information
Introduction
If there are
Job Variables
(variable information fields) like a Batch Code on
the selected Job, CLARiTY™ prompts to edit or enter these fields.
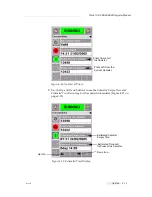
If there are any variable TEXT fields, CLARiTY™ displays them first.
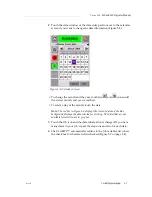
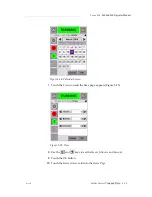
The check box at the side of variable fields indicates the fields that are
entered and fields that are not entered (Figure 5-7 on page 5-6).
A checkmark is added to the check box as you edit or enter the data in the
CLARiTY™. When all the boxes have a checkmark, you can continue to
the next step.
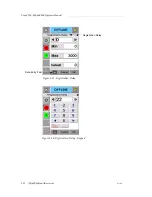
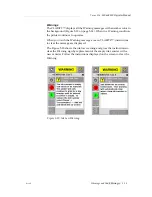
To select the Job variable you require to change, touch the related prompt.
This variable gets highlighted and display the default data in the data
window (Figure 5-7 on page 5-6).
Figure 5-6: Job Preview
Cancel
OK


