Connecting
the
power
cords
__
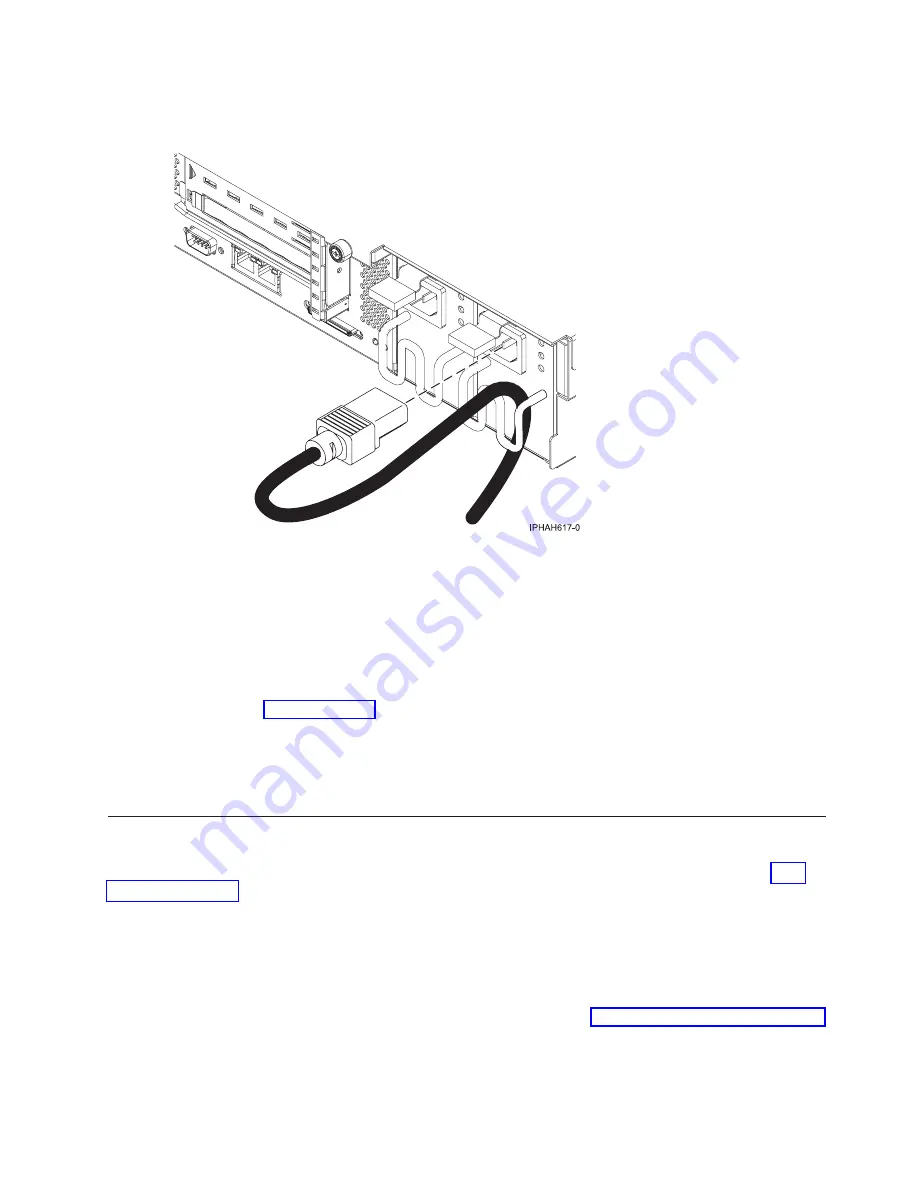
If
your
workstation
is
equipped
with
a
retention
bracket,
route
the
power
cord
under
the
bracket
before
you
plug
it
into
the
back
of
the
workstation.
See
the
following
figure
as
an
example:
__
Plug
the
power
cords
into
the
system,
display,
and
attached
devices.
Do
not
connect
the
power
cords
to
a
power
source
until
instructed
to
do
so.
Note:
If
you
connect
your
workstation
to
a
power
source
before
the
HMC
is
configured
as
the
DHCP
server,
the
workstation
will
initialize
using
the
default
IP
address
values
(HMC1
as
192.168.2.147
and
HMC2
as
192.168.3.147)
instead
of
waiting
for
an
address
value
from
the
HMC.
If
you
inadvertently
connect
your
workstation
to
a
power
source,
the
IP
address
value
will
be
corrected
in
the
HMC
configuration
portion
of
the
installation.
Connecting
the
Hardware
Management
Console
cables
__
Cable
the
HMC
(see
After
you
finish
_
Return
to
your
initial
setup
checklist
and
complete
the
next
step.
Cabling
your
model
9406-520
with
a
console
For
a
graphical
representation
of
the
slots
and
connectors
that
are
referred
to
in
this
topic,
see
the
Cabling
a
model
9406-520
and
an
ASMI
console
Complete
the
following
tasks
to
cable
your
server:
Before
you
begin
__
If
you
have
hardware
features
that
are
not
installed,
install
them
now.
See
for
instructions.
Cabling
your
server
81
Содержание System p Series
Страница 1: ...System i and System p Cabling your server ...
Страница 2: ......
Страница 3: ...System i and System p Cabling your server ...
Страница 6: ...iv System i and System p Cabling your server ...
Страница 173: ...Figure 8 Back views of a model 9405 520 or 9406 520 with the integrated HSL RIO ports T3 T4 Cabling your server 167 ...
Страница 181: ...Figure 19 Back views of a model 9111 520 server with the integrated HSL RIO ports T3 T4 Cabling your server 175 ...
Страница 193: ......
Страница 194: ... Printed in USA ...


