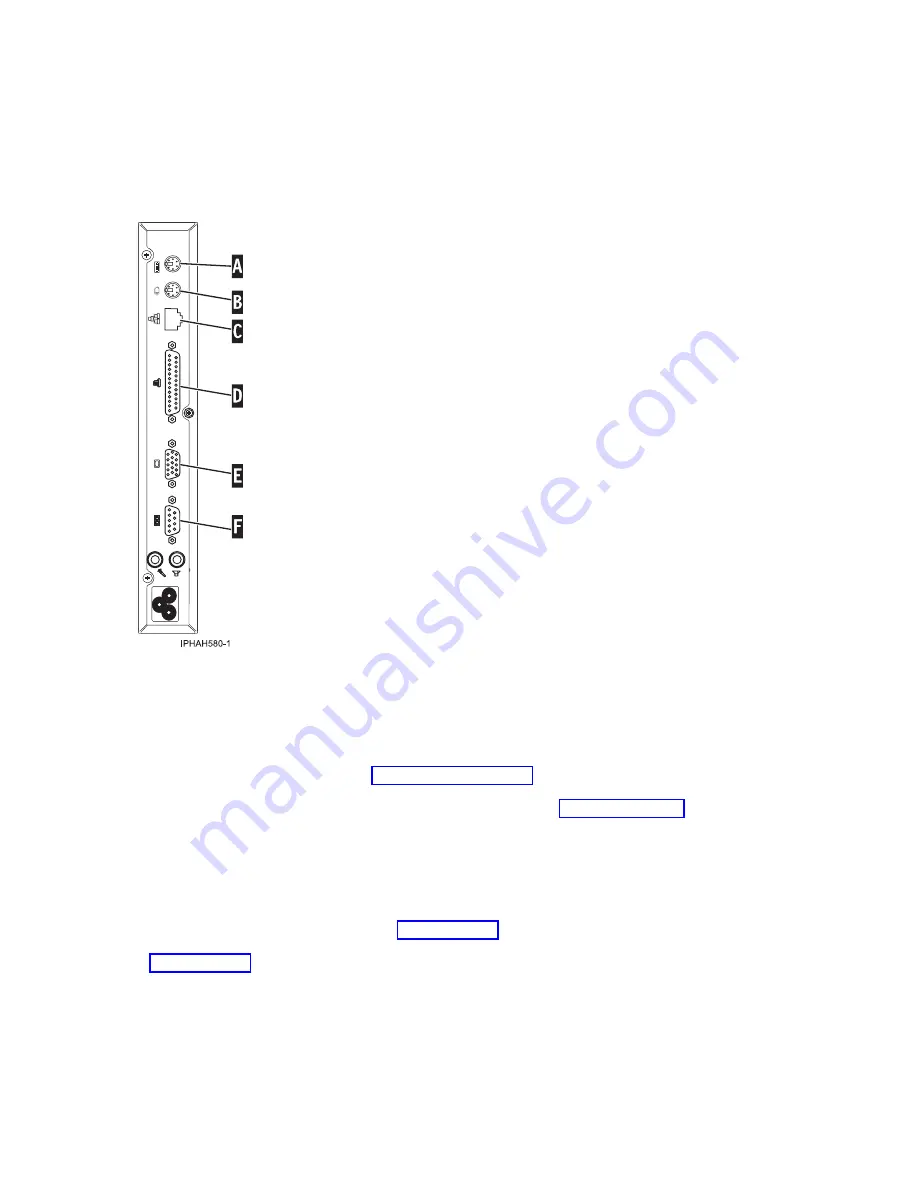
Connecting
the
Thin
Console
__
Connect
the
other
end
of
the
Ethernet
cable
directly
to
the
HMC
port
(either
HMC
1
or
HMC
2)
on
the
server.
Connections
and
ports
are
labeled
to
facilitate
the
setup
process.
Notes:
v
You
cannot
attach
any
other
console
device
to
the
remaining
HMC
port.
v
If
you
are
connecting
the
Thin
Console
to
an
existing
server,
the
DST
Sign-on
window
might
display.
Figure
6.
Back
view
of
a
Thin
Console
for
System
i5
Connecting
the
electronic
customer
support
cable
(optional)
Electronic
customer
support
helps
automate
management
of
your
server
and
streamline
your
support.
Use
the
IBM
eServer
Technical
Support
Advantage
information
that
is
included
with
your
server
to
learn
about
electronic
customer
support
or
see
the
Web
site
(www-1.ibm.com/servers/eserver/
support/iseries/index.html).
You
can
configure
electronic
customer
support
by
using
the
iSeries
Setup
and
Operations
CD
that
came
with
your
server.
For
more
information,
see
__
Connect
a
telephone
cable
to
the
RJ11
connector
of
the
adapter
into
position
C3.
__
Connect
the
other
end
of
the
telephone
cable
to
an
analog
telephone
jack.
Cabling
the
expansion
units
__
Do
you
have
an
expansion
unit?
v
Yes.
To
set
up
your
expansion
unit,
see
Note:
Do
not
plug
the
expansion-unit
power
cord
into
the
power
outlet,
as
directed
by
the
directions
in
until
later
in
this
checklist
v
No.
Proceed
to
the
next
section,
Attaching
devices
using
the
system
ports.
Cabling
your
server
113
Содержание System p Series
Страница 1: ...System i and System p Cabling your server ...
Страница 2: ......
Страница 3: ...System i and System p Cabling your server ...
Страница 6: ...iv System i and System p Cabling your server ...
Страница 173: ...Figure 8 Back views of a model 9405 520 or 9406 520 with the integrated HSL RIO ports T3 T4 Cabling your server 167 ...
Страница 181: ...Figure 19 Back views of a model 9111 520 server with the integrated HSL RIO ports T3 T4 Cabling your server 175 ...
Страница 193: ......
Страница 194: ... Printed in USA ...


