4.
Hold the drive by the top and bottom edges as you position the drive, and insert it into the drive slot.
5.
Slide the drive all the way into the system, and push the drive bay handle (A) in until it locks. See
Figure 24 on page 18.
Important:
Ensure that the drive is fully seated and is all the way into the system.
Installing a disk drive in the 8335-GCA or 8335-GTA system with the
power turned on
Learn how to install a disk drive in an IBM Power System S822LC (8335-GCA and 8335-GTA) system
with the system power turned on.
Installing a disk drive in the 8335-GCA or 8335-GTA system with the power turned
on
Follow these steps to install a disk drive in the IBM Power System S822LC (8335-GCA and 8335-GTA)
system.
Procedure
1.
Ensure that you have the electrostatic discharge (ESD) wrist strap attached. If not, attach it now.
2.
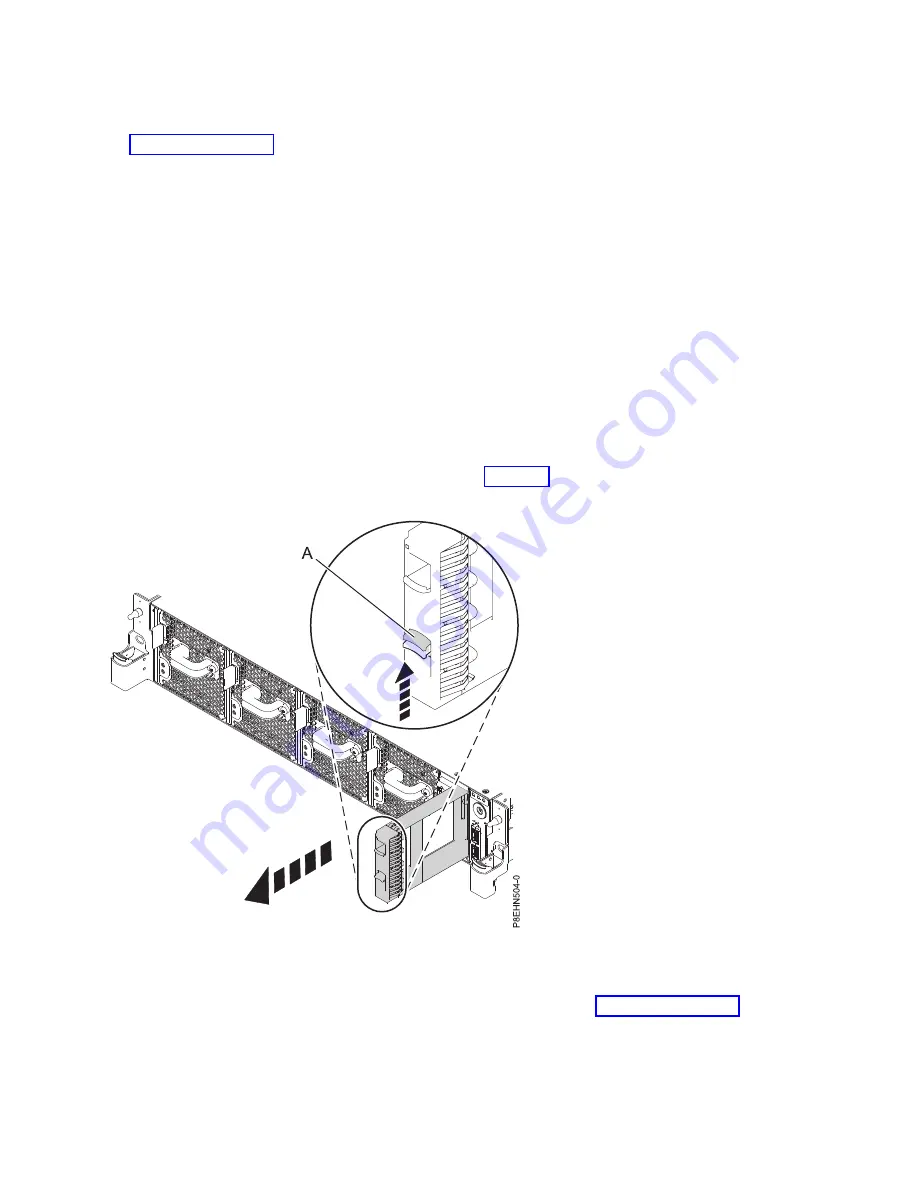
If the slot you want to use contains a drive filler, remove the drive filler from the slot.
a.
Push the lock (A) on the handle of the filler. See Figure 25.
b.
Hold the handle and pull out the filler from the slot.
3.
Lock the drive bay handle (A) by pushing in the handle release. See Figure 26 on page 20.
Figure 25. Removing a disk drive filler from a system.
Installing and configuring system features
19
Содержание S822LC
Страница 2: ......
Страница 16: ...xiv Installing the System and Ordered Parts for the 8335 GCA or 8335 GTA...
Страница 104: ...88 Installing the System and Ordered Parts for the 8335 GCA or 8335 GTA...
Страница 122: ...106 Installing the System and Ordered Parts for the 8335 GCA or 8335 GTA...
Страница 125: ...Figure 78 Connecting the power cord to the power supply Power supplies 109...
Страница 126: ...110 Installing the System and Ordered Parts for the 8335 GCA or 8335 GTA...
Страница 138: ...122 Installing the System and Ordered Parts for the 8335 GCA or 8335 GTA...
Страница 139: ......
Страница 140: ...IBM Printed in USA...


