v
The rail installation can be completed by one person. However, the installation is easier if one
person is positioned at the front of the rack and one person is positioned at the rear of the rack.
d.
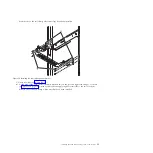
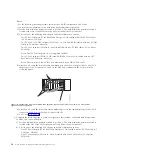
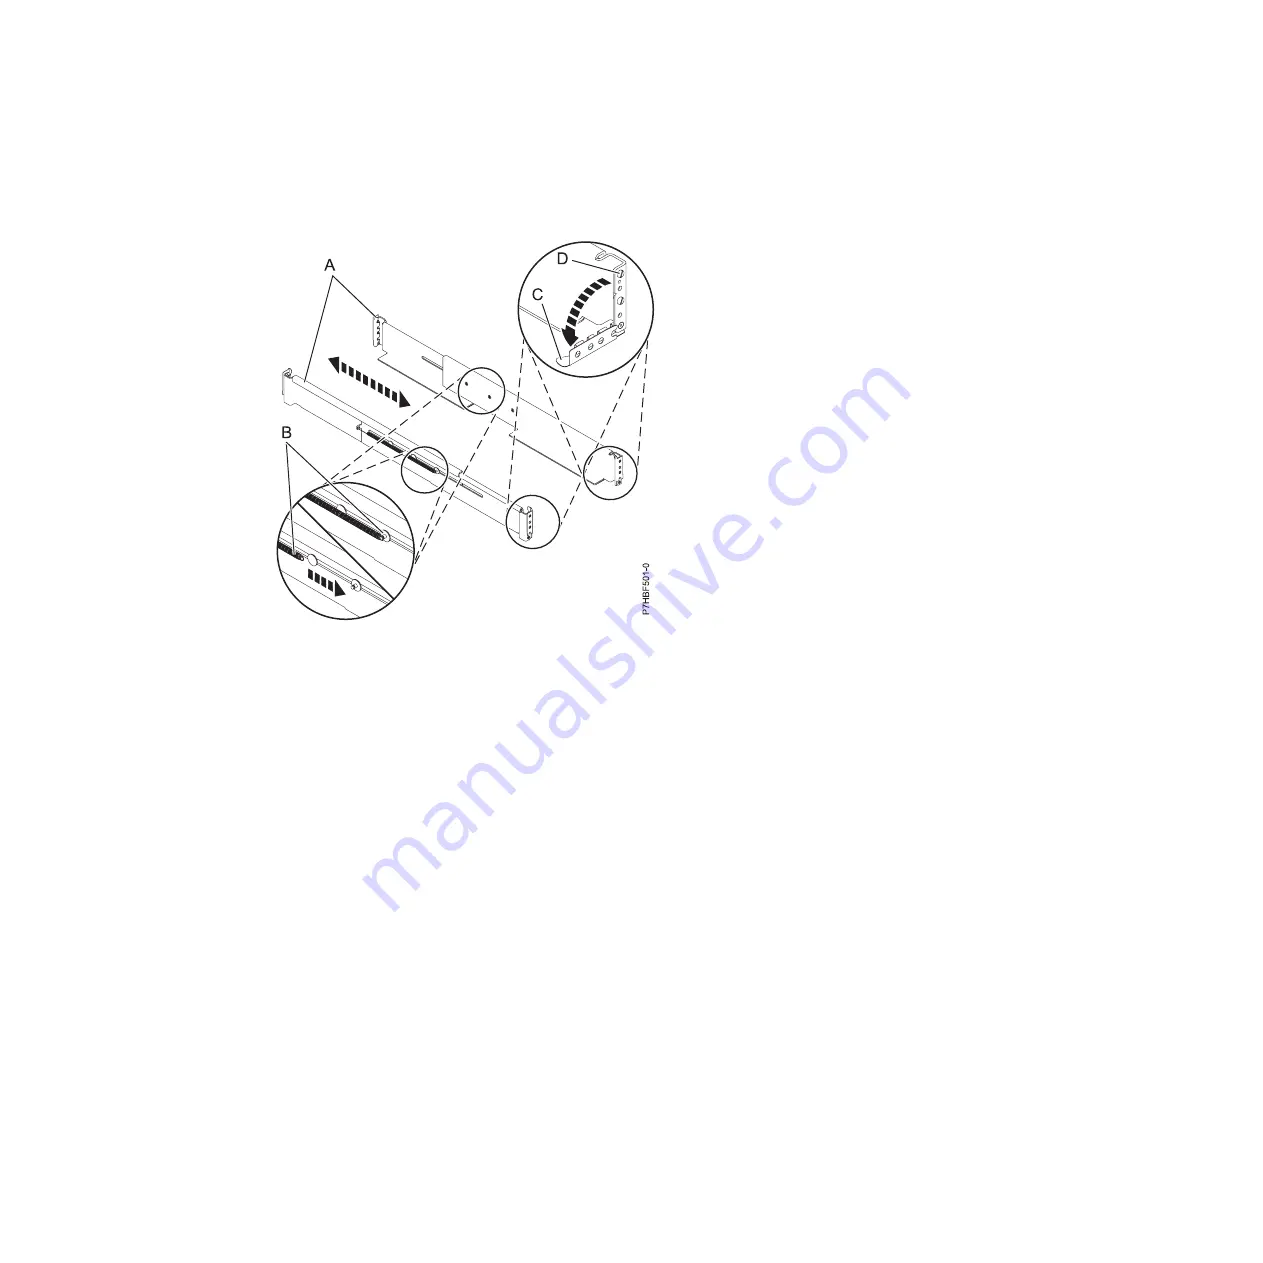
Extend the left rail and insert the rail pins
(D)
into the two lowest mounting holes marked on the
rack. Rotate up the front clamp
(C)
to secure the rail in place.
e.
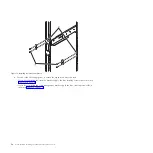
Move to the rear of the rack, extend the right rail, and insert the rail pins
(D)
into the two lowest
mounting holes marked on the rack. Rotate up the back clamp
(C)
to secure the rail in place.
f.
Extend the left rail and insert the rail pins
(D)
into the two lowest mounting holes marked on the
rack. Rotate up the back clamp
(C)
to secure the rail in place.
g.
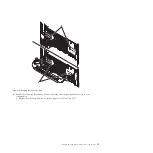
At the rear of the rack, use two M5 screws
(E)
, one below each rail pin
(D)
, to secure the left rail
to the back of the rack.
h.
Use two M5 screws
(E)
, one below each rail pin
(D)
, to secure the right rail to the back of the rack.
i.
Move to the front of the rack. Use one M5 screw
(E)
below the top rail pin to secure the left rail to
the front of the rack.
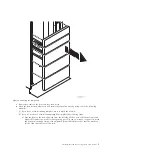
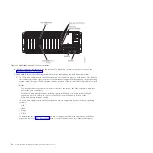
Figure 4. Installing the rails
Installing the 5802 and 5877 expansion units: Details
7
Содержание Power System 5802
Страница 1: ...Power Systems Installing the 5802 and 5877 expansion units GI11 4307 09...
Страница 2: ......
Страница 3: ...Power Systems Installing the 5802 and 5877 expansion units GI11 4307 09...
Страница 6: ...iv Power Systems Installing the 5802 and 5877 expansion units...
Страница 38: ...26 Power Systems Installing the 5802 and 5877 expansion units...
Страница 52: ...40 Power Systems Installing the 5802 and 5877 expansion units...
Страница 62: ...50 Power Systems Installing the 5802 and 5877 expansion units...
Страница 63: ......
Страница 64: ...Part Number 00L5079 Printed in USA GI11 4307 09 1P P N 00L5079...


