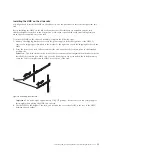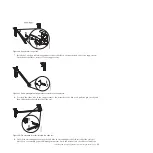
7.
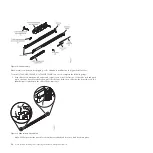
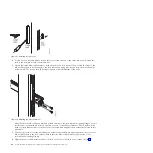
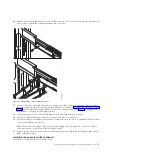
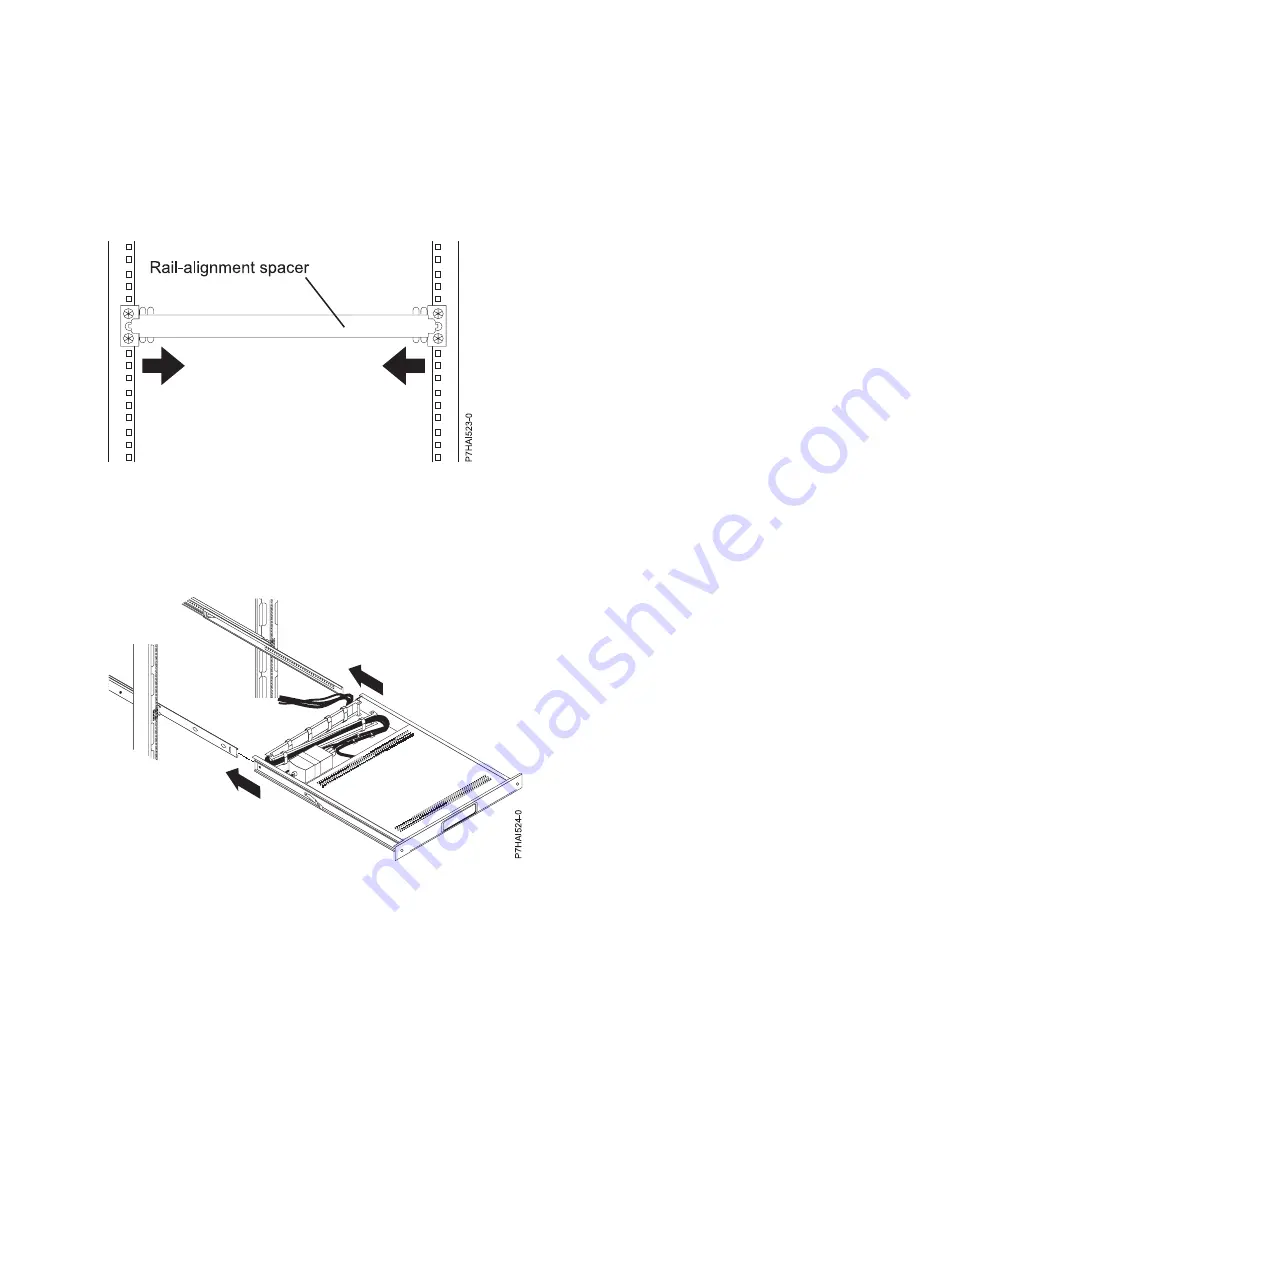
Insert the rail-alignment spacer into the slide-rail middle holes. Ensure that the rail-alignment spacer
wraps around the rails. Tighten the front four screws and then, remove the spacer.
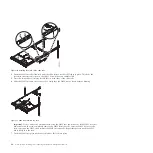
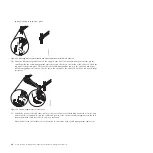
8.
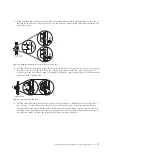
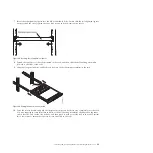
Extend the inner part of the rails mounted in the rack, and then, slide the ball-bearing assemblies
forward to the front of the rails.
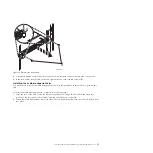
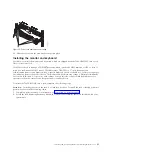
9.
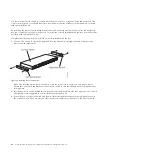
Slide the flat-panel monitor and keyboard tray into the ball-bearing assemblies in the rails.
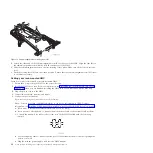
10.
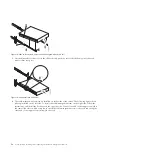
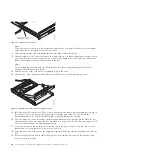
Press the release latches and push the flat-panel monitor and keyboard tray completely into the rack.
You may experience some resistance initially, as the ball-bearing assemblies align between the inner
and outer rails. Pull out the tray halfway, and then, push it back to seat the tray in the rails. Perform
this a few times to ensure that the tray moves smoothly in the rails.
Figure 29. Inserting the rail-adjustment spacer
Figure 30. Sliding the monitor and keyboard
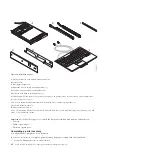
Installing and configuring the Hardware Management Console
45
Содержание Hardware Management Console
Страница 1: ...Power Systems Installing and configuring the Hardware Management Console...
Страница 2: ......
Страница 3: ...Power Systems Installing and configuring the Hardware Management Console...
Страница 8: ...vi Power Systems Installing and configuring the Hardware Management Console...
Страница 107: ......
Страница 108: ...Printed in USA...

