Chapter 5. Installing options
55
Fan assembly replacement
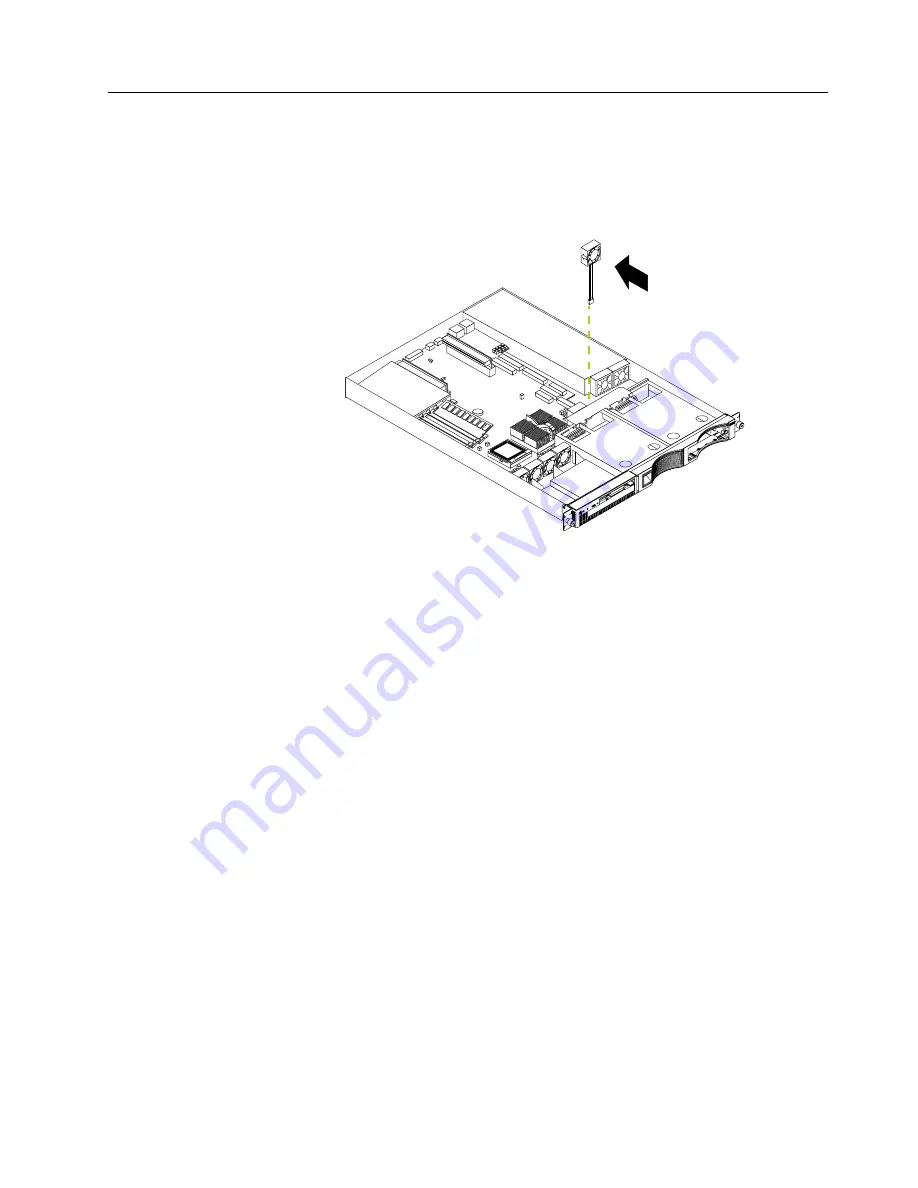
Your server comes with six replaceable fans.
Attention:
Replace a fan that has failed within 48 hours to help ensure proper
cooling.
The following illustration shows the replacement of a fan.
Complete the following steps to replace the fan assembly:
1. Review the information in “Safety information” on page 39.
2. Turn off the server and peripheral devices.
3. Remove all external cables from the server; then, remove the server from the rack
and remove the cover. For more information, see “Removing the cover” on page
44 for instructions.
4. Determine which fan to replace by checking the LED at each fan; a lit LED
indicates the fan to replace.
5. Remove the fan from the server:
a. Disconnect the fan cable from the system board.
b. Lift the fan away from the server.
6. Orient the fan so that the airflow arrow on the side of the fan is facing or pointing
toward the rear of the server.
Note:
Proper airflow is from the front to the rear of the server.
7. Push the replacement fan assembly into the server until it clicks into place.
8. Connect the fan cable to the system board.
9. Replace the cover on the server; then, reinstall the server in the rack and connect
all external cables. For more information, see “Installing the cover” on page 56 for
instructions.
10. Start up the system. The system error light will either remain on or turn off. If the
system error light remains on, you will have to turn off the server to perform
further troubleshooting.
Air flow
Содержание eServer xSeries 135
Страница 1: ...User s Reference xSeries 135...
Страница 2: ......
Страница 3: ...IBM IBM xSeries 135 User s Reference...
Страница 20: ...8 IBM xSeries 135 User s Reference...
Страница 143: ......
Страница 144: ...IBM Part Number 24P2803 24P28 3...


