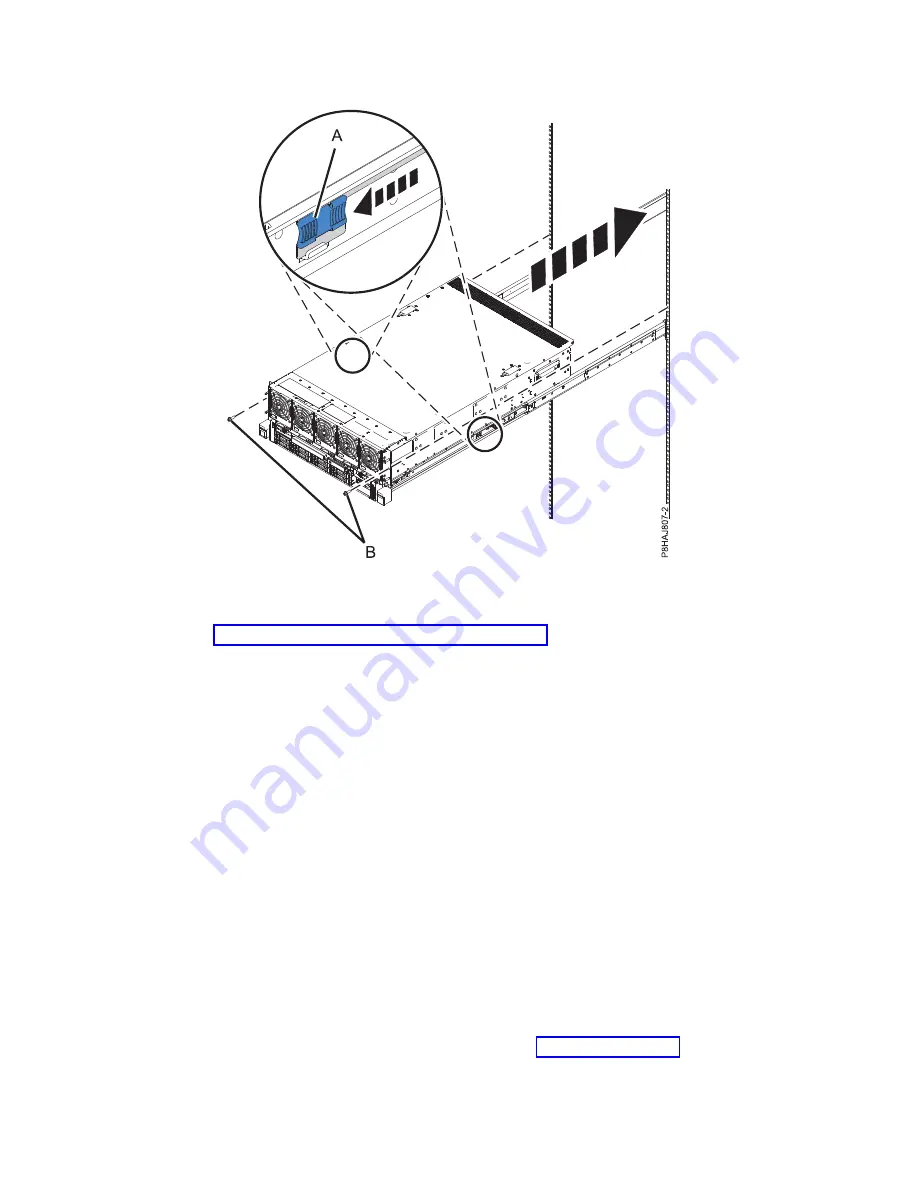
8.
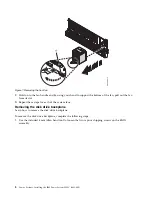
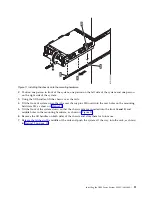
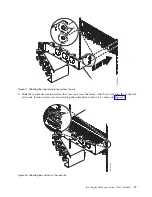
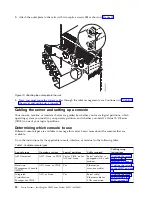
Install the screws on either side of the system to secure the system to the rack.
9.
Continue with “Replacing components into the system chassis.”
Replacing components into the system chassis
After you install the chassis onto the rails, you must replace the components that you removed.
Attention:
v
Attach an electrostatic discharge (ESD) wrist strap to an unpainted metal surface of your hardware to
prevent the electrostatic discharge from damaging your hardware.
v
When using an ESD wrist strap, follow all electrical safety procedures. An ESD wrist strap is used for
static control. It does not increase or decrease your risk of receiving electric shock when using or
working on electrical equipment.
v
If you do not have an ESD wrist strap, just prior to removing the product from ESD packaging and
installing or replacing hardware, touch an unpainted metal surface of the system for a minimum of 5
seconds.
Replacing the disk drive backplane
Learn how to replace the disk drive backplane.
To replace the disk drive backplane, complete the following steps:
1.
Move to the front of the rack.
2.
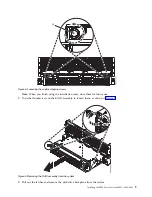
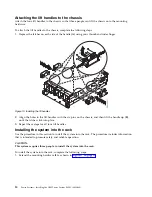
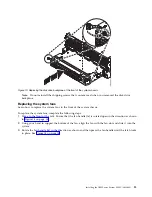
Slide the disk drive backplane into the system.
3.
Push the latches in and tighten the thumbscrews, as shown in Figure 13 on page 13.
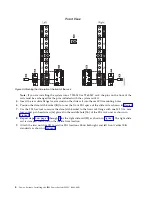
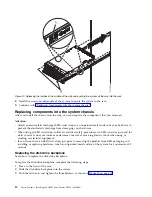
Figure 12. Releasing the latches in the middle of the rails and pushing the system all the way into the rack
12
Power Systems: Installing the IBM Power System E850C (8408-44E)
Содержание E850C
Страница 1: ...Power Systems Installing the IBM Power System E850C 8408 44E GI11 9920 00 IBM...
Страница 2: ......
Страница 3: ...Power Systems Installing the IBM Power System E850C 8408 44E GI11 9920 00 IBM...
Страница 6: ...iv Power Systems Installing the IBM Power System E850C 8408 44E...
Страница 16: ...xiv Power Systems Installing the IBM Power System E850C 8408 44E...
Страница 54: ...38 Power Systems Installing the IBM Power System E850C 8408 44E...
Страница 67: ...Notices 51...
Страница 68: ...IBM Part Number 29R2425 Printed in USA GI11 9920 00 1P P N 29R2425...

