27
6.
If the drive that you installed is a removable-media drive, place the bezel frame
that comes with your computer over the drive bay.
7.
Connect the power and signal cables to the drive.
Installing internal drives in bay 4
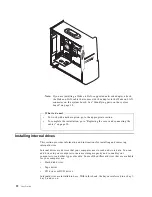
To install an internal drive in bay 4:
1.
Remove the cover (see “Removing the cover” on page 15).
Note:
If your computer has a CD drive or DVD drive, you might need to remove
the signal and power cables from the drive.
2.
You can also remove the power supply for easier access. See “Removing the
power supply” on page 15.
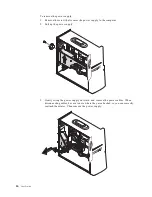
3.
Disconnect the cables from the drive being removed.
4.
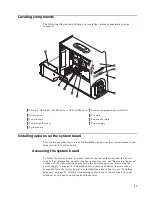
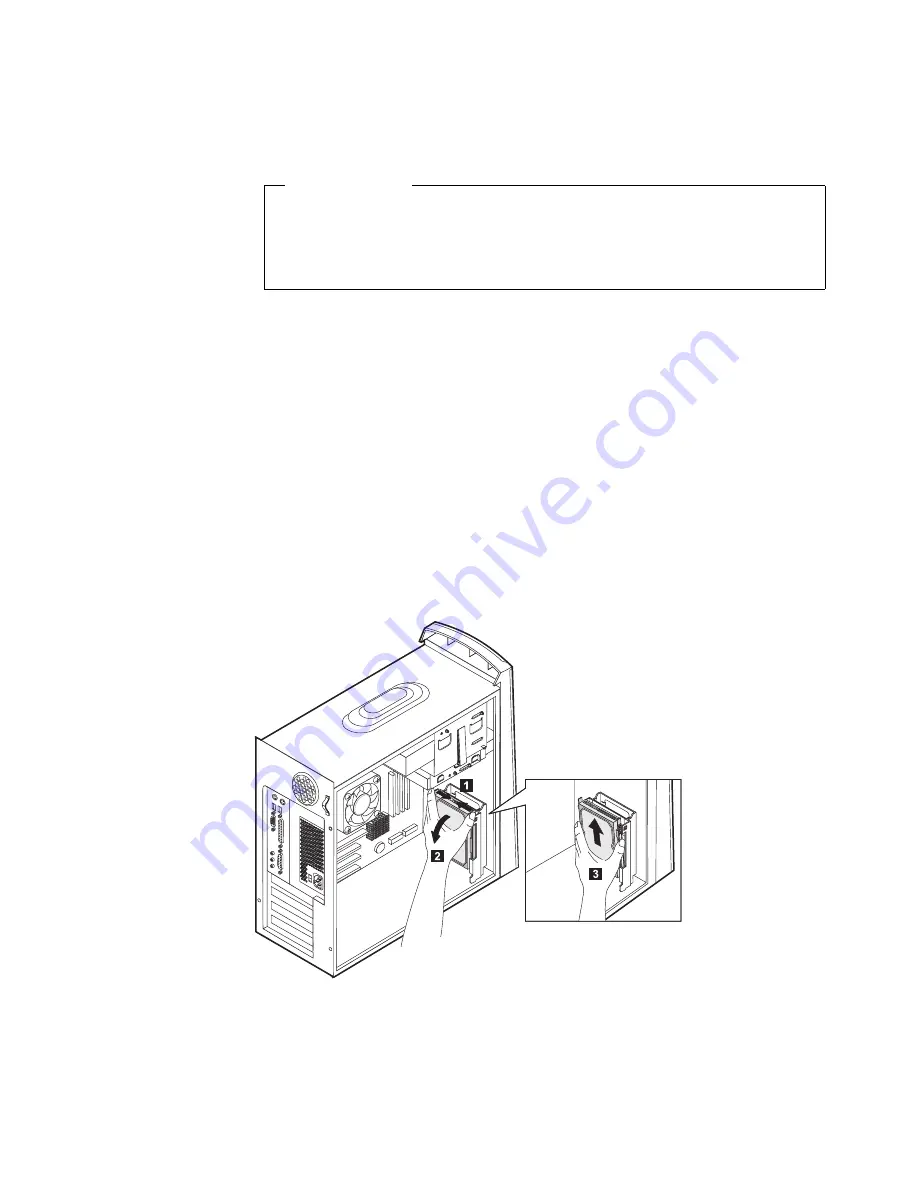
Remove the hard disk drive by
1
pressing the release, and
2
pulling the top end of
the hard disk drive towards the rear of the computer. Then
3
pull up and remove
the hard disk drive from the drive cage as shown.
•
To work with another option, go to the appropriate section.
•
To complete the installation, go to “Replacing the cover and connecting the
cables” on page 30.
What to do next
Содержание A60 Type 6833
Страница 1: ...IBM NetVista User Guide A60 Type 6833 A60i Type 6832...
Страница 2: ......
Страница 3: ...IBM NetVista User Guide A60 Type 6833 A60i Type 6832...
Страница 6: ...vi User Guide...
Страница 20: ...8 User Guide...
Страница 44: ...32 User Guide...
Страница 48: ...36 User Guide...
Страница 50: ...38 User Guide...
Страница 56: ...44 User Guide...
Страница 57: ......
Страница 58: ...IBM Part Number 23P1213 23P1213 23P1213...

