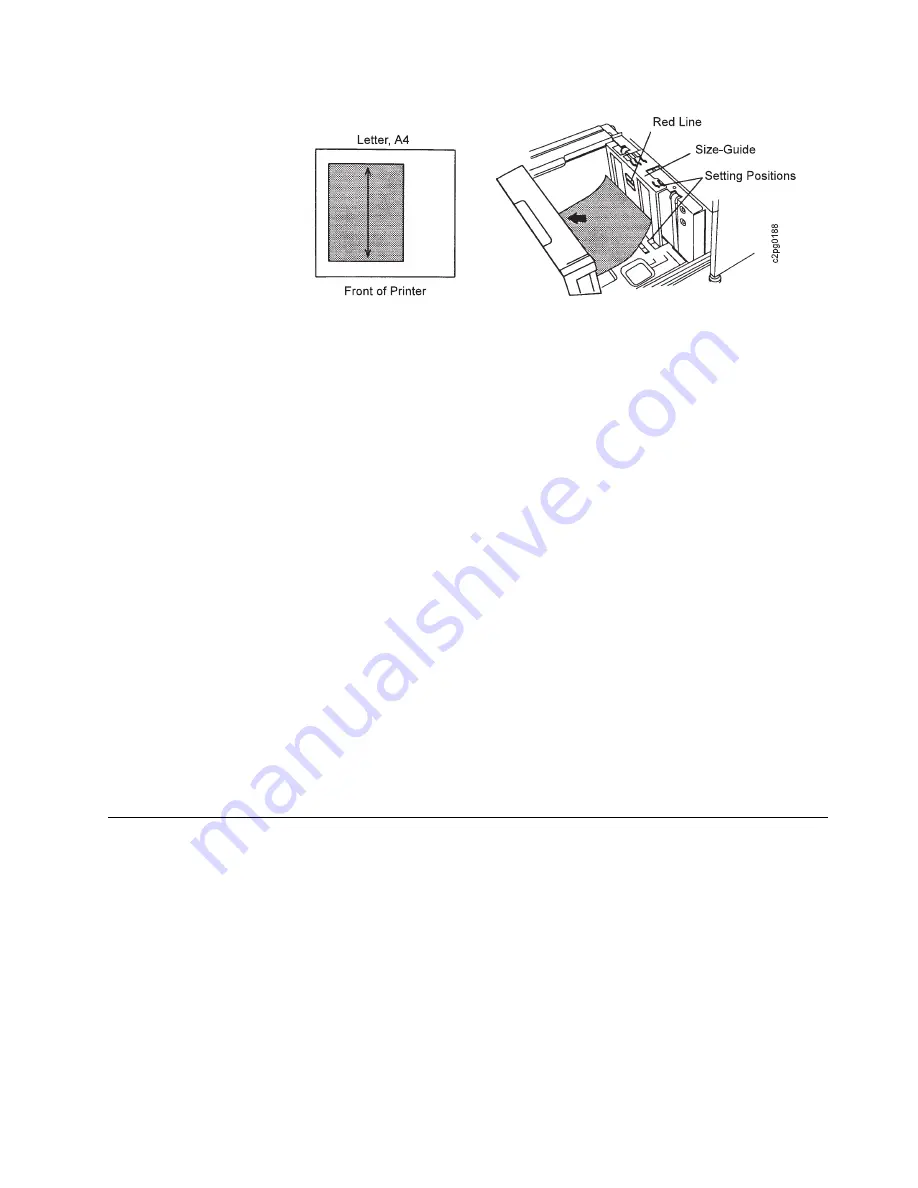
3. Load the paper so the corner is flush against the front left corner of the tray. Do
not stack paper above the red line.
4. Close the side tray.
5. If you changed the paper being loaded (different size or different form name),
and the CHECK FORM NAME IN MENU message appears, press the Enter
key to clear the message, then perform Steps 6 through 10. If not, go to Step
11.
6. Press the Menu/Exit key to enter menu mode.
7. Scroll to TRAYS/STACKERS, and press the Enter key.
8. Scroll to SIDE TRAY, and press the Enter key.
9. Press the Enter key on FORM NAME.
10. Scroll to the form name for the paper you loaded in the tray, and press the
Enter key.
Note: Only those forms that were defined are listed as available for loading. If
you are loading a new type of form, define it first using the DEFINE FORMS
menu item (key operator authorization required). See “Defining Form Names”
on page 4-26 for directions.
11. If desired, designate an autoswitch (alternate) tray for the side tray. See
“Selecting an Autoswitch Tray” on page 4-4 for directions on selecting an
autoswitch tray.
Loading Labels
Attention:
Disable the side stacker when printing on labels.
Set AUTOLINK OUTPUT STACKERS to NO.
Do not use the optional side tray for labels.
Remember to remove unused label stock and reset printer parameters
after label application is complete.
To load and print on labels do the following:
1. Load labels face down in the upper sub tray, lower sub tray, or main tray.
2. When defining the form name for a label, set DUPLEX to NO; SIDE
SENSITIVITY will no longer be active.
Chapter 5. Printing and Paper Handling
5-15
Содержание 60
Страница 1: ...InfoPrint 60 Advanced Function Printer IBM User s Guide S544 5432 00 ...
Страница 2: ......
Страница 3: ...InfoPrint 60 Advanced Function Printer IBM User s Guide S544 5432 00 ...
Страница 12: ...x InfoPrint 60 User s Guide ...
Страница 72: ...4 30 InfoPrint 60 User s Guide ...
Страница 92: ...5 20 InfoPrint 60 User s Guide ...
Страница 162: ......
Страница 165: ......


