AST1257-940
Page
16
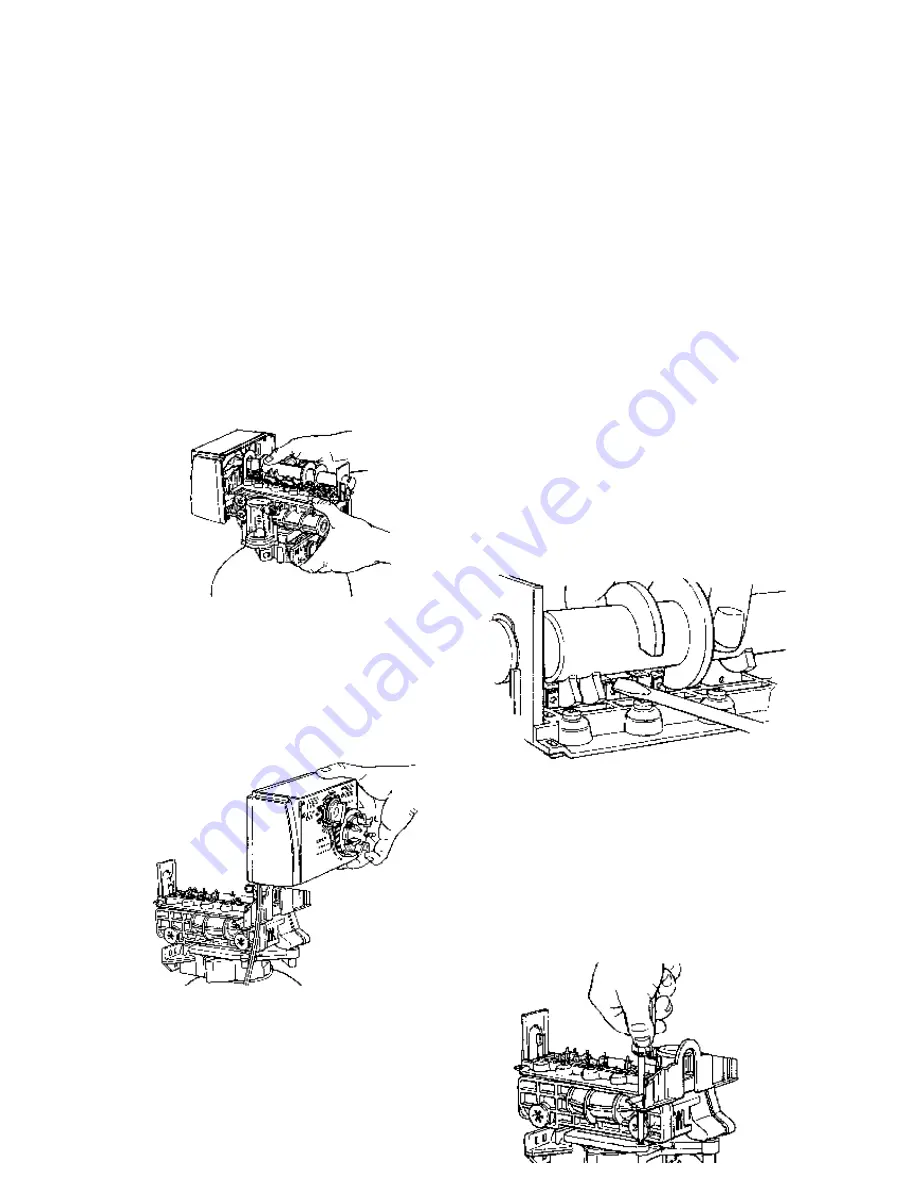
4. Slide the camshaft back, disengage it from the
timer, Figure 12.
5. Lift the timer off the valve, Figure 13.
6. To replace the timer, reverse the above
Procedure.
Note:
The camshaft and the timer indicator knob
need to be positioned correctly before the
camshaft can be installed. Rotate the camshaft
such that the locating rib is pointing straight up.
The timer indicator knob must be in the
REFILL
position when installing the camshaft. Slide the
camshaft into the timer. It may be necessary to
rock the timer slightly to key the camshaft into the
timer. When the camshaft is slid into place, lift he
back of the camshaft up while rotating the
indicator knob to seat the camshaft in the top
plate "hoop".
Removing the Valve Assembly
Complete the following steps to remove the valve
assembly:
1. Unplug the power cord.
2. Shut off the water supply or place in bypass
3. Relieve the system pressure by opening the rinse
drain valve (the fifth valve back from the timer)
with a screwdriver, Figure 14.
4. Remove the locking bar screw, Figure 15.
Figure 11
Figure 12
Figure 13
Figure 14
Содержание AST1257-940
Страница 20: ...AST1257 940 Page 20 Control Valving Identification Valve Disc Operation...
Страница 21: ...AST1257 940 Page 21 Flow Diagrams...
Страница 22: ...AST1257 940 Page 22...
Страница 24: ...AST1257 940 Page 24...
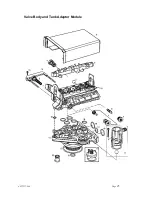
Страница 25: ...AST1257 940 Page 25 Valve Body and Tank Adaptor Module...
Страница 29: ...AST1257 940 Page 29...


