


2 8
O p e r a t i o n
Operation
Operation
2 9
O p e r a t i o n
6.4
System Setup
6.4
System Setup
Subtitle Display :
You can press or
buttons to select
‘Standard’ ‘TTX’
or
‘Off’.
If the current channel has subtitle information, you can toggle
‘Standard/TTX/Off’
by remote control unit hot key.
OSD Timeout :
When you switch channel under full screen, there will be shown up
some information about current channel on the lower of the screen. And
regarding the duration of these information will be shown up on the screen, you
can press or
buttons to set the time. The range of the duration is
‘1 second
~ 10seconds’.
OSD Transparency :
You can set the transparency of OSD. Press or
buttons
to select the values. There are 5 levels of transparency, 10%, 20%, 30%, 40% and
‘Off’.
Load Default OSD Setting :
If you are not satisfied the previously setting, you can
move highlight to this item and press
button to reset parameters to default
value.
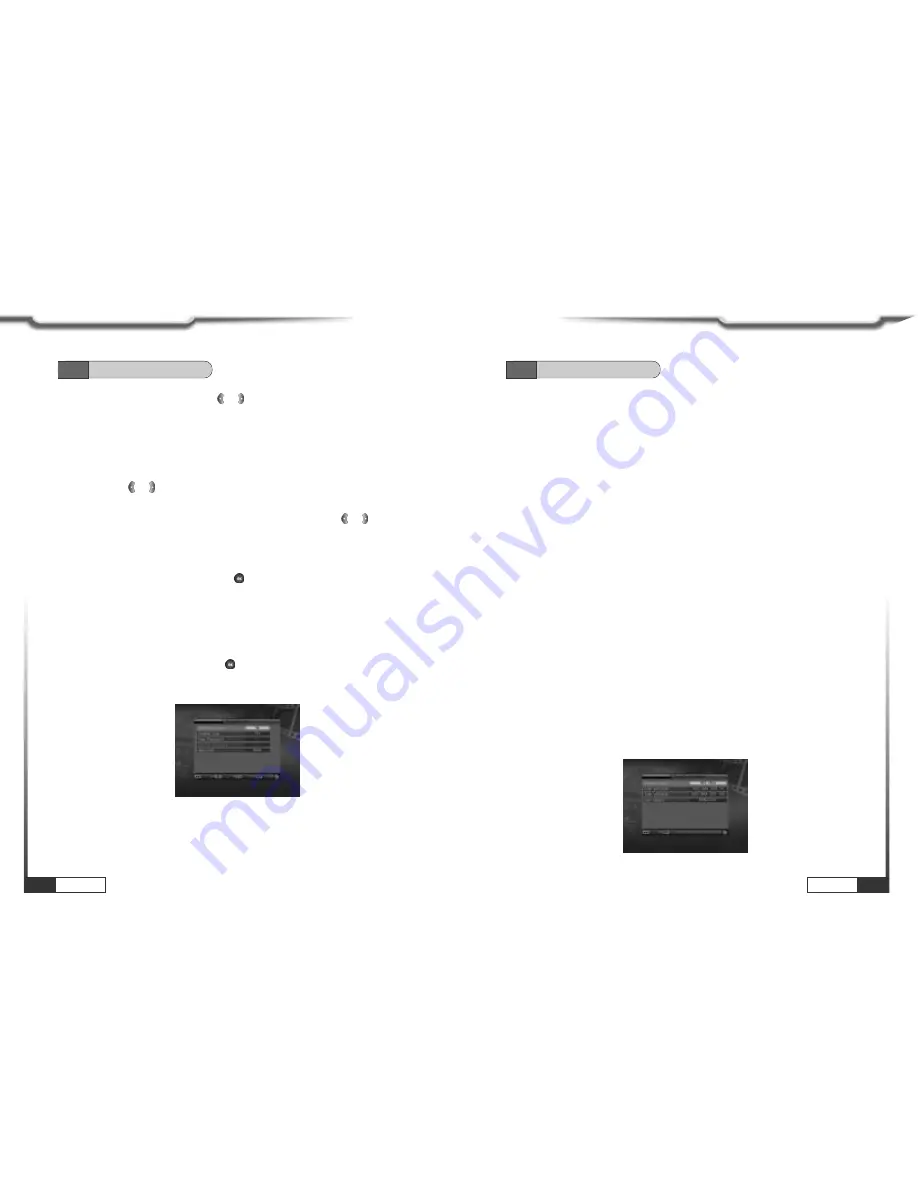
6.4.6 Parental Lock
You can set parental lock to protect your current install information.
Under
‘Parental Lock’
function, press
button, there will be popped an inputbox to
key in password. When you key in correct password, you will see a picture as illustrated
below:
Installation Lock :
Determining installation lock or not. If you set
‘Yes’,
you must
input the password before enter the installation menu.
Channel Lock :
Determining channel lock or not. If you set
‘Yes’,
the channels with
locked mark will be show up a input box on the screen to ask password. If you set
‘No’,
the Lock function will be invalid.
New Password :
You can key in new password in this item by using number
buttons directly. After key in 4 digit numbers, the highlight will skip to
‘Confirm
Password’
automatically and ask you to key in the new password again. If the
password of
‘Confirm Password’
is same as
‘New Password’,
the screen will show
up a message of
‘Saving Data, Please Wait…’.
After finishing to save and draw
back to
‘System Setup’
menu, the revising is complete.
Age Limit :
Protect children from viewing of unsuitable programs for their age. This
function can be applicable only for the signal which carries age limit information.
6.4.7 LNB Power
If the setting is
‘On’,
the receiver will supply power to satellite antenna. If the setting is
‘Off’,
the receiver won’t supply power to satellite antenna.
6.4.8 System Information
You can check the current information about your receiver such as receiver’s software
and hardware version or last update.