background image

8

9

Operation

Operation

corresponding color page displayed at the 
lower parts of teletext screen.

PC screen

Select the VGA input (TV into PC) mode. 

The unit has a VGA jack for a normal 
computer. Connect the monitor with a PC 
by this jack and the unit can be used as the 
monitor for the PC.

OSD operation

Press MENU button on the RC to enter a 

setting menu paged displayed on the screen. 
Press 

/

 buttons to go to the 

needed item, then use  /  buttons to select 
available setting or to adjust the selected item. 
Press ENTER button to confirm

After setting press MENU button to return to 

the root menu or exit menu setting.
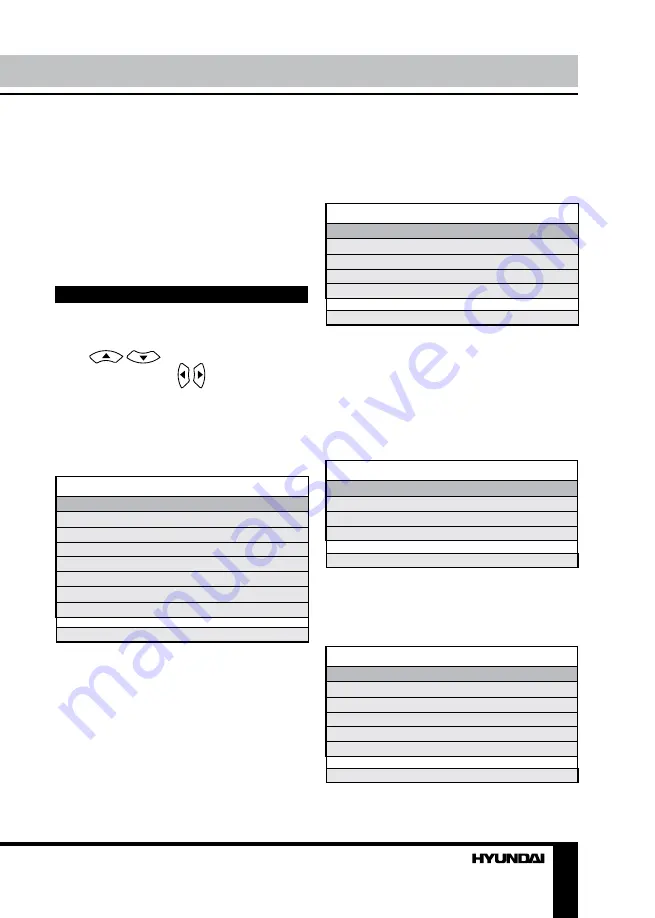
Picture setting

PICTURE

Picture Mode
Contrast
Brightness
Colour
Tint
Sharpness
Colour Temperature
DNR

Select 

Adjust

•  

Picture Mode

: Standard/Personal/Movie/

Sport/Mild/Game.

•  

Contrast

•  

Brightness

•  

Colour

. Note: This item is invalid in VGA 

PC mode, and it will be shown in gray.

•  

Tint

: adjust the tone of color when your 

system is in NTSC.

•  

Sharpness

•  

Colour Temperature

. Note: This item is 

valid in VGA PC mode only.

•  

DNR

: Digital Noise Reduction effect for 

reducing the video noise level: Off/Low/Mid/
High, if the broadcast signal received is weak.

Sound setting

SOUND

Volume
Sound Mode
Bass
Treble
Balance

Select 

Adjust

•  

Volume

•  

Sound Mode

: Personal/Voice/Music/

Theatre.

•  

Bass

•  

Treble

•  

Balance

: adjust output between left and 

right speakers.

TV tuning setup 

(in TV mode only)

SETUP

Country
Auto Tuning
Manual Tuning
Program Edit

Select 

Adjust

•  

Country

•  

Auto Tuning

: enter into auto tuning menu. 

Then press ENTER button to start auto tuning.

•  

Manual Tuning

: enter into manual tuning 

menu:

Manual Tuning

Program
Sound System
Colour System
Program Label
AFT
Manual Search

Select 

Adjust

•  Program: select lower or upper program.

Содержание H-LCD1910

Страница 1: ...LCD LCD TV Instruction manual H LCD1910...

Страница 2: ...ext operations PC screen OSD operation Picture setting Sound setting TV tuning setup Time setting Function setting General information Troubleshooting Causes of interference Accessories Specifications...

Страница 3: ...cord with a metal nail Unplug the power cord from the AC outlet also unplug the signal cables from the input ports when the unit is unused for long periods of time When unplugging the plug always hol...

Страница 4: ...it is tipped over or fallen down it may cause damage or fire Do not place the unit into closed space of TV for better ventilation it can reduce the product lifetime Keep a space at list 10cm at above...

Страница 5: ...he video source has S video output jack Insert the AC power to the DC adaptor then connect 12V input jack from the monitor Connection to it s DC output jack When using the LCD as a computer screen con...

Страница 6: ...cursor button 5 VOL LEFT cursor button 6 MENU button 7 Remote control sensor 8 POWER button Back panel 1 Power socket 2 HDMI input 3 VGA input 4 SCART connector 5 S Video input 6 Video input 7 Audio l...

Страница 7: ...nging the battery 1 Remove the battery compartment cover on the back of the RC 2 Insert the batteries into the battery compartment making sure that the correct polarity is observed 3 Install the cover...

Страница 8: ...st FullScreen ZOOM1 ZOOM2 Auto 4 3 14 9 16 9 Subtitle Available aspects may differ for different signal sources AV signal sources Press INPUT button on the RC then press cursor buttons to cycle throug...

Страница 9: ...nal Movie Sport Mild Game Contrast Brightness Colour Note This item is invalid in VGA PC mode and it will be shown in gray Tint adjust the tone of color when your system is in NTSC Sharpness Colour Te...

Страница 10: ...ss YELLOW button X mark will display on the current item it means the current program will be skipped and could not be searched Press YELLOW button again the mark X will disappear it means you cancel...

Страница 11: ...m And press ENTER button to confirm or cancel this menu selection Reset setting to the factory default In this manual the OSD Menu maybe changed and different from your real TV s screen shown without...

Страница 12: ...nected Connect the audio signal cord properly Set the sound system properly The RC does not work Batteries are improperly installed or exhausted Make sure the positive and the negative polarities are...

Страница 13: ...audio input VGA HDMI Russian and English OSD Progressive scan Digital comb filter Sleep timer Quantity of channels 199 Teletext Power supply DC adapter 110 240V 50 60Hz 12V 4A Power consumption 48 W U...

Страница 14: ...14 14 15 15 15 17 17 17 17 18 18 18 18 19 19 20 20 20 21 21 21 21 22 23 23 25 25 25 26 27...

Страница 15: ...15 SAWA 07 41612...

Страница 16: ...16 20 50 LCD 10 18 2...

Страница 17: ...17 75 DVD VCDR CAMCORDER L R PAL NTSC SECAM RCA SCART DVD S Video S Video DVD S Video VGA VGA VGA HDMI HDMI HDMI 75...

Страница 18: ...18 1 2 HDMI 3 VGA 4 SCART 5 S Video 6 7 8 9 10 11 1 TV AV 2 CH 3 CH 4 VOL 5 VOL 6 MENU 7 8 POWER 1 2 3 4 5 6 7 8 9 10 11 1 2 3 4 5 6 7 8...

Страница 19: ...10 HOLD 11 TEXT 12 INDEX 13 SIZE 14 RED 15 GREEN 16 AUTO 17 MUTE 18 19 NICAM 20 CH CH 21 EXIT 22 S MODE 23 SLEEP 24 PGUP 25 PGDW 26 SUBPAGE 27 REVEAL 28 CYAN 29 YELLOW 1 2 3 AAA 1 5V 8 30 1 2 3 1 16...

Страница 20: ...ER VOL VOL 0 100 SLEEP 0 120 INPUT TV 1 1 CH CH 0 9 1 199 0 9 P MODE 6 S MODE 4 MUTE DISPLAY ASPECT 1 2 4 3 14 9 16 9 INPUT TV SCART CVBS S VIDEO VGA HDMI INPUT TV CH CH TEXT TEXT PGDW PGUP HOLD INDEX...

Страница 21: ...21 SUBPAGE 0001 VGA VGA MENU ENTER MENU VGA PC NTSC VGA PC...

Страница 22: ...22 ENTER AFT E AFT Lock X Lock...

Страница 23: ...23 1 2 PC VGA PC V H V OSD Enter OSD PIN PIN 4711 ENTER...

Страница 24: ...24 PIN PIN PIN OK ENTER Z ENTER OK ENTER...

Страница 25: ...25...

Страница 26: ...26 1 1 2 1 3 RCA 1 4 1 5 1 6 1 5 2 7 1 8 1 9 1...

Страница 27: ...27 19 48 300 2 1000 1 5 1440 x 900 16 10 PAL SECAM DK I BG L S video RCA SCART VGA HDMI 199 110 240 50 60 4 12 48 470 x 180 x 400 6 7 4...

Отзывы: