


11
Operation
Press / buttons to select On/Off.
• Change PIN Code
Enter the original password 4711 by number
buttons, then input a new password you want
to set. Press ENTER button to confirm the new
password.
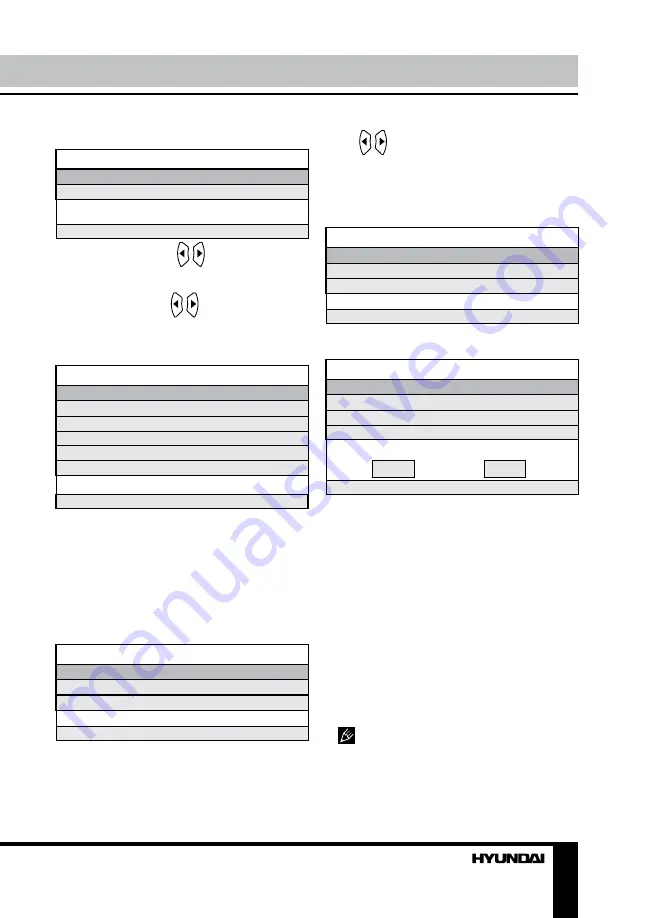
Change PIN code
Old PIN code
New PIN code
Enter again
Select Delete Input Confirm
•
First Time Installation
: enter First Time
Installation menu:
First Time Installation
Country
Language
Delete Program
Program Search
OK
Cancel
Select
Adjust
• Country: select corresponding country.
• Language: select corresponding language.
• Delete Program: press ENTER button,
and a mark
√
will display on this item, meaning
you selected this item operation. Press ENTER
button again, the mark
√
will disappear,
meaning you cancelled this item operation.
• Program Search: press ENTER button,
and the mark
√
will show on this item, meaning
you selected this item operation. Press ENTER
button again, the mark
√
disappears, meaning
you cancelled this item operation. After above
items selection, please move the cursor to OK
or Cancel item. And press ENTER button to
confirm or cancel this menu selection.
•
Reset
: setting to the factory default.
In this manual, the OSD Menu maybe
changed and different from your real TV’s
screen shown without further notice. This
manual is just a sample to help you how to
operate TV menu setting.
Time setting
TIMER
Sleep Timer
OSD Timer
Adjust
Enter
•
Sleep Timer
: use / buttons to select
sleep time to let unit go into standby state
automatically.
•
OSD Timer
: use / buttons to select
OSD menu displayed last time.
Function setting
FUNCTION
Language
Video Size
Blue Screen
Child Lock
First Time Installation
Reset
Select
Adjust
•
Language
: select an OSD menu language
•
Video Size
: select an LCD screen display
aspect size which corresponds to your viewing
requirements. This available aspect size may
be different in different input source.
•
Blue Screen
: select On/Off. Selecting On
means the screen background colour could be
in blue if there is no or weak signal.
•
Child Lock
: enter Child Lock menu:
Child lock
Child Lock
Key Lock
Change PIN Code
Select
Adjust
• Child Lock: select On/Off.
• Key Lock: This item allows you to lock a
button on the unit, so that a child could not
change accidentally your viewing preferences.
Содержание H-LCD1910
Страница 1: ...LCD LCD TV Instruction manual H LCD1910...
Страница 14: ...14 14 15 15 15 17 17 17 17 18 18 18 18 19 19 20 20 20 21 21 21 21 22 23 23 25 25 25 26 27...
Страница 15: ...15 SAWA 07 41612...
Страница 16: ...16 20 50 LCD 10 18 2...
Страница 21: ...21 SUBPAGE 0001 VGA VGA MENU ENTER MENU VGA PC NTSC VGA PC...
Страница 22: ...22 ENTER AFT E AFT Lock X Lock...
Страница 23: ...23 1 2 PC VGA PC V H V OSD Enter OSD PIN PIN 4711 ENTER...
Страница 24: ...24 PIN PIN PIN OK ENTER Z ENTER OK ENTER...
Страница 25: ...25...
Страница 26: ...26 1 1 2 1 3 RCA 1 4 1 5 1 6 1 5 2 7 1 8 1 9 1...


