background image

WARNING

Please read precautions thoroughly before operation. Meet all applicable local codes and regulations.

THANK YOU FOR YOUR INTEREST IN OUR PRODUCTS

Please use this equipment carefully and observe all warnings and cautions.

WEAR

protective clothing and eyewear when dispensing chemicals or other materials or when working in the vicinity 

of all chemicals, filling or emptying equipment, or changing metering tips.

ALWAYS

observe safety and handling instructions of the chemical manufacturer.
direct discharge away from you or other persons or into approved containers.
dispense cleaners and chemicals in accordance with manufacturer’s instructions. Exercise CAUTION when 
maintaining your equipment.
reassemble equipment according to instruction procedures. Be sure all components are firmly screwed or 
latched into position.

KEEP

equipment clean to maintain proper operation.

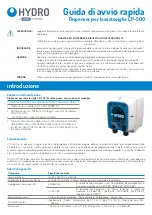
quick start guide

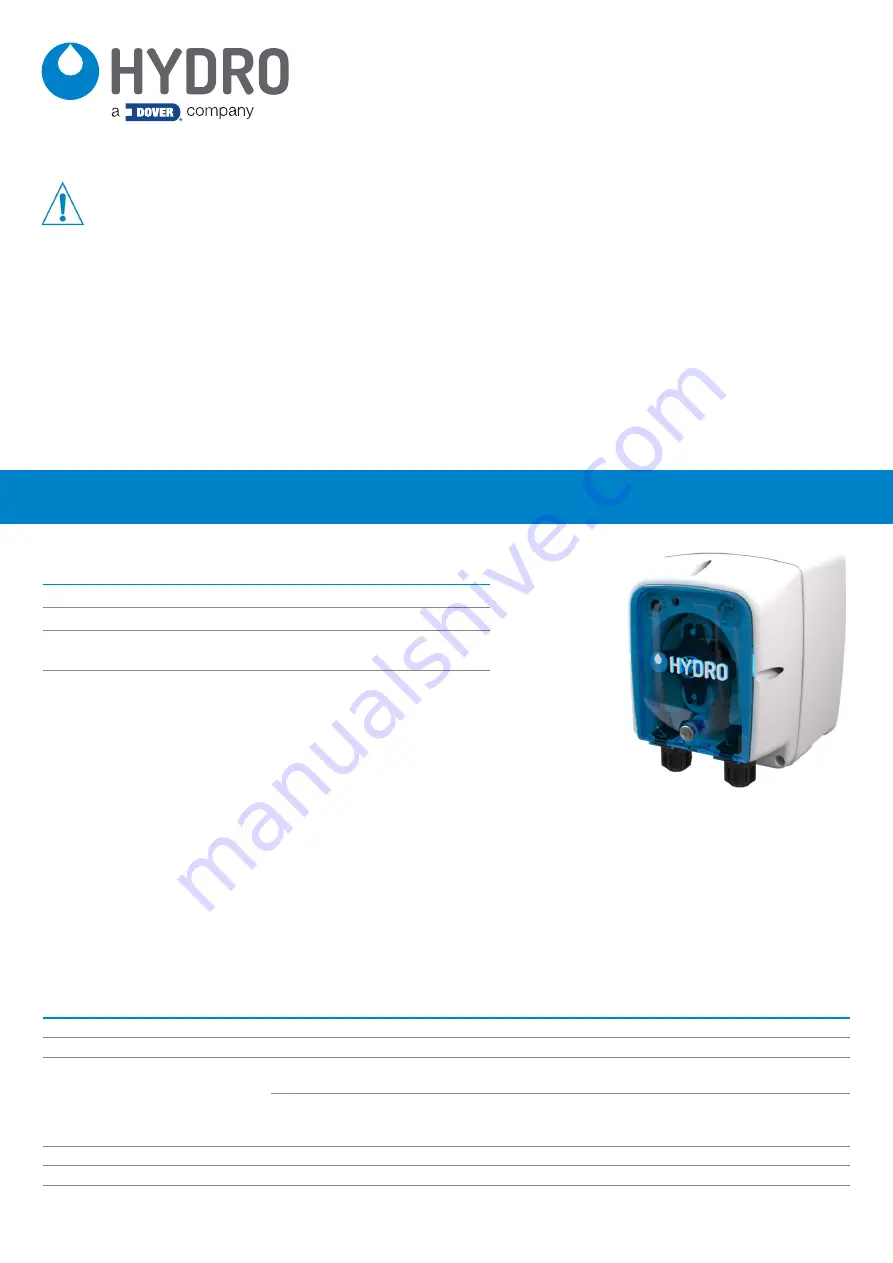
CP-5OO Warewash Dispenser  

introduction


Package Contents


CP-500 Warewash Dispenser 

(part number varies by model)

• 

CP-500 Dispenser (Part number varies by model)

• 

Quick Start Guide (P/N HYD10099215)

• 

Accessory Kit: Mounting bracket, fittings, hardware, and pickup tubing 
(Part number varies by model)

• 

Pump Squeeze Tube (not installed) 

• 

Detergent models use Santoprene® tubes as standard

• 

Rinse models use silicone tubes as standard

• 

(Part number varies by model)

Operation

The CP-500 is a globally versatile, single product dispenser used to supply detergents or rinse aid into automatic dish machines. Designed 
with simplicity in mind, the unit can be installed in minutes and requires no programming; all settings can be configured using potentiometers 
that control the time or speed of dosing (depending on the model). The unit has the reliability and accuracy you expect from Hydro Systems 
Co. at an economic price point.

NOTE!

 The CP-500 is intended for use in industrial applications. It is not suitable for domestic use, and it must not be used outside of its 

intended use. The product must only be used for commercial dish washing operations. The manufacturer waives any responsibility arising 
from incorrect usage or transportation.

General Specifications


Category

Specification

Electrical

90 to 260 VAC at 50/60Hz

Chemical Temperature Rating

Intake chemicals should be at room temperature

Regulatory Approvals (CE)

89/336/CEE                             

(Regarding “Electromagnetic Compatibility” and the subsequent 
modifications to 92/31/CEE, 93/68/CEE, 93/97/CEE)

73/23/CEE                               

(Regarding “Low Voltages”, and the subsequent modifications to 
93/68/CEE, 2002/95/CE, 2002/96/CE, 2003/108/CE “RoHs and 
WEEE Directive”)

Cabinet Material

Front: Polypropylene - Rear: Polypropylene

Environmental

Pollution: Degree 2, Temperature: 50°to 104° F (10° to 40° C), Maximum Humidity: 95% Relative

Dimensions

5.0 in (128 mm) High  x  3.6 in (91 mm) Wide  x  4.1 in (104 mm) Depth

Содержание CP-500

Страница 1: ...cone tubes as standard Part number varies by model Operation The CP 500 is a globally versatile single product dispenser used to supply detergents or rinse aid into automatic dish machines Designed with simplicity in mind the unit can be installed in minutes and requires no programming all settings can be configured using potentiometers that control the time or speed of dosing depending on the mod...

Страница 2: ... upstream of the booster heater for the rinse water 6 To create the threaded connection at your selected location drill a 9 mm 11 32 hole in the rinse plumbing at the injection location 7 Tap the hole drilled in step 6 with a 1 8 tap NPT or BSP depending on the region 8 Install the injection fitting Use thread sealant to ensure a leak free assembly Installing the Detergent Injection Fitting 1 When...

Страница 3: ...our Top up dose is set to 15 seconds then you actually set the Initial Charge potentiometer to 55 seconds 70 15 55 Installing the Rinse and Detergent Supply and Discharge Tubes 1 Install the included PVC pump supply tube 4mm ID 6mm OD into the chemical container using the foot filter with screen and weight to position the tube at the bottom of the container 2 Route the other end of the included PV...

Страница 4: ...seconds the LED will flash red once In the position between 90 and 120 seconds the LED will flash red twice In the position between 120 and 180 seconds the LED will flash red 3 times In the position between 180 and 240 seconds the LED will flash red 4 times Model R1S Dish Machine with Two Solenoids Connect the signal cable to the solenoid valve for the rinse water Speed Setting The pump runs at th...

Страница 5: ...ie Spécification Électrique 90 à 260 VAC à 50 60 Hz Température nominale des substances chimiques Les produits chimiques alimentés doivent être à température ambiante Homologations CE 89 336 CEE Concernant la Compatibilité électromagnétique et amendements et modifications successives à 92 31 CEE 93 68 CEE 93 97 CEE 73 23 CEE Concernant la Basse Tension et amendements et modifications successives à...

Страница 6: ... pour l eau de rinçage 6 Pour créer la connexion filetée à l emplacement choisi percer un trou de 9 mm 11 32 dans la plomberie de rinçage au point d injection 7 Taper sur le trou foré à l étape 6 avec un taraud 1 8 NPT ou BSP selon la région 8 Poser le raccord d injection Utiliser un produit d étanchéité pour filetages pour garantir l absence de fuites dans l installation Installation du raccord d...

Страница 7: ... sur 55 secondes 70 15 55 Installation des tuyaux d arrivée et d évacuation du rinçage et du détergent 1 Installer le tuyau d alimentation de la pompe en PVC fourni diamètre intérieur 4 mm diamètre extérieur 6 mm à l aide du filtre à pied avec écran et lui appliquer un poids pour positionner le tuyau au fond du réservoir 2 Diriger l autre extrémité des tuyaux d arrivée des pompes en PVC depuis les...

Страница 8: ...rouge Entre 90 et 120 secondes la LED clignote deux fois en rouge Entre 120 et 180 secondes la LED clignote trois fois en rouge Entre 180 et 240 secondes la LED clignote quatre fois en rouge Modèle R1S Lave vaisselle à deux solénoïdes Brancher le câble de signal à l électrovanne pour l eau de rinçage Réglage de vitesse La pompe fonctionne à la vitesse configurée à l aide du potentiomètre gauche Vi...

Страница 9: ... 50 bis 104 F 10 bis 40 C Maximale Luftfeuchtigkeit 95 relative Lf Abmessungen 5 0 in 128 mm Höhe x 3 6 in 91 mm Breite x 4 1 in 104 mm Tiefe Inhalt der Verpackung Dosierer für Geschirrspüler CP 500 Teilenummer je nach Modell unterschiedlich Dosiersystem CP 500 Teilenummer je nach Modell unterschiedlich Kurzanleitung P N HYD10099215 Zubehörsatz Halterung Anschlussstücke Befestigungselemente und An...

Страница 10: ... der Zusatzheizung für das Spülwasser 6 Um an der ausgewählten Stelle einen Gewindeanschluss zu schaffen an der Einspritzstelle ein 9 mm 11 32 großes Loch in die Spülleitung bohren 7 In das in Schritt 6 gebohrte Loch ein 1 8 Gewinde schneiden je nach Region NPT oder BSP 8 Die Klarspülereinspritzung installieren Benutzen Sie Gewindedichtungsmittel um einen leckfreien Zusammenbau sicherzustellen Ins...

Страница 11: ...umpe zur Auslassseite rechts der jeweiligen Pumpe führen Den Schlauch ganz durch die Überwurfmutter in das Anschlussstück einschieben und befestigen 4 Das andere Ende der Abgabeschläuche zum entsprechenden Einspritzanschluss führen für mehr Details siehe Anleitung zur Installation der Einspritzung auf der vorigen Seite Den Schlauch ganz durch die Überwurfmutter auf den Anschlussnippel schieben und...

Страница 12: ...D einmal rot Im Bereich zwischen 90 und 120 Sekunden blinkt die LED zweimal rot Im Bereich zwischen 120 und 180 Sekunden blinkt die LED dreimal rot Im Bereich zwischen 180 und 240 Sekunden blinkt die LED viermal rot Modell R1S Geschirrspüler mit zwei Magnetventilen Das Signalkabel an das Magnetventil für das Klarspülwasser anschließen Drehzahleinstellung Die Pumpe läuft mit der am linken Potentiom...

Страница 13: ...ssere a temperatura ambiente Omologazioni normative CE 89 336 CEE In relazione alla normativa sulla Compatibilità elettromagnetica e successive modifiche a 92 31 CEE 93 68 CEE 93 97 CEE 73 23 CEE In relazione alla normativa sulla Bassa tensione e successive modifiche a 93 68 CEE 2002 95 CE 2002 96 CE 2003 108 CE Direttiva RoHs e RAEE Materiale della cassa Parte anteriore Polipropilene Parte poster...

Страница 14: ...uo pressurizzata o a monte del riscaldatore ausiliario per l acqua di risciacquo 6 Per creare il raccordo filettato nel punto selezionato praticare un foro di 9 mm 11 32 nell impianto idraulico di risciacquo nel punto di iniezione 7 Filettare il foro praticato al punto 6 con una filettatura da 1 8 NPT o BSP a seconda della regione 8 Installare il raccordo di iniezione Utilizzare un sigillante per ...

Страница 15: ...lare i tubi di mandata e scarico per detergente e scarico 1 Installare il tubo di alimentazione della pompa in PVC incluso 4mm di diametro esterno 6mm di diametro esterno nel contenitore dei prodotti chimici utilizzando il filtro di fondo con schermatura e peso per posizionare il tubo sul fondo del contenitore 2 Far passare l altra estremità dei tubi di mandata in PVC inclusi della pompa dai conte...

Страница 16: ...sizione tra 90 e 120 secondi il LED lampeggia in rosso due volte Nella posizione tra 120 e 180 secondi il LED lampeggia in rosso 3 volte Nella posizione tra 180 e 240 secondi il LED lampeggia in rosso 4 volte Modello R1S Lavastoviglie con due solenoidi Collegare il cavo di segnale all elettrovalvola per l acqua di risciacquo Impostazione della velocità La pompa funziona alla velocità impostata con...

Страница 17: ...60 Hz Rango de temperatura de las sustancias químicas Las sustancias químicas que entran deben estar a temperatura ambiente Aprobaciones regulatorias CE 89 336 CEE En relación con la Directiva de Compatibilidad electromagnética y sucesivas modificaciones a 92 31 CEE 93 68 CEE 93 97 CEE 73 23 CEE En relación con la Directiva de Baja tensión y sucesivas modificaciones a 93 68 CEE 2002 95 CE 2002 96 ...

Страница 18: ...izada o antes del calentador del impulsor para el agua de enjuague 6 Para efectuar la conexión roscada en la ubicación seleccionada realice un agujero de 9 mm 11 32 en las tuberías de enjuague en el punto de inyección 7 Rosque el agujero perforado en el paso 6 utilizando un macho de roscar de 1 8 NPT o BSP según la región 8 Instale el racor de inyección Utilice el sellador de roscas para asegurar ...

Страница 19: ...rga inicial en 55 segundos 70 15 55 Instalación de los tubos de suministro de detergente y enjuague y de descarga 1 Instale el tubo de PVC DI 4 mm DE 6 mm para el suministro de la bomba en el recipiente de sustancias químicas utilizando el filtro de fondo con rejilla y peso para colocar el tubo en la parte inferior del recipiente 2 Encamine el otro extremo de los tubos de PVC de suministro de la b...

Страница 20: ...r rojo En la posición entre 90 y 120 segundos el led parpadeará dos veces de color rojo En la posición entre 120 y 180 segundos el led parpadeará 3 veces de color rojo En la posición entre 180 y 240 segundos el led parpadeará 4 veces de color rojo Modelo R1S Lavavajillas con dos solenoides Conecte el cable de señal a la válvula solenoide para el agua de enjuague Configuración de la velocidad La bo...

Отзывы: