User’
s Manual for Agera and EasyMatch Essentials v 1.0
71
•
Configure the computer with the following settings:
▪
Set computer as
CLIENT
▪
Enter the
IP ADDRESS
of Agera which is recorded in step 1 above
▪
Put the port number as
11111
•
After all is set, the data is ready to be exported from Agera to the computer.
Auto-Exporting Data via Direct Connection between Agera and a Computer
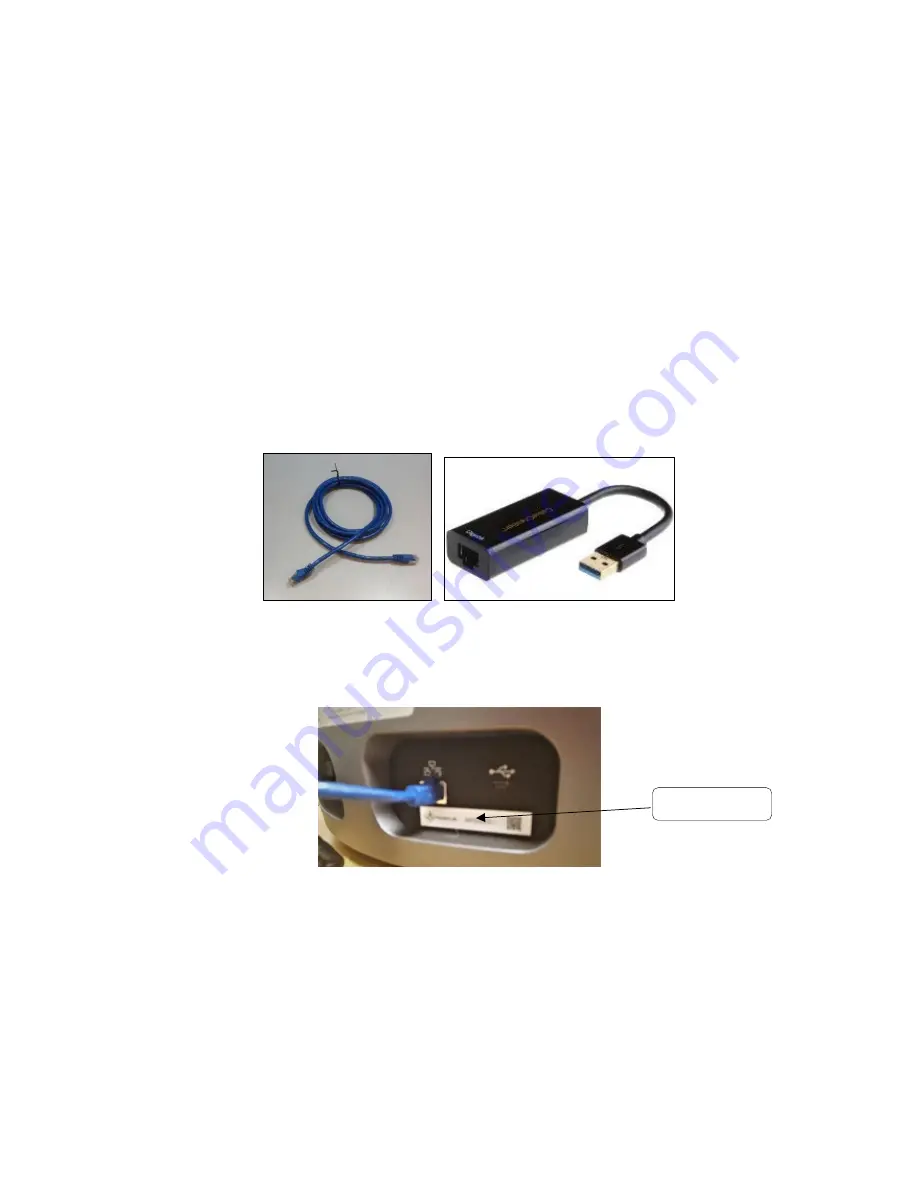
Ethernet cable is plugged into the back of the Agera and the other end is connected to the computer.
Ethernet adapter USB can be applied here if the computer does not have available Ethernet port.
•
Materials needed
: Ethernet cable and Ethernet adapter to USB can be applied here if the
computer does not have available Ethernet port.
Hardware needed
: Ethernet cable and
Ethernet adapter to USB can be applied here if the computer does not have available
Ethernet port.
Figure 122. Ethernet Cable Figure 123. Ethernet to USB Adapter
Connect Agera to Computer:
•
Plug Ethernet cable into RJ-45 Ethernet connection at rear of Agera.
Figure 124. Rear View of Agera
•
Plug the other end into the computer or into the Ethernet adapter
Ethernet Port
Содержание Agera
Страница 12: ...User s Manual for Agera and EasyMatch Essentials v 1 0 12 ...
Страница 58: ...User s Manual for Agera and EasyMatch Essentials v 1 0 58 ...
Страница 77: ...User s Manual for Agera and EasyMatch Essentials v 1 0 77 Regulatory Notice ...
Страница 78: ...User s Manual for Agera and EasyMatch Essentials v 1 0 78 ...
Страница 88: ...User s Manual for Agera and EasyMatch Essentials v 1 0 88 ...


