17
6
|
View Purchased Charts on Your Fish Finder
Use the following instructions to view your saved and purchased charts on your fish finder.
1. Insert the SD or microSD card (with the saved ChartSelect Legacy Regional Charts) into the fish finder card slot.
When you install an SD or microSD card, the map source is changed automatically to match the SD or microSD card map
source. If you install more than one SD or microSD map card, you can choose which chart source you want to use. Depending
on your fish finder model, the map source menu will be under the Chart Menu Tab (HELIX Series) or under Settings > Chart
(APEX and SOLIX Series).
NOTE:
Once the SD or microSD card is installed in the fish finder, AutoChart and LakeMaster menu options are automatically added to
the menu system. See your fish finder operations manual for more information.
2. Select Chart View.
The lake map displayed on your fish finder is based on the GPS latitude/longitude position and the SD or microSD card
installed. GPS reception is required for the correct lake to be displayed.
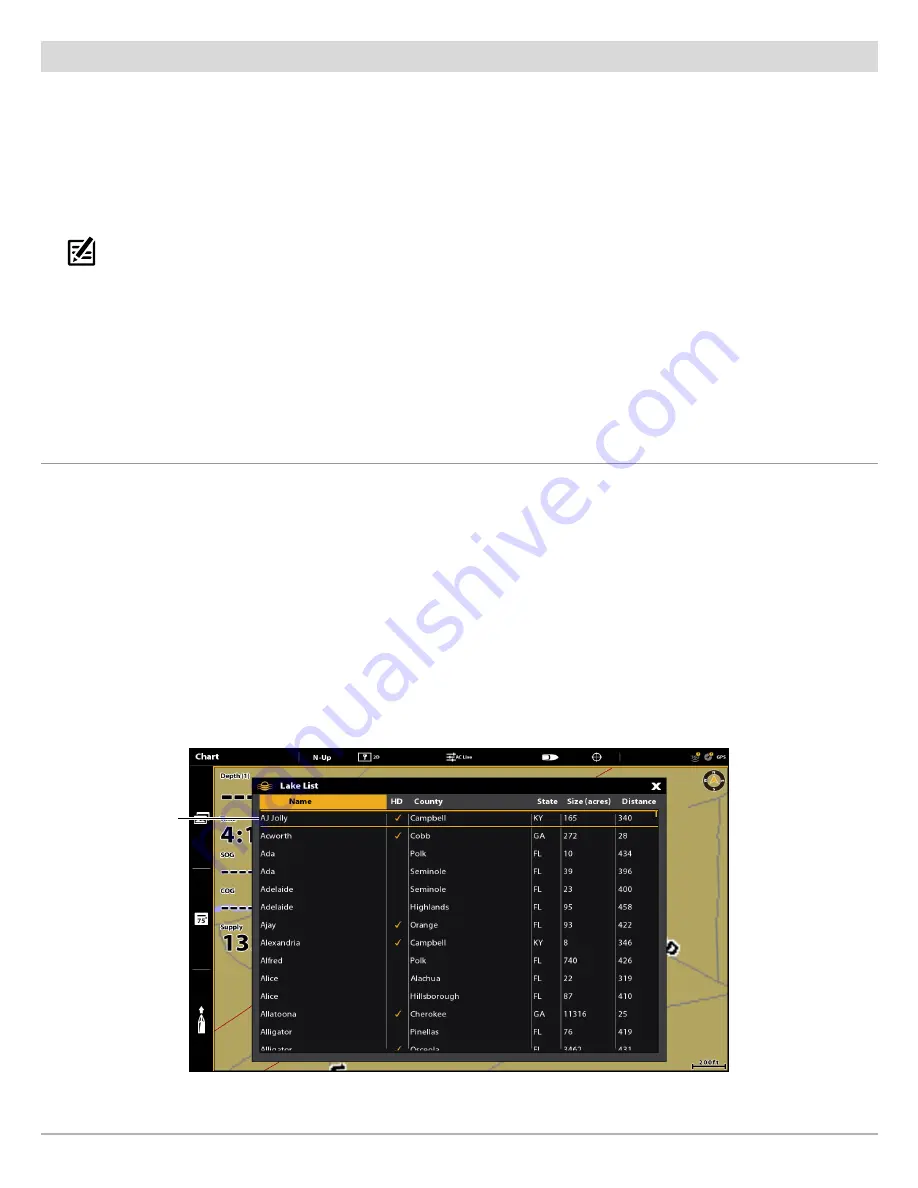
If you do not have GPS reception, or if you want to display a different map, you can search for a lake using Lake List.
Lake List
APEX/SOLIX
1. Tap Chart in the status bar. Select Info.
OR
Press the ENTER key.
2. Select Lake List.
Sort By:
Press the EXIT key to select the sort bar. Tap a column name, or move the Joystick and press it on a column name.
You can sort alphabetically, identify the high-definition lakes (Hi-Def) on your card, sort by state, etc.
Scroll:
Use the Joystick to scroll through the list. As each lake is highlighted, you can view information about the lake in the
box displayed on the screen. Scroll faster using the Rotary dial.
Cursor To:
Tap an item from the displayed list, or scroll to the item and press the ENTER key.
Selecting a Lake to Display
selected lake
Using ChartSelect


