4
TubeMeister 40 Deluxe – Manual 1.0
less sensitive than when you back the Mid knob down. Boosting treble
decreases midrange honk and vice versa: jacking up the mids cuts back
on top-end shimmer. You'll find that this feature offers a staggering range
of subtle tonal variations.
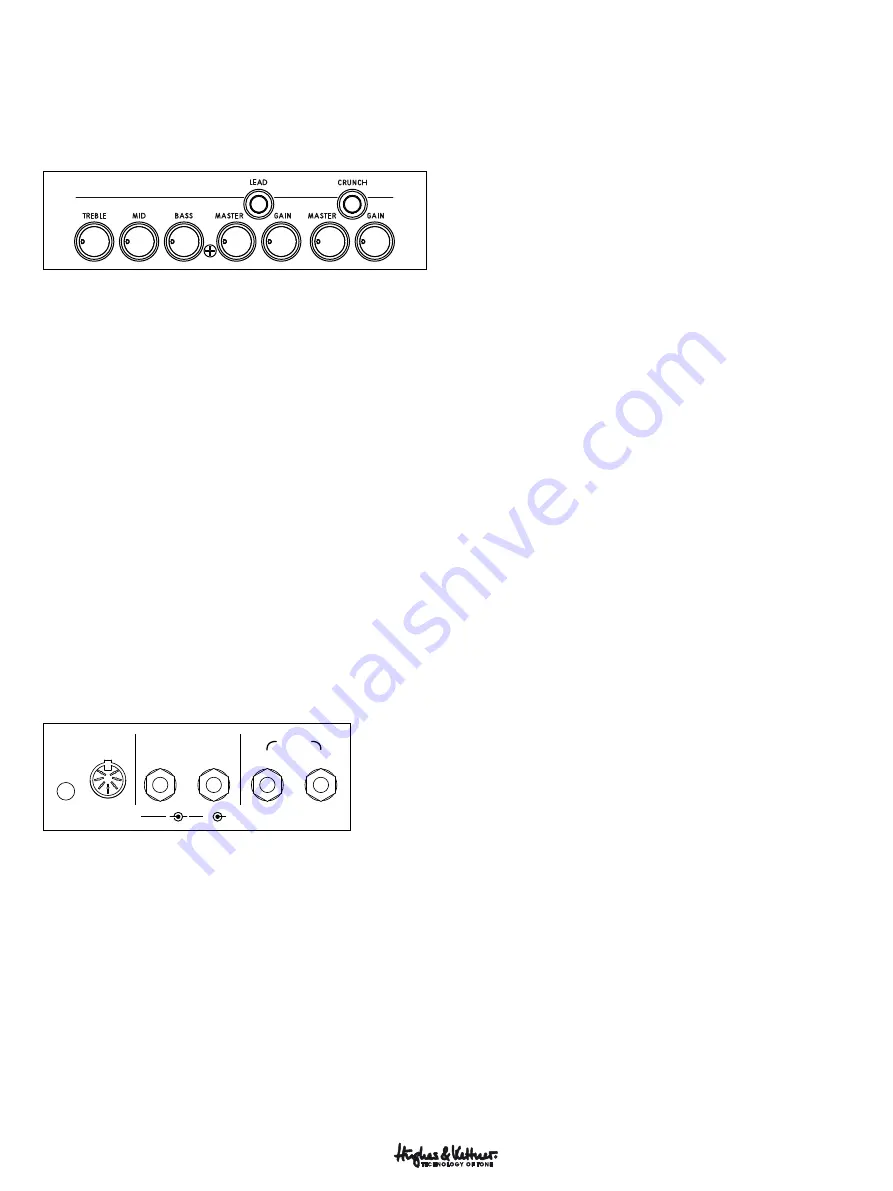
Crunch/Lead Channel
Crunch Button:
Use it to activate the Crunch channel. It lights up yellow
when you do.
Crunch Gain:
This knob controls the amount of tube distortion in the
Crunch channel.
Crunch Master:
This knob adjusts the Crunch channel’s volume without
affecting the other channels’ levels.
Lead Button:
Use it to activate the Lead channel. It lights up red when
you do.
Lead Gain:
This knob controls the amount of tube distortion in the Lead
channel.
Lead Master:
This knob adjusts the Lead channel’s volume without
affecting the other channels’ levels.
Bass, Mid, Treble:
This is a passive, shared voicing section that controls
both the Crunch and Lead channels.
1.2 Rear Panel
FX LOOP
FOOTSWITCHES
MIDI IN
Send
Return
Channels
Effects
*Y\UJO
3LHK
*SLHU
*Y\UJO3LHK
Learn
3VVW
MIDI In and Learn
We have devoted an entire chapter to MIDI control. See section 3 to learn
more about it.
Footswitch Channels
The Channels port accepts a two-way footswitch equipped with a standard
stereo jack plug, for example the Hughes & Kettner FS-2. The first switch
on the two-way footswitch plugged into the Channels port selects either
Clean or the two overdrive channels; the second switch activates either
Crunch or Lead.
Note:
If a footswitch is connected to the Channels jack plug, you can only
activate channels using this footswitch. In this case, the channel select
buttons on the front panel serve only to indicate the channels’ status.
However, you can continue switching channels via a connected MIDI
board.
Note:
In an emergency situation, if you lose or forget your two-way switch,
you can get through the gig with a standard one-way switch, which you
can use to switch from Clean to Lead and back.
Footswitch Effects
The Effects port accepts a one-way footswitch equipped with a standard
mono jack plug, for example the Hughes & Kettner FS-1. The footswitch
enables and disables the FX loop.
Tip: You can also connect a MIDI-enabled controller or foot switchable
board, such as the Hughes & Kettner FSM-432 (see section 3). We urge you
to do this, because it will enable you to make the most of the Power Soak’s
potential and use it as a sound-shaping tool unlike any other you’ve ever
experienced. With MIDI commands, you can switch entire setups – that
is, combinations of different channel, power output and FX loop settings –
with the touch of a button.
FX Loop
This serial loop lets you patch in effects devices: simply connect the Send
jack to your effects processor's input and the Return jack to the processor’s
output. The On button activates and deactivates the loop.
Tip: You can also use the Send jack to tap the preamp signal – for example,
to patch it to another power amp or a tuner. Conversely, you can use
Return to feed signals into the TubeMeister Deluxe 40’s power amp. In
combination with the Power Soak and the Red Box AE Recording Out, this
gives you a powerful recording front end that offers very interesting re-
amping and sound-shaping options for just about every conceivable signal.
If you’re a stompbox user, you may want to try the four-cord method:
for devices that work best plugged into the front end of the amp, simply
connect the guitar to the input of the first pedal in the chain and the last
pedal’s output to the amp’s input. Now do the same for devices that work
best in the FX loop: connect the pedal’s send to the amp’s FX Return and the
amp’s FX Send to the pedal’s return. This lets you route chorused, phased
and other modulated signals into the TubeMeister Deluxe 40’s preamp and
time-based effects such as reverb and delay in after the preamp. If your
multi-FX processor features amp models, you can patch these straight to
the TubeMeister Deluxe 40’s power amp via the FX loop.
Heads Up:
You can bypass the TubeMeister Deluxe 40’s preamp by
routing amp models into the FX Return. However, when you switch
channels its power amp is re-voiced to deliver the best tone for that
channel. This means every channel sounds different even if you decide
to use only the power amp! You probably want the amp model’s sound
and volume to remain consistent with your original programming. If so,
you’ll have to remember which channel you used for programming and
select it when you activate the amp model. However, the better option is
to program a MIDI command to do this for you.
Содержание tubemeister deluxe 40
Страница 1: ... English Deutsch Français Italiano Español 日本語 中文 中文 I am deluxe Manual 1 0 ...
Страница 58: ...58 TubeMeister 40 Deluxe Manual 1 0 ...
Страница 59: ...59 TubeMeister 40 Deluxe Manual 1 0 ...
Страница 60: ...60 TubeMeister 40 Deluxe Manual 1 0 ...
Страница 61: ...61 TubeMeister 40 Deluxe Manual 1 0 ...
Страница 62: ...62 TubeMeister 40 Deluxe Manual 1 0 ...
Страница 63: ...63 TubeMeister 40 Deluxe Manual 1 0 ...


