Manual M-800 Rev. 6/09
Manual M-800 Rev. 6/09
Page 7 of 16
TROUBLESHOOTING
To help prevent personal injury, any repair work or troubleshooting
must be done by qualified personnel familiar with this equipment.
WARNING
!
NOTE:
• Use the proper gauges and equipment when troubleshooting.
• It is best to check for leaks by using a hand pump and applying pressure
to the suspect area without the motor running. Watch for leaking oil and
follow it back to its source.
• Plug the outlet ports of the pump when checking for leakage to
determine if the leak is in the pump or elsewhere in the system.
• Refer to your pump’s appropriate parts list and the hydraulic and
electrical schematics when using this troubleshooting guide.
North American & International Color Codes
Conductors
North American
International
Line ................................Black......................Brown
Neutral ...........................White .....................Blue
Ground .......................... Green .....................Green/Yellow
Page 10 of 16
Pump is not delivering oil or
delivers only enough oil to
advance ram(s) partially or
erratically.
1. Oil level too low.
2. Loose fitting coupler to
ram.
3. Air in the system.
4. Air leak in suction line.
5. Dirt in pump or filter
plugged.
6. Cold oil or oil is too
heavy (Hydraulic oil is of
a higher viscosity than
necessary).
7. Relief valve or low
pressure unloading valve
out of adjustment.
8. Reservoir capacity is too
small for the size of the
ram(s) used.
9. Defective directional
valve.
10. Release poppet not
seating in solenoid
valve.
11. Sheared drive shaft
key(s).
12. Motor rotating in wrong
direction.
13. Vacuum in reservoir.
14. Low pressure pump
worn.
1. Fill reservoir to within 1”
of filler plug with all rams
retracted.
2. Check quick-disconnect
couplings to rams.
Inspect couplers to
insure that they are
completely coupled.
Occasionally couplers
have to be replaced
because the ball check
does not stay open due
to wear.
3. Bleed the system.
4. Check and tighten the
suction line.
5. Pump filter should
be cleaned and, if
necessary, pump should
be dismantled and all
parts inspected and
cleaned.
6. Change to lighter oil.
7. Readjust as needed.
8. Use smaller ram(s) or
larger reservoir.
9. Inspect all parts carefully
and replace if necessary.
10. Disassemble, inspect,
and clean pump to
remove any dirt.
11. Replace after checking
pump cavity for broken
pieces.
12. Refer to electrical
schematic on motor.
13. Check for plugged vent
in filler plug.
14. Repair or replace gerotor
pump.
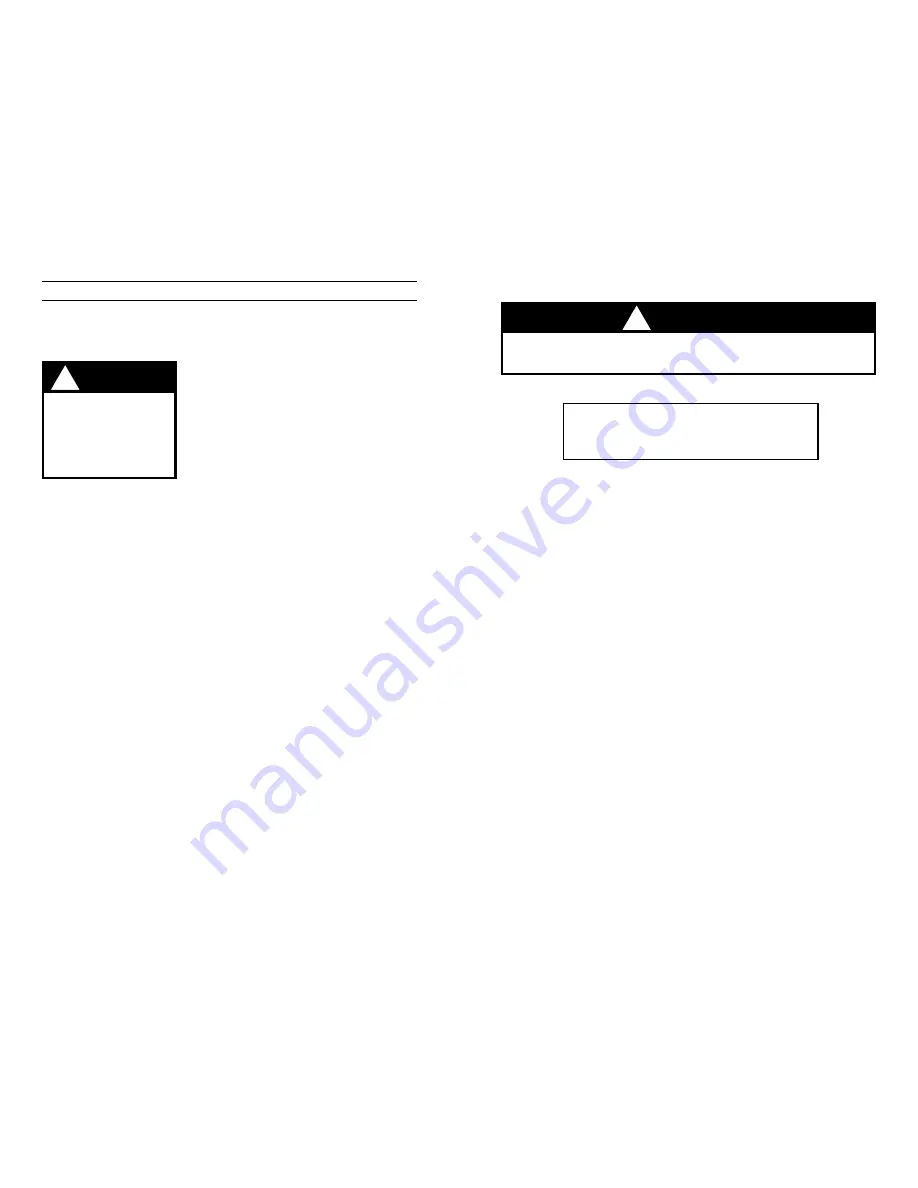
The force of escaping
hydraulic fluid could
cause serious injury.
Keep hands, face, etc.
clear of any hydraulic
leaks.
WARNING
!
PROBLEM
CAUSE
SOLUTION


