23
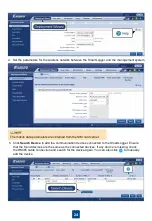
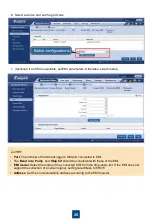
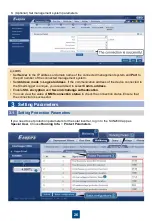
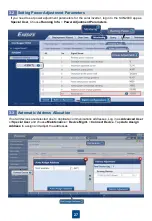
3. Click
Deployment Wizard
and set parameters as prompted.
Power Meter
,
Third-part NMS
,
and
Third-part Devices
are not involved. Click
Skip
.
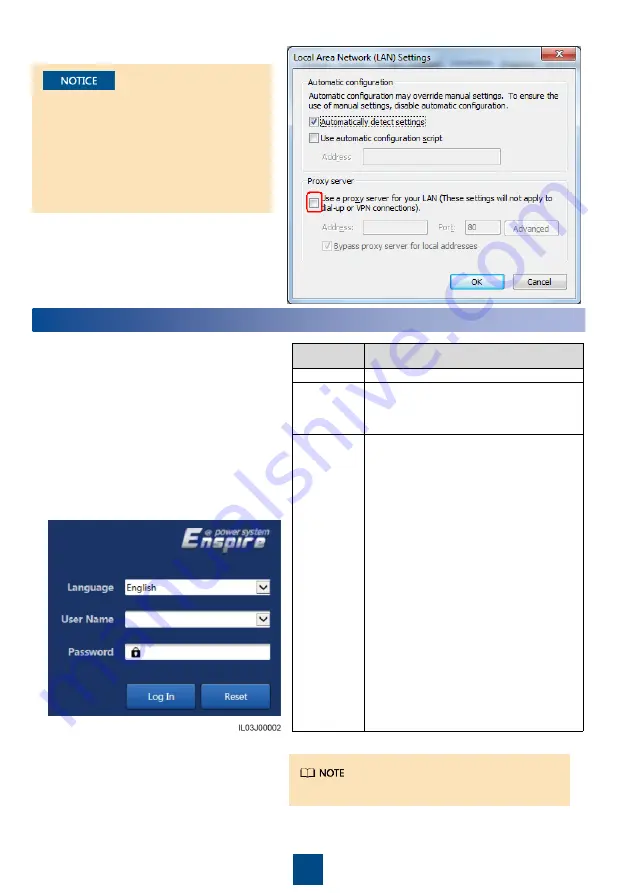
3. Set LAN parameters.
• If the SmartLogger is connected to a
local area network (LAN) and a proxy
server has been set, you need to
cancel the proxy server settings.
• If the SmartLogger is connected to
the Internet and the PC is connected
to the LAN, do not cancel the proxy
server settings.
Commissioning Through Deployment Wizard
2
2. Select
Advanced User
or
Special
User
.
Parameter
Description
Language
Set this parameter as required.
User name
To commission the device, select
Advanced
User
or
Special User
.
Password
• The initial password is
Changeme
.
• Use the initial password upon first
power on and change it
immediately after login. To ensure
account security, change the
password periodically and keep the
new password in mind. Not
changing the initial password may
cause password disclosure. A
password left unchanged for a long
period of time may be stolen or
cracked. If a password is lost,
devices cannot be accessed. In
these cases, the user is liable for
any loss caused to the PV plant.
• If you enter wrong passwords for
five consecutive times within 5
minutes, your account will be
locked out. Try again 10 minutes
later.
1. Enter https://192.168.0.10 in the
address box of the browser
(192.168.0.10 is the default IP address
of the SmartLogger). If you log in to the
WebUI for the first time, a security risk
warning is displayed. Click Continue to
this website.
Click
Help
to view the parameter description.
a. Open Internet Explorer.
b. Choose
Tools
>
Internet Options
.
c. Click the
Connections
tab and then click
LAN settings
.
d. Clear
Use a proxy server for your LAN
.
e. Click
OK
.
Содержание SmartACBox
Страница 23: ...22 ...

