24
Statement
7
1. The operating system of Windows 7 or later is supported.
2. The WebUI snapshots are for reference only, and the actual display may vary.
1. Connect the network cable between the network port on the PC and the SmartLogger.
2. Set the IP addresses of the PC and SmartLogger in the same network segment.
Port
IP Settings
SmartLogger Default Value
PC Setting Example
LAN port
IP address
192.168.8.10
192.168.8.11
Subnet mask
255.255.255.0
255.255.255.0
Default gateway
192.168.8.1
192.168.8.1
WAN port
IP address
192.168.0.10
192.168.0.11
Subnet mask
255.255.255.0
255.255.255.0
Default gateway
192.168.0.1
192.168.0.1
When the IP address of the WAN port is on the 192.168.8.1–192.168.8.255 network segment,
the IP address of the LAN port is automatically switched to 192.168.3.10, and the default
gateway is 192.168.3.1. If the connection port is a LAN port, adjust the network configuration
of the PC accordingly.
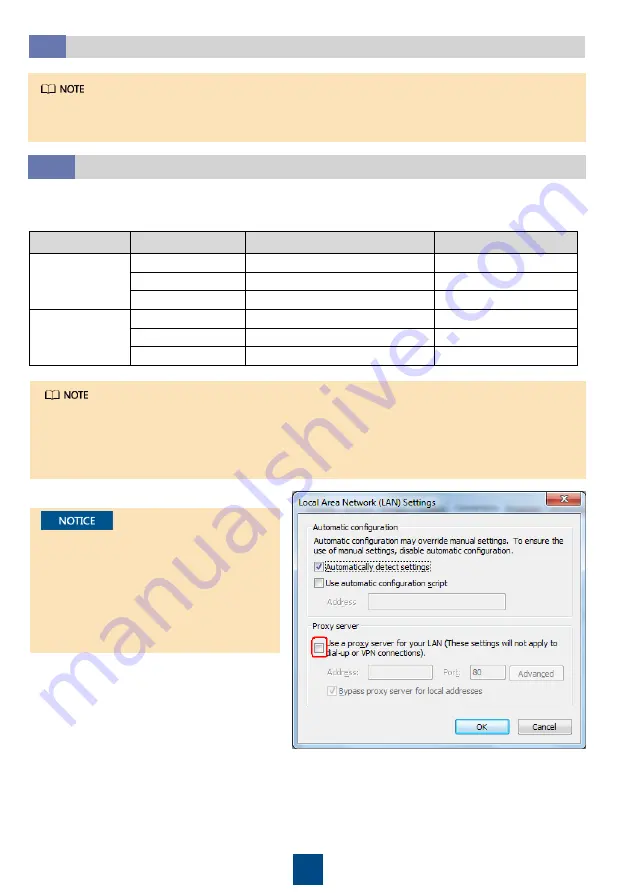
3. Set LAN parameters.
•
If the SmartLogger is connected to a
local area network (LAN) and a proxy
server has been set, you need to cancel
the proxy server settings.
•
If the SmartLogger is connected to the
Internet and the PC is connected to the
LAN, do not cancel the proxy server
settings.
a. Open Internet Explorer.
b. Choose
Tools
>
Internet Options
.
c. Click the
Connections
tab and then click
LAN settings
.
d. Clear
Use a proxy server for your LAN
.
e. Click
OK
.
7.3
System Commissioning(SmartLogger Web)
7.3.1
Preparations and WebUI Login


