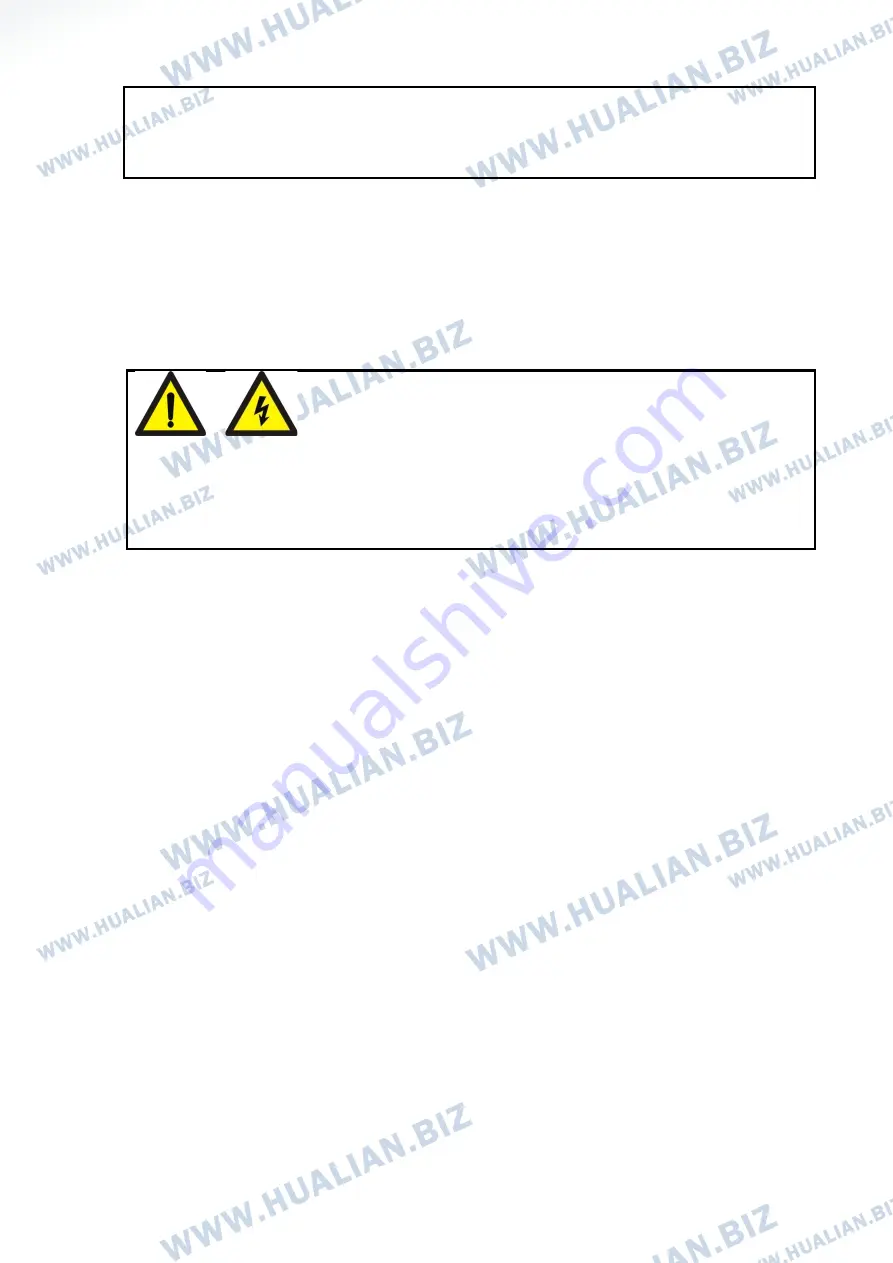
Please abide by safety operating regulations.
Via rotating the Power Switch to start the machine.
After the connection with the power supply, the indicator light will be on. And the touch display will show
the home page, which means the machine is now in the state of standby, and the machine is ready to be
operated.
4.2.1 Starting power supply
WARNING! ELECTRIC SHOCK!
Ensure that the socket used has protective grounding wires.
Be careful! Power mismatch will damage the machine!
Please check the power parameters of the machine by referring to the machine nameplate.
Please comply with safety guidelines and national accident prevention measures.
Power/Ground
Check whether the power supply voltage is consistent with the voltage in the machine’s nameplate.
Ensure the machine is properly connected to a grounded receptacle, so as to avoid the fire or
electric shock (grounding line is the yellow green double color line).
The cable must be free to move to avoid extrusion.
Once the cable is damaged, please replace immediately.
When there is machine malfunction or when the machine needs maintenance, please cut off power
supply.
If the machine will be idle for a period, please pack the cable.
4.2.2 Startup procedure
Connect the power and press the emergency stop switch, the indicator lights up, adjust the heating
speed knob, then the transmission parts run synchronously.
Fine tune printing wheel knob, make the printing wheel rotating. Adjust it to the appropriate
pressure and fix the limit screw.
Turn on the heater switch, then the green light of temperature controller lights up. According to the
material and thickness of the packing bag, adjust the temperature controller to the desired
temperature. When the heating block begins to warm up, the machine shall be turned on at the
same time.
That whether it is necessary to turn on the fan for cooling depends on the material and thickness of
packing bag.
Optional opening and closing solid-ink coding function according to actual need.
14
Содержание FRM-980I
Страница 5: ...Net weight Kg 29 35 35 50 48 50 4...
Страница 6: ...1 6 Products external structures FRM 980I FRM 980II FRM 980III...
Страница 7: ...FRMQ 980III FRQ 980III...
Страница 8: ...FRMC 980III...
Страница 19: ...18...
Страница 32: ...9 Electric Schematic Diagram 9 1 Electric schematic diagram 31...


