THT32
EN - 17
5.3 USING THE INSTRUMENT
1. Switch on the instrument by pressing the
Menu/
key. The instrument shows the initial
screen for a few seconds, then it shows the instrument
’
s main screen.
2. The typical application of thermal cameras is the one in which it is necessary to detect
a temperature difference between two adjacent objects, as this kind of analysis is often
sufficient to identify heat maps, anomalies in electrical and mechanical appliances, etc.
In these situations, in which it is not strictly necessary to obtain an accurate
temperature measurement, you can set emissivity value to
“
1
”
(see § 5.2.1).
3. Enable detection of MAX and MIN temperature values of the image (see § 5.2.3), the
distance/percentage level of the
“
Blending Fusion
”
function (see § 5.1.1) and the
desired colour palette (see § 5.2.4).
4. Frame the objects to be measured. The instrument displays the temperature values
associated with the measuring cursors.
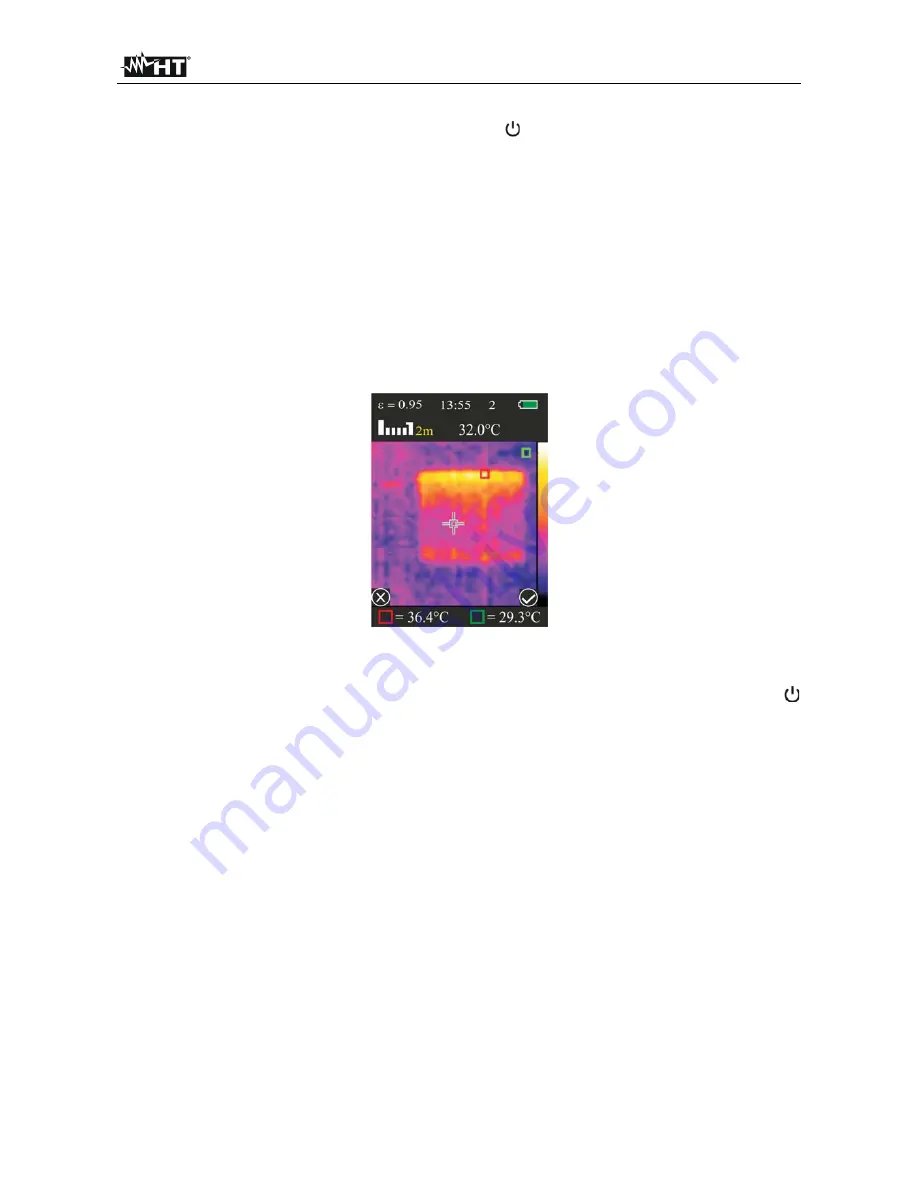
5. Use the trigger key
T
to freeze the image. The following screen appears on the display:
Fig. 19: Image saving
6. Press the
Enter
key to save the image on the micro SD card. The instrument saves the
images in a sequence with file name
”
IMGxxxxx.BMP
”
. Otherwise, press the
Menu/
key to unfreeze the image without saving it.
7. Enter the
“
MEMORY
”
menu (see § 5.2.6) to see the saved images again.
5.4 TRANSFERRING
THE
IMAGES ONTO THE PC
The instrument allows saving the images on an external micro SD card and transferring
them onto the PC by using the USB cable. Both the micro SD card and the cable are
provided with the instrument. Proceed as follows:
1. Insert the micro SD card into the dedicated slot inside the battery compartment (see
Fig. 3
–
Part 2).
2. Connect the USB cable to the instrument (see Fig. 2
–
Part 6) and to the PC.
4. In
“
My Computer
”
, search for the removable disk associated with the micro SD card
and copy the files
”
IMGxxxxx.BMP
”
of the desired images to a PC folder.


