


93
3 How to Install and Replace Components In Your Minitower PC
Upgrading Mass Storage Devices
4
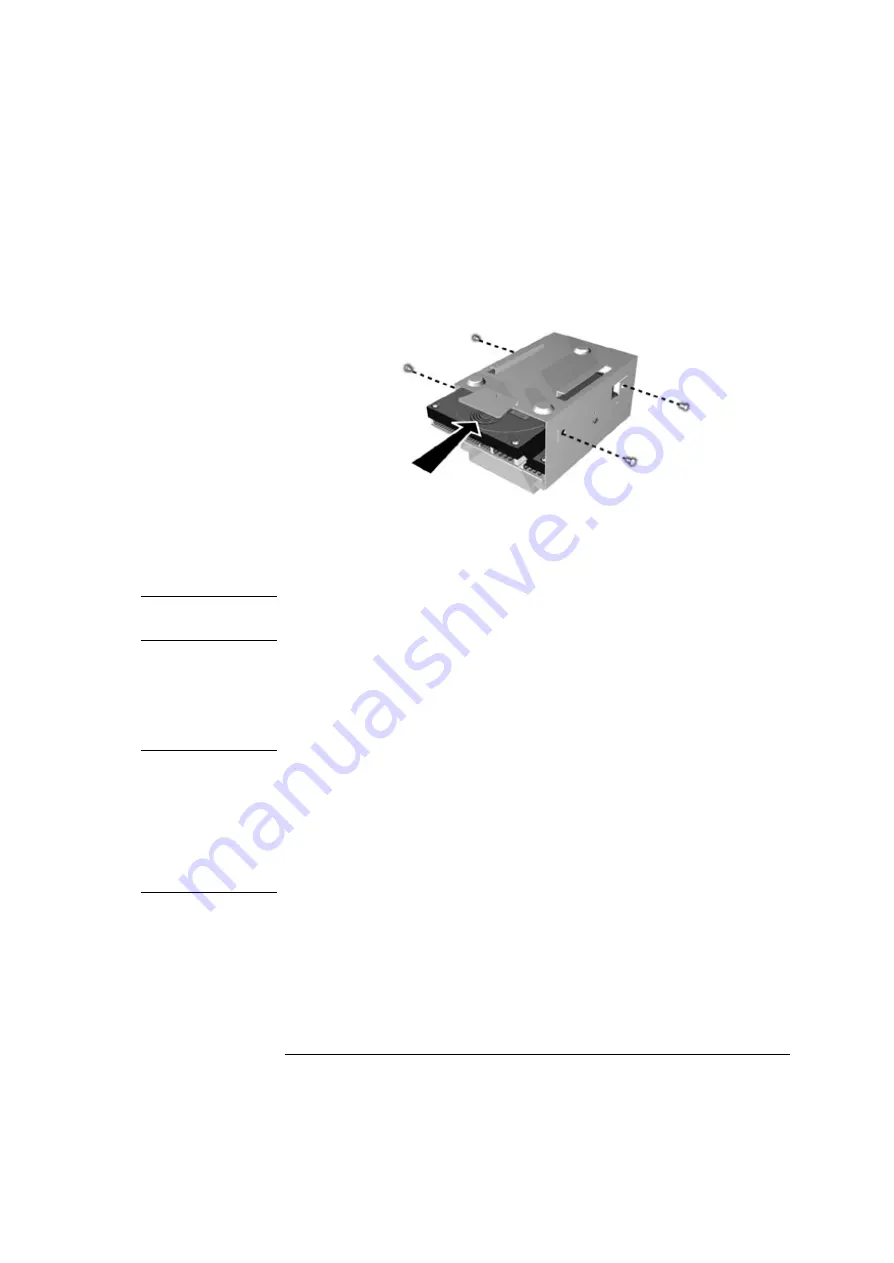
Slide in the new hard drive in the position shown and fasten the four
screws to secure it in position in the drive tray.
5
Slide the drive tray back into the bay.
6
Attach an IDE data connector and a power connector to each hard
disk drive.
NOTE
You must use the end connector (marked DRIVE 0) with the master
hard drive. This is the drive you intend to boot your PC from.
7
Replace the cover (described in this chapter).
8
Verify the new configuration by checking the HP Summary Screen.
To access the HP Summary Screen, press
Esc
when the
Vectra
logo
appears during startup.
NOTE
If you intend to boot from the newly installed drive, ensure that you
have configured
Setup
to do this. Also ensure that you have installed all
the required operating system and HP drivers on the newly installed
drive. To reinstall operating system and HP drivers, use the
HP Image
Creation & Recovery CD-ROM
provided with the PC. In addition, you
can find the most up-to-date versions of HP drivers on HP’s Web site at:
www.hp.com/go/vectrasupport
.
Содержание Vectra VLi 8
Страница 10: ...10 English ...
Страница 118: ...3 How to Install and Replace Components In Your Minitower PC Installing a Security Cable 118 ...
Страница 130: ...4 Managing Your PC Master Pass Key System 130 ...
Страница 131: ...5 Technical Information ...
Страница 136: ...5 Technical Information Physical Characteristics 136 ...
Страница 137: ......


